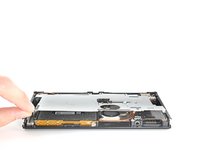
简介
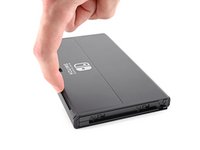
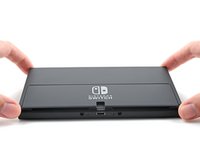
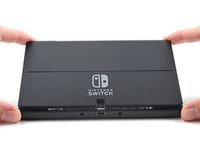
Use this guide to replace the screen in your Nintendo Switch OLED.
Unlike the original model's plastic cover and LCD backing, the Switch OLED's screen is a glass cover that's fused to an OLED display.
This means there's a significant chance that you may break the unreinforced and fragile display panel during this procedure. Be sure to apply plenty of heat and be extremely careful during the prying stage.
For your safety, discharge the battery below 25% before disassembling your Switch. This reduces the risk of fire if the battery is accidentally damaged during the repair. If your battery is swollen, take appropriate precautions.
The Switch OLED uses JIS screws, but you can use a Phillips screwdriver in a pinch. Be very careful not to strip the screws. iFixit's Phillips bits are designed to be cross-compatible with JIS-style screws.
Note: When you remove the shield plate, you’ll need to replace the thermal compound between the plate and the heatsink. Normal thermal paste isn't designed to bridge large gaps, so you'll need thermal putty or viscous thermal paste.
You'll need replacement adhesive in order to complete this repair.
你所需要的
-
-
Press and hold down the small round button on the back of the Joy Con controller.
-
While you hold down the button, slide the controller upward.
-
-
-
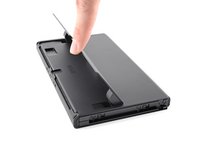
Continue sliding the Joy Con upward until it's completely removed from the console.
-
-
-
Use a Phillips driver, or a JIS driver, to remove the 2 mm-long screw securing the top of the rear case to the frame.
-
-
-
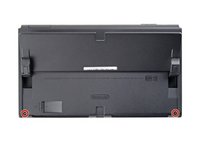
Use a Phillips driver to remove the two 2 mm-long screws securing the bottom of the rear case to the frame.
-
-
-
Use a Phillips driver to remove the 3.8 mm screw securing the right Joy-Con sensor rail to the rear case.
-
-
-
Use a Phillips driver to remove the 3.8 mm screw securing the left Joy-Con sensor rail to the rear case.
-
-
-
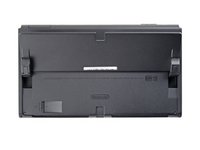
Use a Y00 screwdriver to remove the two 4.3 mm screws securing the rear case to the frame.
-
-
-
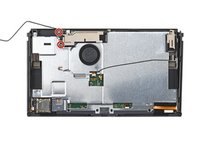
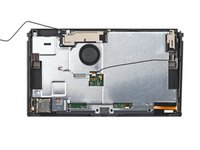
Use the flat end of a spudger to separate a corner of the tape from the shield plate.
-
-
-
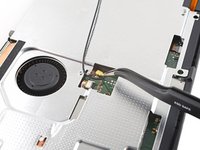
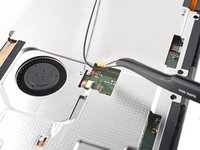
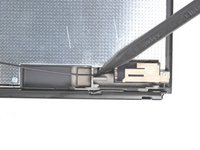
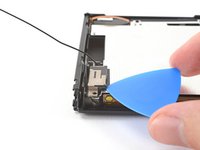
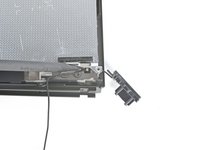
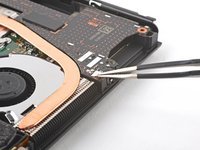
Use tweezers, or your fingers, to pull up and disconnect the primary Wi-Fi antenna's coaxial cable.
-
-
-
-
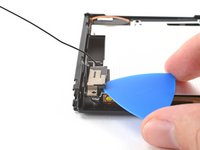
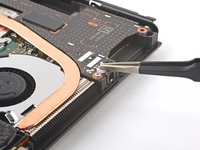
Use tweezers, or your fingers, to reroute the primary antenna's coaxial cable out of its slots in the shield plate.
-
-
-
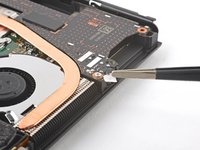
Use a Phillips driver to remove the two 4.4 mm screws securing the primary Wi-Fi antenna to the shield plate.
-
-
-
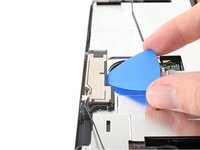
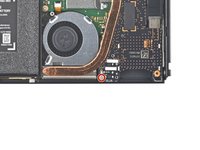
Insert an opening pick between the primary Wi-Fi antenna and the shield plate.
-
Pry up with the pick to separate the primary Wi-Fi antenna from the shield plate.
-
-
-
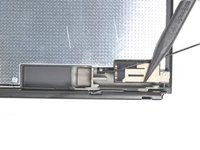
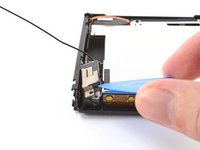
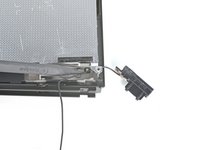
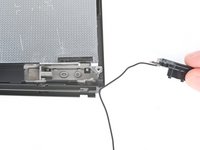
Use tweezers, or your fingers, to pull up and disconnect the secondary Wi-Fi antenna's coaxial cable.
-
-
-
Use the point of a spudger to reroute the secondary Wi-Fi antenna's coaxial cable from its slot in the frame.
-
-
-
Use a Phillips driver to remove the 4.4 mm screw securing the secondary Wi-Fi antenna to the shield plate.
-
-
-
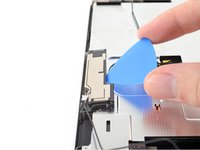
Insert an opening pick between the secondary Wi-Fi antenna and the shield plate.
-
Pry up with the pick to separate the secondary Wi-Fi antenna from the shield plate.
-
-
-
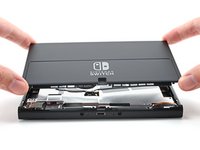
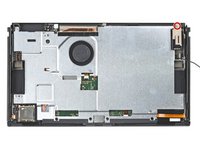
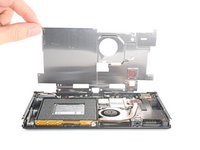
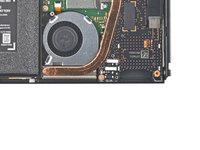
Use a Phillips driver to remove the six 4.4 mm screws securing the shield plate to the frame.
-
-
在这个步骤中使用的工具:Tweezers$4.99
-
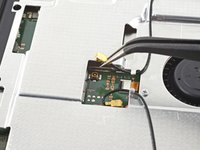
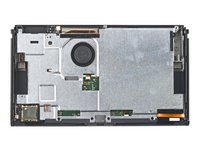
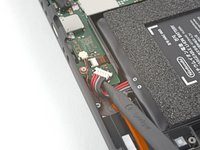
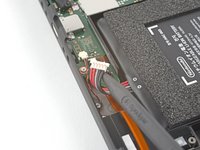
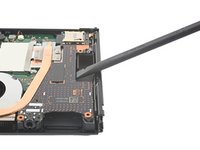
Use tweezers, or your fingers, to remove the piece of tape obscuring the daughterboard's screw.
-
-
-
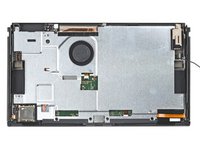
Use a Phillips driver to remove the 4 mm screw securing the daughterboard to the frame.
-
-
-
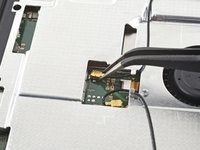
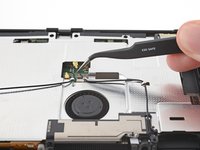
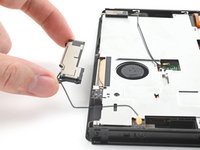
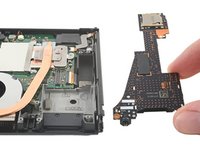
Insert a spudger between the edge of the daughterboard and the motherboard.
-
Pry up with the spudger to disconnect the press connector and separate the daughterboard from the frame.
-
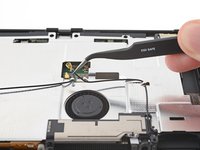
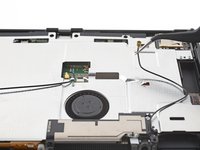
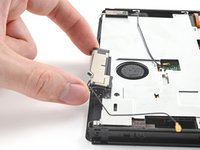
Remove the daughterboard.
-
-
-
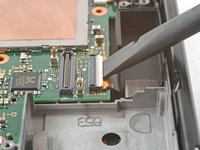
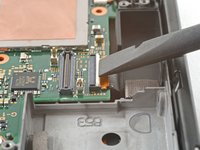
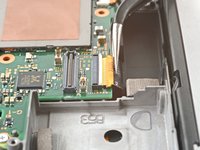
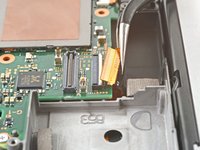
Use an opening tool, spudger, or your fingernail to flip up the hinged locking flap on the display's ZIF connector.
-
-
-
Apply a heated iOpener to the right edge of the screen for 90 seconds to loosen the adhesive underneath.
-
-
-
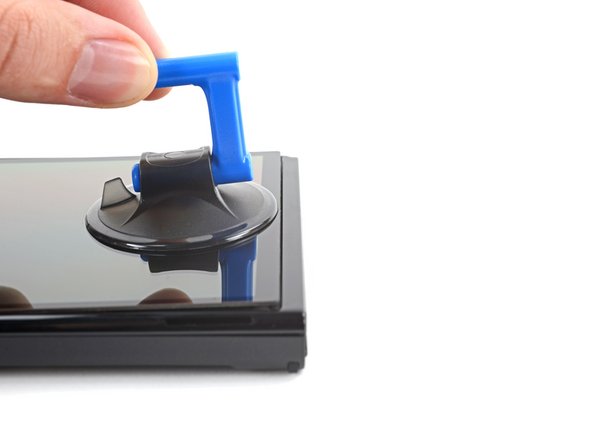
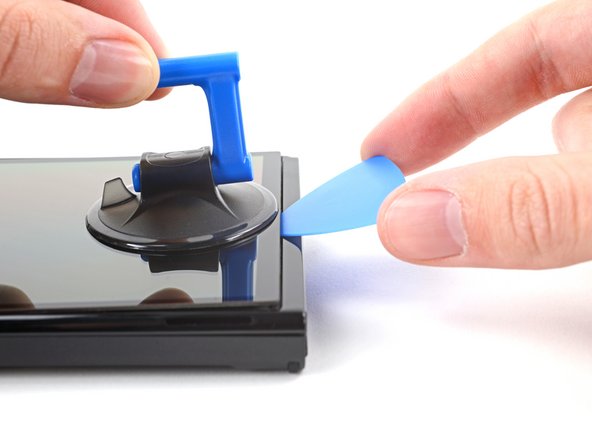
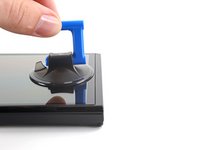
Once the screen is warm to touch, apply a suction handle to the bottom edge of the screen and as close to the edge as possible.
-
Lift the screen with the suction handle to create a small gap between the screen and the frame.
-
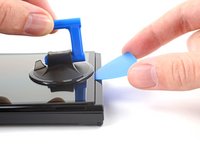
Insert an opening pick into the gap between the frame and the screen.
-
-
-
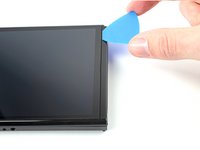
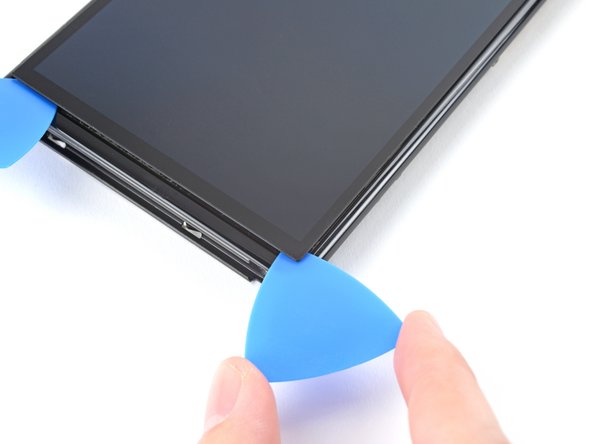
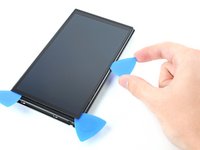
Slide the pick along the right edge of the screen to separate the adhesive.
-
Leave the opening pick in place to prevent the adhesive from resealing.
-
-
-
Apply a heated iOpener to the top edge of the device for 90 seconds to loosen the adhesive underneath.
-
-
-
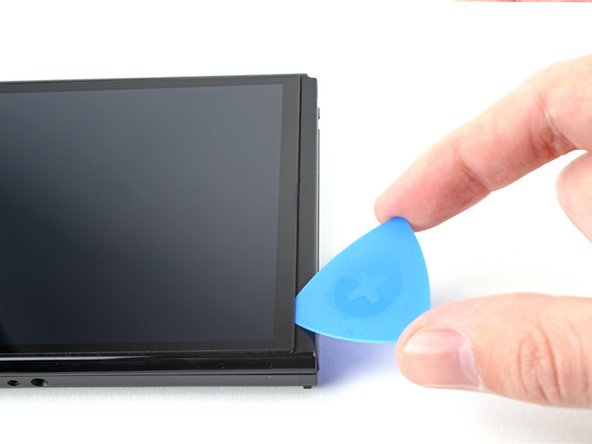
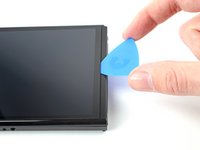
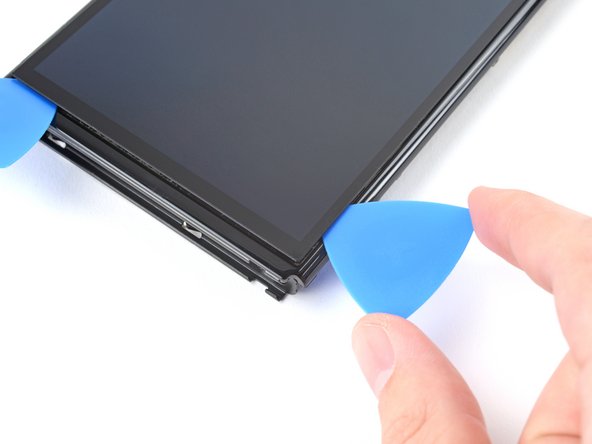
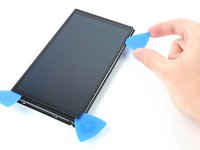
Insert a new opening pick into the gap you created.
-
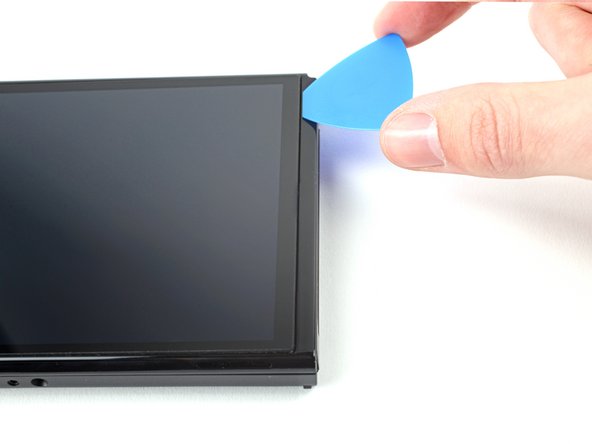
Rotate the opening pick around the top-right corner of the device.
-
Leave the opening pick in place to prevent the adhesive from resealing.
-
-
-
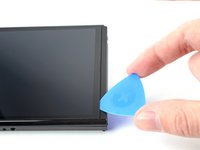
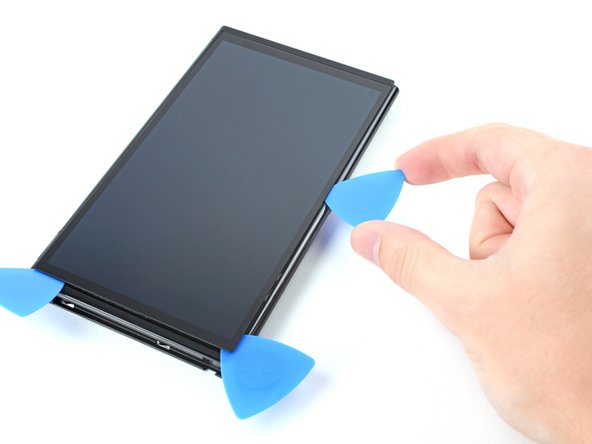
Insert a new opening pick into the gap you created.
-
Slide the new pick along the right edge of the device towards the top-left corner.
-
Repeat the heating and slicing process on the remaining edges to separate the adhesive.
-
-
在这个步骤中使用的工具:Tesa 61395 Tape$5.99
-
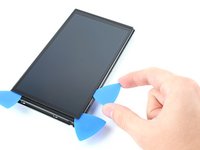
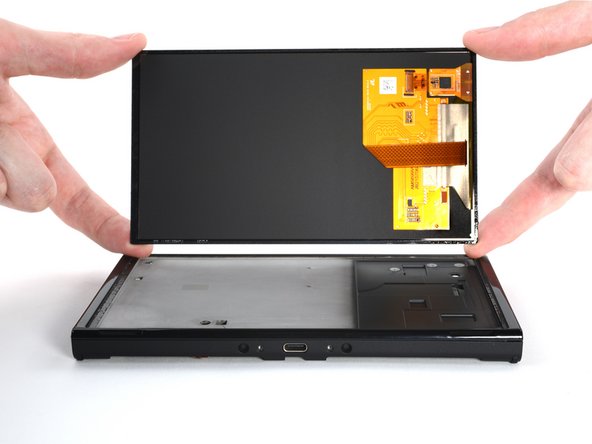
Lift the screen off the device, threading the display cable through the frame as you do.
-


To reassemble your device, follow these instructions in reverse order.
Compare your new replacement part to the original part—you may need to transfer remaining components or remove adhesive backings from the new part before you install it.
Repair didn’t go as planned? Try some basic troubleshooting, or ask our Nintendo Switch OLED Answers community for help.
13等其他人完成本指南。


9指南评论
Amazing guide! Steps were easy to follow and allowed me to knock out my Switch OLED screen replacement in about 1.5-2 hours, including a few intermissions to clean the internals. The only thing I would add to this guide are a few steps at the end for removing the old adhesive, applying the new Tesa tape, folding/threading the ribbon cable on the new screen, and plugging the ribbon cable into the Switch to make this a true one-stop shop. The 1mm Tesa tape worked like a charm, although there is one side of the screen frame where you need to do three strips instead of one, you don't have to buy a bigger size just for that side. Thanks again iFixit! Y'all rock!
Hi Kyle.
Thank you for the appreciation and the tips! I changed the last step a bit to hopefully remind people to re-thread the display cable. We will consider making a dedicated reassembly step ;)
nope not doin this
alex gamer - 回复
I stripped a screw on my Nintendo Switch OLED, now there’s absolutely no way for me to open it, I wanted to replace my Nintendo Switch Card Cover, and now I can’t. I’m gonna have to get a new Switch now :(
Oh my goodness, I'm sorry to hear that! We've all been there. If you're willing to try something to remove the stripped screw, you can check out this guide for some strategies. Please let us know how it works out!