
Nintendo 3DS 2015 Lower Case Replacement
简介
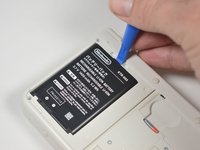
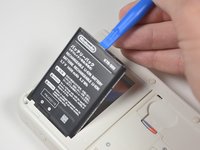
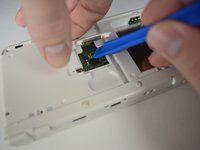
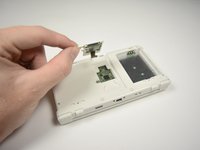
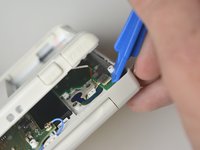
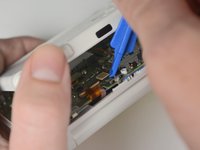
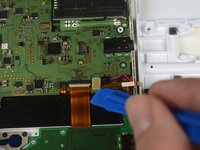
转到步骤 1If your lower casing is broken you may need to replace it. Be careful to disconnect ribbon cables between the lower casing and the motherboard before removing the lower casing fully.


-
-
-
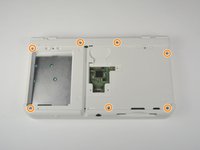
Unscrew the three 3mm Y0 screws along the right and bottom of the SD card reader.
-
-
在这个步骤中使用的工具:Tweezers$4.99
-
Reorient the device so that the game slot now faces you.
-
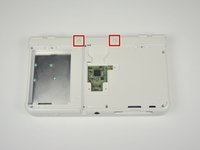
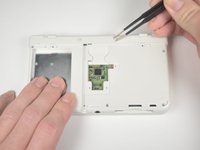
Remove the two rubber bumpers along the top of the device using tweezers.
-
Unscrew the seven 6mm Phillips #00 screws along the top and bottom of the 3DS.
-


To reassemble your device, follow these instructions in reverse order.
To reassemble your device, follow these instructions in reverse order.
另外一个人完成了本指南。
团队

Cal Poly, Team 4-6, Livingston Fall 2016 Cal Poly, Team 4-6, Livingston Fall 2016 的会员
CPSU-LIVINGSTON-F16S4G6
4 名成员
创作了35篇指南