
Nikon Coolpix S4100 Lens Replacement
简介
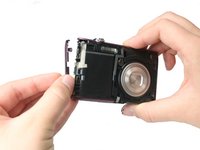
转到步骤 1If your camera's zoom ability is broken or jammed, you may need to replace the lens portion. Alternatively, if your camera's lens is damaged, you may need to replace the lens.


-
-
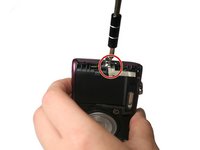
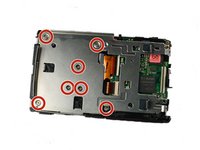
Using a Philips #000 head screwdriver, remove the 8 screws (3.30 mm) visible on the external part of the camera.
-
There are 2 on each side, and 4 on the bottom.
-
-
-
-
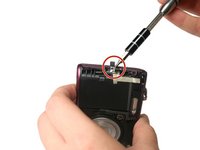
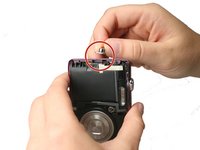
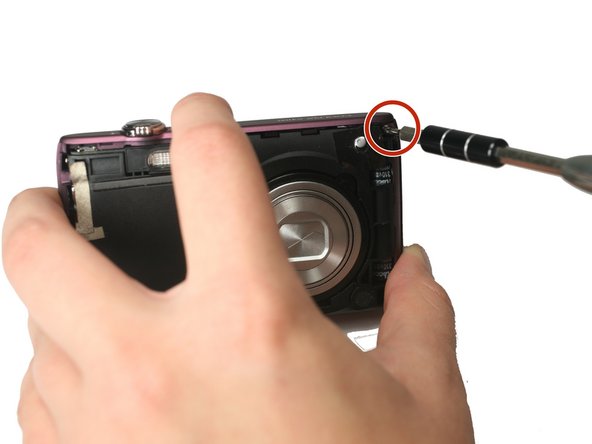
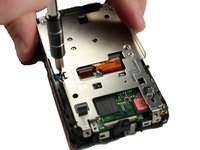
Using the Philips #000 head screwdriver, remove the 3.40 mm screw located near the functional buttons.
-
-
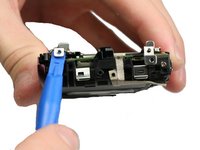
在这个步骤中使用的工具:Tweezers$4.99
-
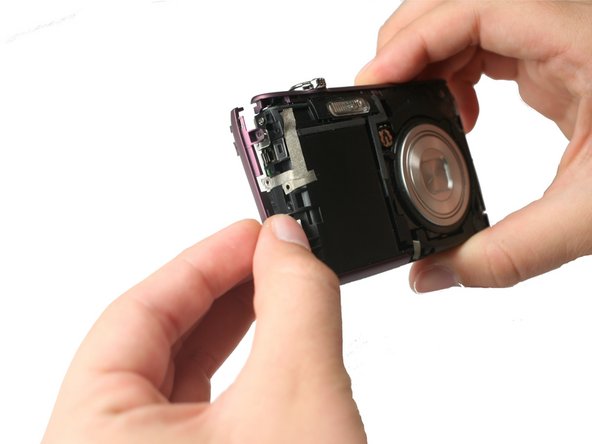
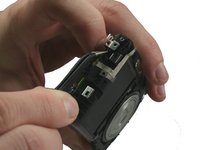
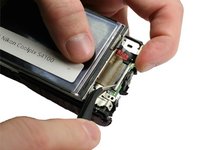
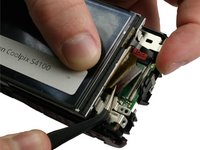
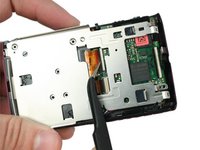
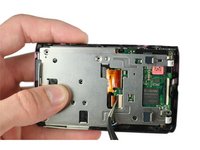
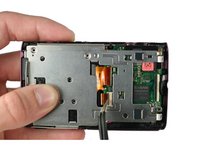
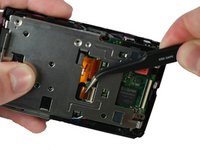
Using precision tweezers, gently remove the ribbon cable running from LCD to the bottom side of the motherboard.
-
-
-
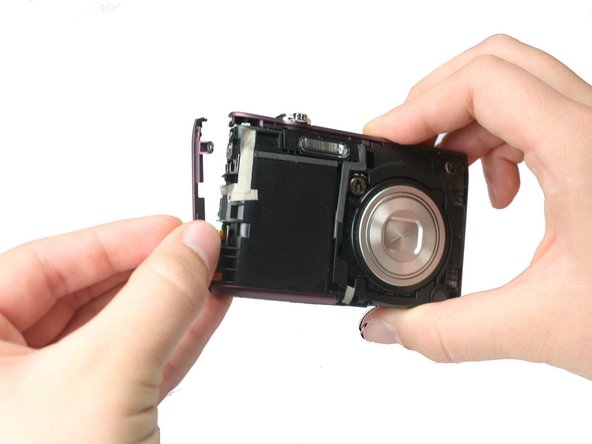
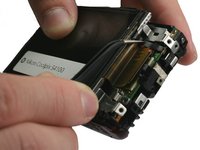
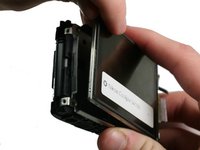
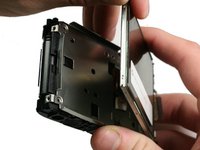
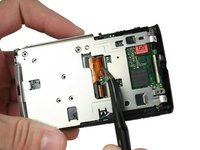
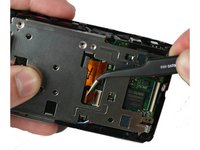
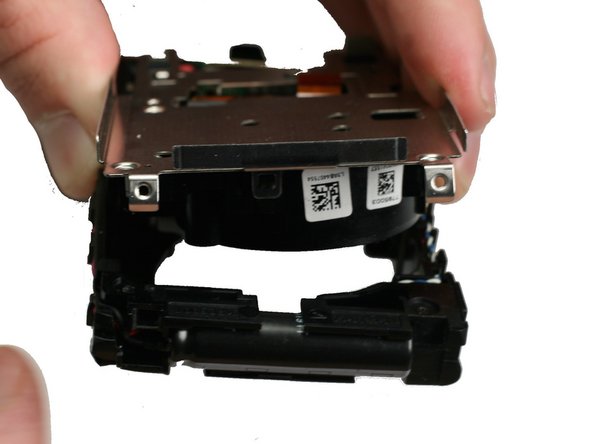
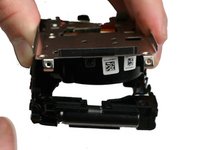
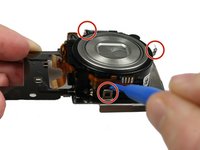
Using a Philips #000 head screwdriver, remove 7 Philips head screws of length 3.4mm from the metal LCD camera mount.
-


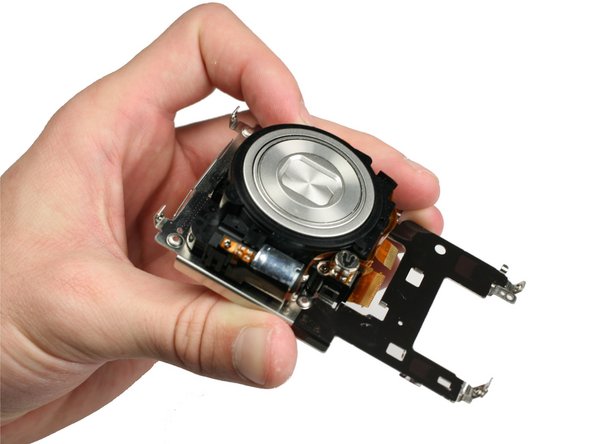


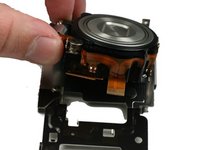
To reassemble your device, follow these instructions in reverse order.
To reassemble your device, follow these instructions in reverse order.
3等其他人完成本指南。
团队

Baylor, Team 4-2, Williams Fall 2015 Baylor, Team 4-2, Williams Fall 2015 的会员
BU-WILLIAMS-F15S4G2
4 名成员
创作了8篇指南
1指南评论
My screws too stripped. But I thought this would be easy as the discription. Fix your jammed lens!. I haven't fully investigated my ipod touch 5th generation. Which battery needs to be removed to see the flipped side, it looks dirty near the board. Maybe I read wrong… but anyways. That's the best I done…. I just panic. Will try again when I get a screw driver. Or get a magic flash card. That's some folk lore I will try.