
Nikon Coolpix B700 Internal Bracket Replacement
简介
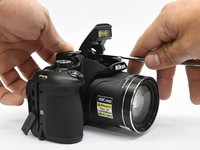
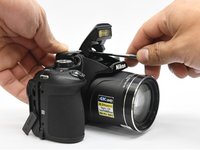
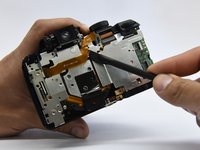
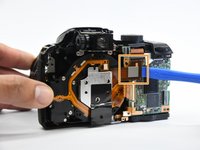
转到步骤 1To perform most replacements in the Nikon Coolpix B700, the back cover must be removed and the internal metal bracket needs to be released. This is required before replacing the motherboard, lens, button assembly, or other components.


-
-
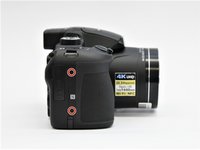
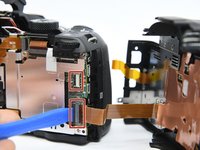
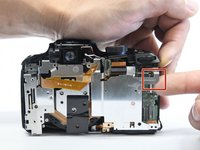
Use the Phillips screwdriver to remove the two 5.5 mm screws on the left side of the camera.
-
-
-
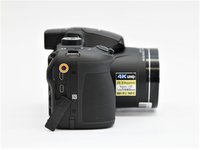
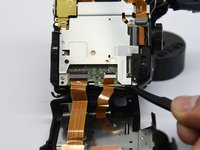
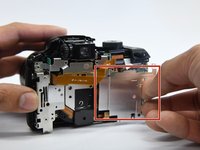
Use the Phillips screwdriver to remove the remaining five 5.55mm screws.
-
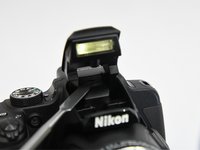
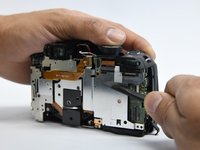
Remove the single 6mm screw.
-


3等其他人完成本指南。
团队

Purdue University Northwest, Team S4-G5, Hingst Spring 2019 Purdue University Northwest, Team S4-G5, Hingst Spring 2019 的会员
PNW-HINGST-S19S4G5
4 名成员
创作了14篇指南