简介
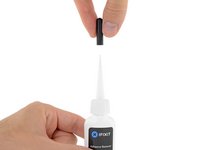
使用本指南从MacBook Pro中取出粘合电池。 这最好在iFixit电池更换套件的帮助下完成; 您的套件中的液体粘合剂去除剂将溶解固定电池的粘合剂,从而轻松拆卸电池。 或者,您可以使用iOpener应用适量的热量,以便在撬出电池之前软化粘合剂。
iFixit胶粘剂去除剂是高度易燃的。在通风良好的地方执行此程序。 在此过程中,不要在明火附近吸烟或工作。
为了最低地降低风险,在根据本指南进行操作前,请先打开您的MacBook直到完全耗尽电池电量。完全充电的锂离子电池在意外地被工具扎穿时可能会造成危险的火灾。如果您的电池已经鼓包,请参考此指南.
注意事项:用于溶解电池胶粘剂的溶剂可能会损坏某些塑料,如MacBook Pro的塑料扬声器外壳。 使用溶剂时要小心。
如果你使用的是老式iFixit胶水去除套装,即分离的瓶子和注射器(已不再售卖),点击这里获取稍微修改后的教程
你所需要的
-
-
-
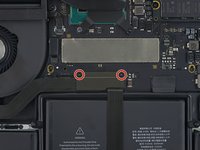
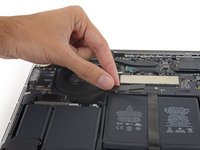
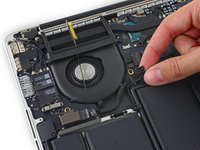
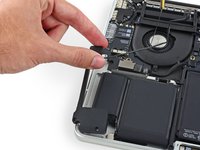
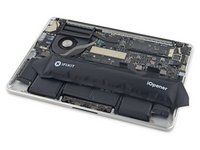
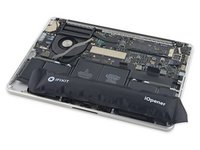
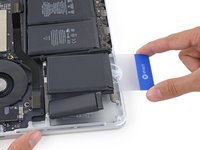
移除电池。
-
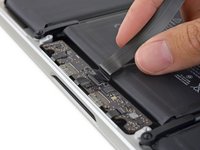
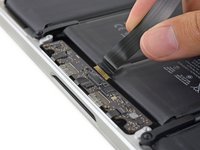
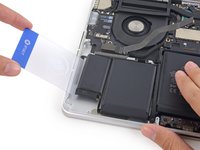
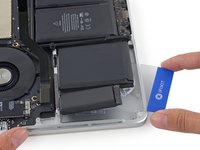
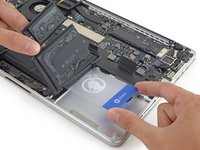
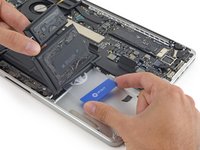
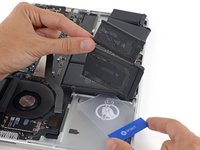
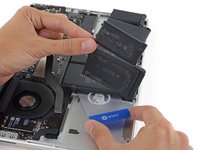
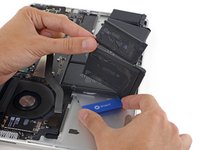
幸运的话,你可以用你的手慢慢地将粘合剂撕下来。
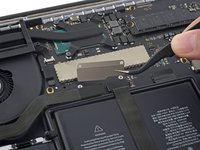
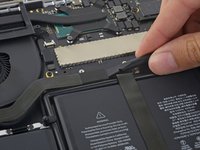
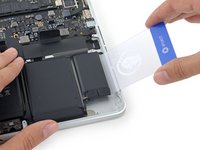
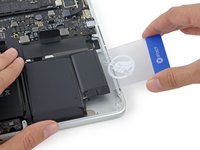
-
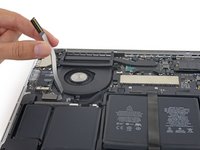
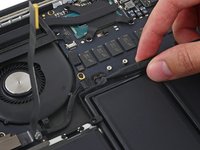
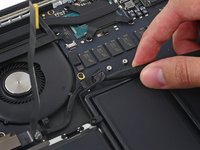
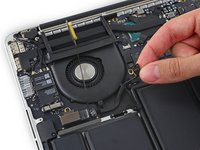
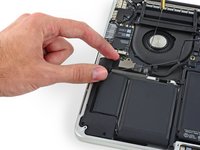
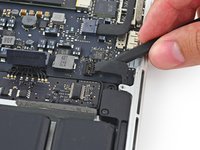
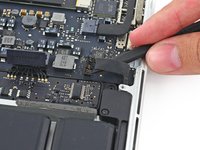
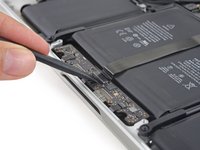
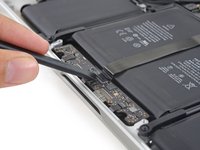
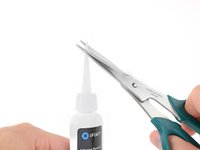
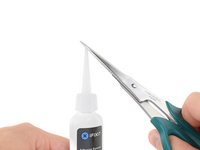
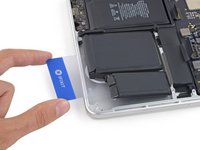
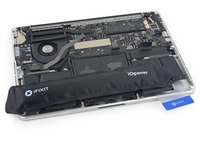
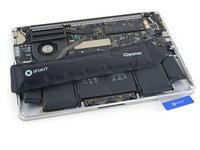
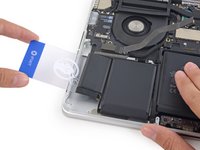
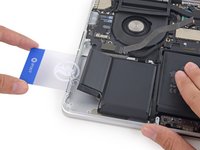
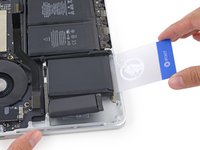
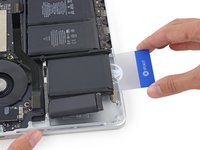
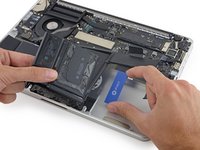
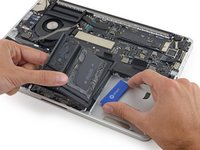
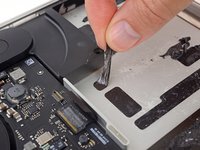
否则,用一点粘合剂去除剂将每个粘合剂部分浸泡2-3分钟,然后用撬片或其他工具将其刮掉。 这可能需要相当多的工作,所以要耐心。
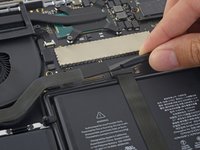
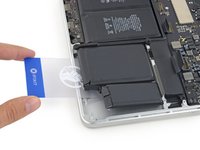
-
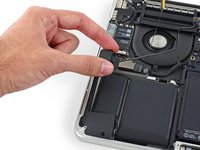
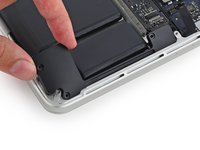
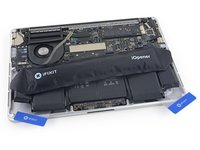
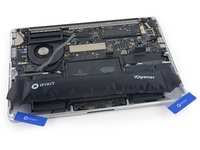
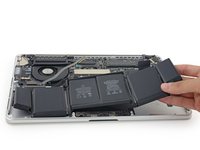
擦拭残留的粘合剂去除剂,花一些时间让MacBook Pro风干。
-
校正 您新安装的电池: 充电至100%, 并保持充电状态至少2小时。拔掉电源并使用电池供电。当您看到低电量警告时,保存您的工作,继续使用您的笔记本直到低电量自动睡眠。静置5小时后一次将电量充至100%。
-
如果您在安装新电池后发现任何不寻常的行为或问题,可能需要重置MacBook Pro的SMC。
-


将新的更换部件与原始部件进行比较 - 在安装之前,你可能需要转移剩余部件或从新部件上移除粘合剂背衬。比如,一些替换电池可能在中间框架的 4 个角上有小橡胶凸起,将这些凸起剪掉,以便电池正确安装。
若要重新组装你的设备,请按倒序执行这些说明。
请将你的电子垃圾送到R2或e- steward认证的回收商。
810等其他人完成本指南。


183指南评论
is it possible to use MBP early 2015's battery on a late 2013 model?
No, they're different parts.
fastasleep - 回复 分享
I wonder the same.
Amazon https://www.amazon.de/EGOWAY-A1493-A1582... claims to work for
Compatible with Laptop Models: Mac Book Pro 11.1 13" Retina A1502 ME864xx/A / ME865xx/A/ ME866xx/A - (Late 2013 Version) Mac Book Pro 13" Retina "Core i5" 2.4 Mac Book Pro 13" Retina "Core i5" 2.6 Mac Book Pro 13" Retina "Core i7" 2.8 MGX72xx/A / MGX82xx/A / MGX92xx/A - (Mid 2014 Version) Mac Book Pro 13" Retina "Core i5" 2.4 Mac Book Pro 13" Retina "Core i5" 2.6 Mac Book Pro 13" Retina "Core i7" 2.8 Compatible with Laptop Models: Mac Book Pro 12.1 13" Retina A1502 MF839xx/A / MF840xx/A/ MF841xx/A/ MF843xx/A - (Early 2015 Version) Mac Book Pro 13" Retina "Core i5" 2.7 Mac Book Pro 13" Retina "Core i5" 2.9 Mac Book Pro 13" Retina "Core i7" 3.1
Thanks to this guide I saved my broken MacBook Pro from a coffee spill that killed the battery. It cost me about 30% compared to what it would have cost to have the battery changed at an Apple authorized repair center. It wasn't easy to do, but that just made it all the more satisfying.
One comment: the new battery pack I bought came attached to a thin film which had to be removed. I unfortunately tore off some of the strips of glue attached to the back of the battery cells, before getting the hang of it. No big deal. But if you have to do the same thing: peel slowly.
After i replace the battery, the new battery is outofsync with osx battery indicator. When the indicator hit the 30% mark the macbook just shutdown completly. How do i syncroniz the new battery with osx?
The tutorial i saw only, tell you to fully charged the battery and let it depleet until the warning message pop up that your battery is low and your mac go into sleep mod. Problem my mac cant go into sleep mod because it thinks that it has 30% left of juice.
Is there any method to change the sleep setting or to force a recalibration?