跳转到主内容
加入维修社区 - 创建账户

Linksys WAP54g LED Lights Replacement

你所需要的

    1. Linksys WAP54g LED Lights Replacement, Top Casing: 步骤 1 中的图像 1,1
      • Power down and unplug the device.

      询问修复机器人

      添加评论

    2. Linksys WAP54g LED Lights Replacement: 步骤 2 中的图像 1,1
      询问修复机器人

      添加评论

    3. Linksys WAP54g LED Lights Replacement: 步骤 3 中的图像 1,1
      • Remove the two black rubber feet of the device using the screwdriver. The feet are located on the bottom towards the front.

      询问修复机器人

      添加评论

    4. Linksys WAP54g LED Lights Replacement: 步骤 4 中的图像 1,1
      • Once the feet are removed, two small screws will be visible. With a small screwdriver, unscrew them. Screws are phillips head, 4.35 mm in diameter, 7.88 mm in length.

      询问修复机器人

      添加评论

    5. Linksys WAP54g LED Lights Replacement: 步骤 5 中的图像 1,1
      • To remove the front blue panel, grip firmly and place thumbs in the two notches on top. Push thumbs forward while keeping a firm grip on bottom.

      • This may require a bit of force.

      询问修复机器人

      添加评论

    6. Linksys WAP54g LED Lights Replacement: 步骤 6 中的图像 1,1
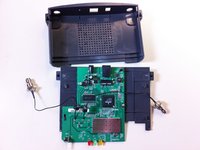
      • Now slide the bottom panel forward and remove it so the top casing is isolated from the bottom casing and motherboard.

      询问修复机器人

      添加评论

    7. Linksys WAP54g LED Lights Replacement: 步骤 7 中的图像 1,2 Linksys WAP54g LED Lights Replacement: 步骤 7 中的图像 2,2
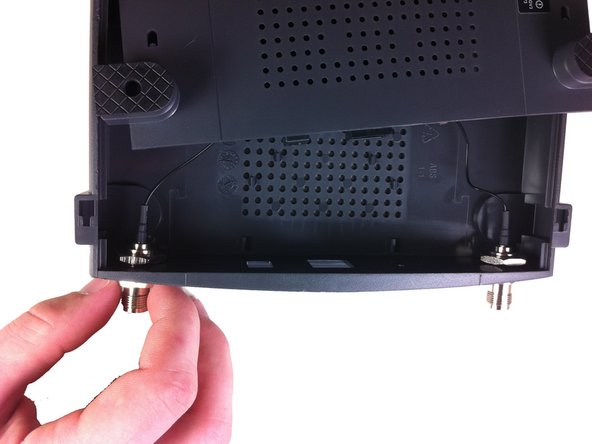
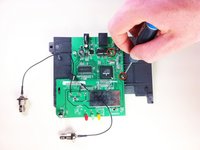
      • Unscrew the nut on the outer side of the back casing. Remove the nut and the washer from both antenna mounts.

      询问修复机器人

      添加评论

    8. Linksys WAP54g LED Lights Replacement: 步骤 8 中的图像 1,2 Linksys WAP54g LED Lights Replacement: 步骤 8 中的图像 2,2
      • From here, remove the wires and nuts connected to the back panel by pulling the nuts through the holes.

      • Now the top casing has been removed and isolated from the rest of the device. From here, you can make repairs to the top casing.

      • Once the top panel is removed the main board will still be attached to the bottom panel.

      询问修复机器人

      添加评论

    1. Linksys WAP54g LED Lights Replacement, Bottom Casing/Motherboard: 步骤 9 中的图像 1,2 Linksys WAP54g LED Lights Replacement, Bottom Casing/Motherboard: 步骤 9 中的图像 2,2
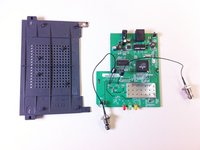
      • Unscrew the two screws that connect the motherboard to the bottom casing.

      • The motherboard and bottom casing should be completely separated at this point. This allows for replacement of the motherboard and/ or its components as well as the bottom casing.

      询问修复机器人

      添加评论

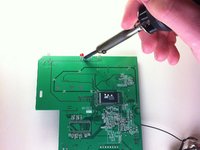
    1. Linksys WAP54g LED Lights Replacement, LED Lights: 步骤 10 中的图像 1,1
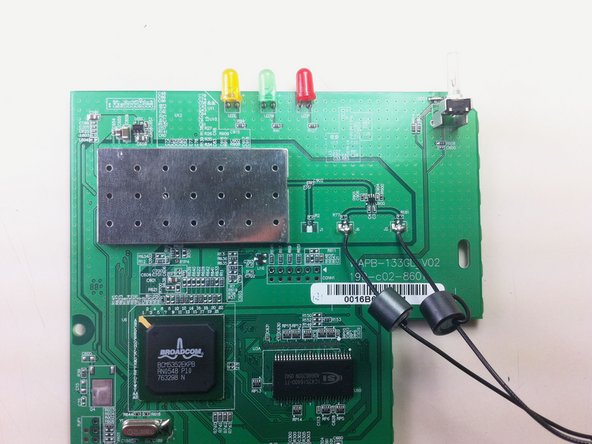
      • Using a soldering iron, desolder the LED lights from the bottom of the logic board.

      • For help with soldering or desoldering refer to ifixit's soldering guide: 如何焊接和拆焊

      询问修复机器人

      添加评论

    2. Linksys WAP54g LED Lights Replacement: 步骤 11 中的图像 1,1
      • Place new LED lights through holes created by desoldering and removing old lights.

      询问修复机器人

      添加评论

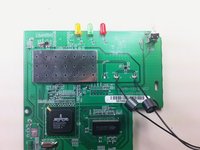
    3. Linksys WAP54g LED Lights Replacement: 步骤 12 中的图像 1,2 Linksys WAP54g LED Lights Replacement: 步骤 12 中的图像 2,2
      • Solder the lights onto the bottom of the board to solidify the connection and make electrical contact.

      • Follow the Installing the Casing guide in reverse to re-assemble your device.

      询问修复机器人

      添加评论

结论

Once the soldering is complete, the device should work and the LED lights should light up.

取消:我没有完成这个指南。

另外一个人完成了本指南。

Derek Myers

于10/04/11注册

288 声望

创作了5篇指南

团队

Cal Poly, Team 21-21, Maness Fall 2011 Cal Poly, Team 21-21, Maness Fall 2011 的会员

CPSU-MANESS-F11S21G21

5 名成员

创作了12篇指南

0指南评论

添加评论

浏览统计数据:

过去 24 小时: 0

过去 7 天: 6

过去 30 天: 23

总计 2,431