跳转到主内容

How to Reseal an Apple Watch

你所需要的

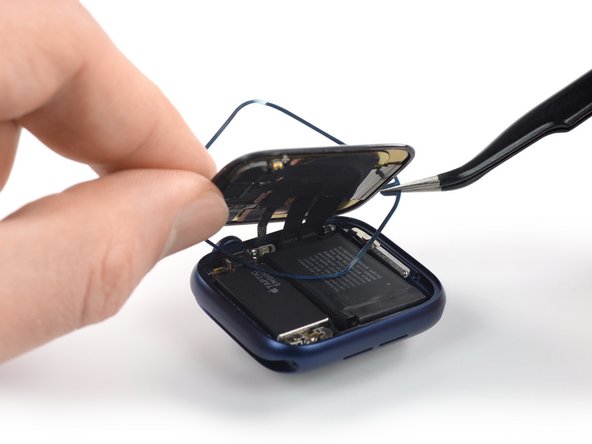
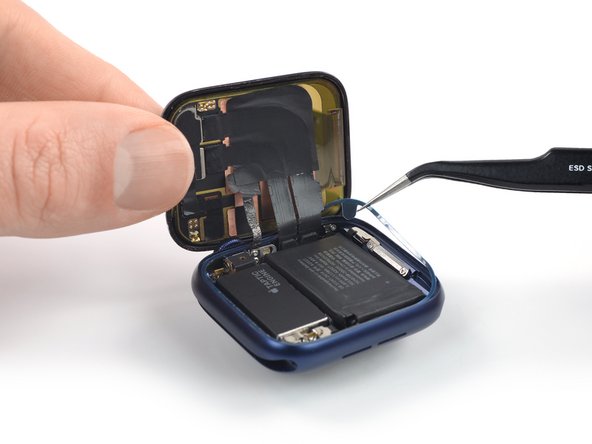
  1. How to Reseal an Apple Watch, Clean the watch frame: 步骤 1 中的图像 1,2 How to Reseal an Apple Watch, Clean the watch frame: 步骤 1 中的图像 2,2
    在这个步骤中使用的工具:
    Adhesive Cleanup Kit (Set of 12)
    $4.99
    购买
    • The following steps show how to apply new display adhesive with the display already installed. If you're installing a new screen or removed your screen jump to Step 6 of this guide.

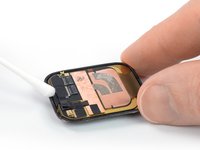
    • Apply a little bit of isopropyl alcohol (>90%) to a cotton swab, or Q-tip (or use a cleaning pad) and gently remove the old adhesive on top of the watch frame.

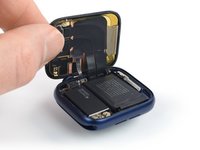
    • To remove the adhesive on the side with the display cables, gently lay the display on the frame.

    • Avoid straining or tearing the display cables.

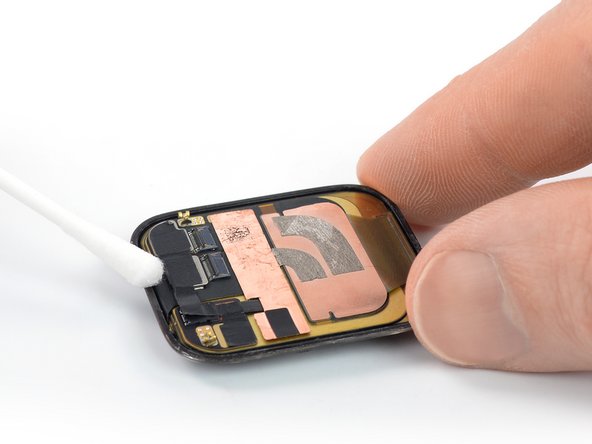
  2. How to Reseal an Apple Watch, Clean the rear side of the display: 步骤 2 中的图像 1,2 How to Reseal an Apple Watch, Clean the rear side of the display: 步骤 2 中的图像 2,2
    • Flip the Apple Watch upside down so the display lays flat and lift the watch body.

    • Avoid straining or tearing the display cables.

    • Gently remove the old adhesive on the rear side of the display.

  3. How to Reseal an Apple Watch, Prepare the adhesive: 步骤 3 中的图像 1,1
    • Use a pair of tweezers to carefully remove the replacement adhesive (including the blue protective film) from the backing paper.

  4. How to Reseal an Apple Watch, Apply the new adhesive: 步骤 4 中的图像 1,3 How to Reseal an Apple Watch, Apply the new adhesive: 步骤 4 中的图像 2,3 How to Reseal an Apple Watch, Apply the new adhesive: 步骤 4 中的图像 3,3
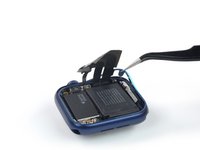
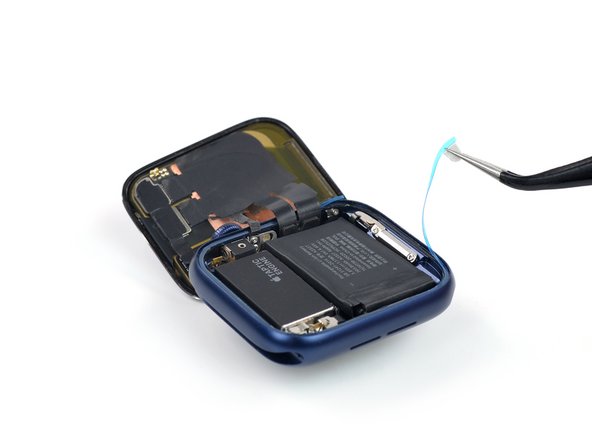
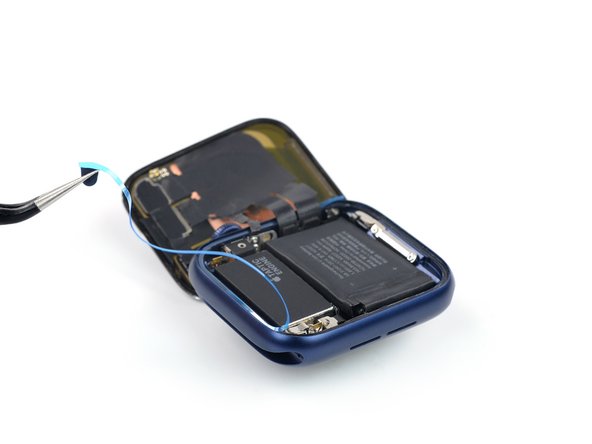
    • Hold the replacement adhesive diagonally and thread it over the display.

    • Slightly tilt the display forward to align the adhesive with the frame.

    • Position the replacement adhesive on the watch frame, where the old adhesive was located.

  5. How to Reseal an Apple Watch: 步骤 5 中的图像 1,1
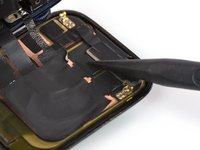
    • Use the pointed end of a spudger to press the replacement adhesive into place.

    • To completely reseal your watch jump straight to step 14.

  6. How to Reseal an Apple Watch, Clean the watch frame: 步骤 6 中的图像 1,2 How to Reseal an Apple Watch, Clean the watch frame: 步骤 6 中的图像 2,2
    在这个步骤中使用的工具:
    Adhesive Cleanup Kit (Set of 12)
    $4.99
    购买
    • Apply a little bit of isopropyl alcohol (>90%) to a cotton swab, or Q-tip (or use a cleaning pad) and gently remove the old adhesive on top of the watch frame.

    • To remove the adhesive on the side with the display cables, gently fold the cables down.

    • Don‘t fold the cable sharply and only bend them to avoid cable damage.

  7. How to Reseal an Apple Watch, Clean the rear side of the display: 步骤 7 中的图像 1,2 How to Reseal an Apple Watch, Clean the rear side of the display: 步骤 7 中的图像 2,2
    • If you‘re reusing your old display you need to remove the leftover adhesive from its rear side.

    • Gently remove the old adhesive on the rear side of the display.

  8. How to Reseal an Apple Watch, Prepare the adhesive: 步骤 8 中的图像 1,1
    • Use a pair of tweezers to carefully remove the replacement adhesive (including the blue protective film) from the backing paper.

  9. How to Reseal an Apple Watch, Apply the new adhesive: 步骤 9 中的图像 1,2 How to Reseal an Apple Watch, Apply the new adhesive: 步骤 9 中的图像 2,2
    • Hold the replacement adhesive diagonally and thread it over the display cables.

    • Slightly tilt the display cables forward to align the adhesive with the frame.

    • Position the replacement adhesive on the watch frame, where the old adhesive was located.

  10. How to Reseal an Apple Watch: 步骤 10 中的图像 1,1
    • Use the pointed end of a spudger to press the replacement adhesive into place.

  11. How to Reseal an Apple Watch, Reconnect the screen: 步骤 11 中的图像 1,2 How to Reseal an Apple Watch, Reconnect the screen: 步骤 11 中的图像 2,2
    • Lay your display flat on your working surface.

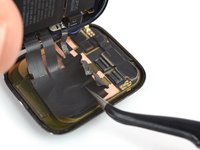
    • Hold the watch body in an upright position and grab the display cables with a pair of tweezers.

    • Before inserting the cables into the connectors, make sure the ZIF connector flaps are in an upright position. Otherwise, you risk damaging the cables.

    • Align the display cables parallel to the ZIF connectors and push them in.

    • No force is needed to push the cables into the connectors. If the cable doesn’t insert easily, it’s probably misaligned and needs to be gently removed and repositioned.

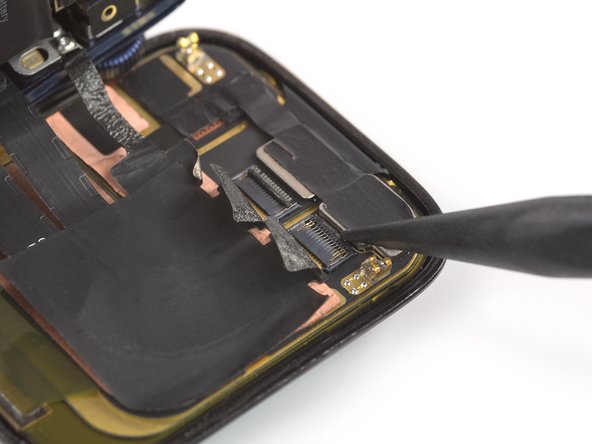
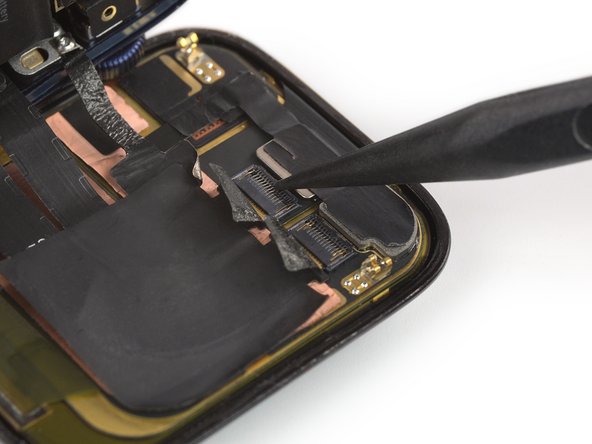
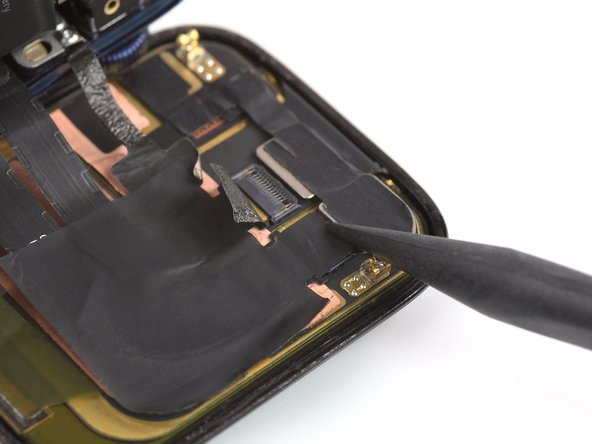
  12. How to Reseal an Apple Watch, Secure the ZIF connectors: 步骤 12 中的图像 1,3 How to Reseal an Apple Watch, Secure the ZIF connectors: 步骤 12 中的图像 2,3 How to Reseal an Apple Watch, Secure the ZIF connectors: 步骤 12 中的图像 3,3
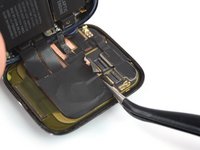
    • Use the pointed end of a spudger and fold down the black flaps on top of the ZIF connectors to secure the cables.

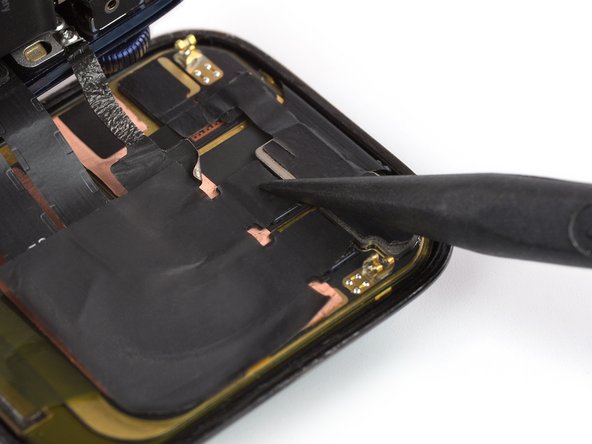
  13. How to Reseal an Apple Watch, Reinstall the heat dissipation stickers: 步骤 13 中的图像 1,3 How to Reseal an Apple Watch, Reinstall the heat dissipation stickers: 步骤 13 中的图像 2,3 How to Reseal an Apple Watch, Reinstall the heat dissipation stickers: 步骤 13 中的图像 3,3
    • Carefully adhere the old heat dissipation stickers to the ZIF connectors on the rear side of the display or apply new heat dissipation stickers where the old ones were located.

  14. How to Reseal an Apple Watch, Remove the protective film: 步骤 14 中的图像 1,3 How to Reseal an Apple Watch, Remove the protective film: 步骤 14 中的图像 2,3 How to Reseal an Apple Watch, Remove the protective film: 步骤 14 中的图像 3,3
    • Use tweezers and a pair of scissors to lift and cut a corner of the protective film.

    • Remove the film from the display adhesive.

  15. How to Reseal an Apple Watch, Reseal the Apple Watch: 步骤 15 中的图像 1,2 How to Reseal an Apple Watch, Reseal the Apple Watch: 步骤 15 中的图像 2,2
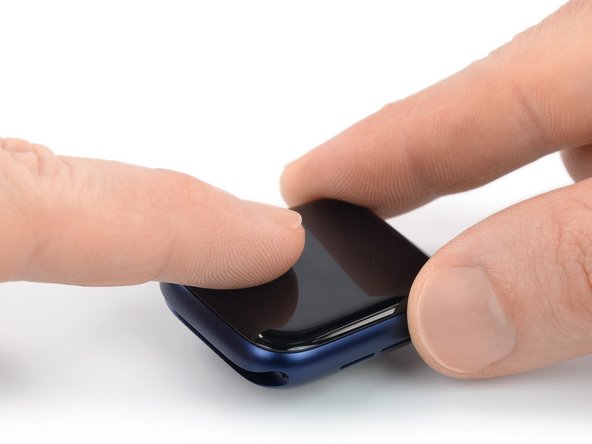
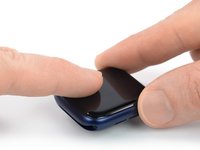
    • Align the screen and press it down firmly onto the adhesive.

    • To improve bonding of the adhesive, apply a heated iOpener to the display. Then apply pressure for a few hours —for example, place your Apple Watch under one or two heavy books overnight.

    • Alternatively, you can use screen vice clamps around the perimeter of your device to set the new adhesive.

结论

Take your e-waste to an R2 or e-Stewards certified recycler.

Repair didn’t go as planned? Try some basic troubleshooting, or ask our Answers community for help.

2等其他人完成本指南。

Dominik Schnabelrauch

于11/23/16注册

203,632 声望

创作了682篇指南

团队

iFixit iFixit 的会员

Staff

135 名成员

创作了17,146篇指南

0条评论

添加评论

浏览统计数据:

过去 24 小时: 7

过去 7 天: 82

过去 30 天: 437

总计 3,475