
HP Sprocket 2-in-1 Outer Casing Replacement

9分钟
中等
简介
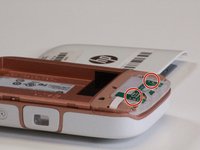
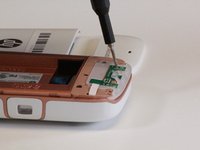
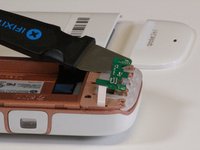
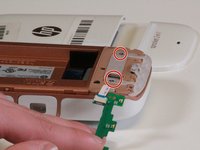
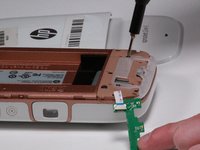
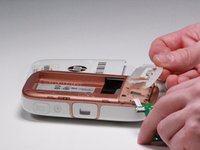
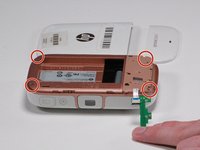
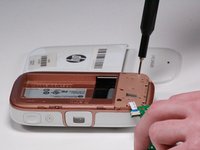
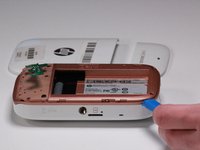
转到步骤 1This guide is necessary for all replacement guides for the HP Sprocket 2-in-1. All the images and directions use the iFixit Pro Tool Tech Kit. It is not necessary to use the kit but it is recommended. Be sure to prepare all tools and the device in a well-lit environment.


即将完成!
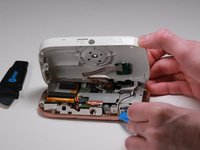
To reassemble your device, follow these instructions in reverse order.
结论
To reassemble your device, follow these instructions in reverse order.

团队

University of Michigan, Team S1-G4, Li Winter 2019 University of Michigan, Team S1-G4, Li Winter 2019 的会员
UMIC-LI-W19S1G4
4 名成员
创作了10篇指南