
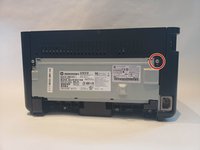
HP LaserJet P1102w Left Side Panel Replacement
简介
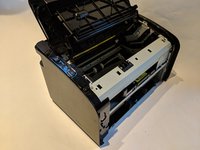
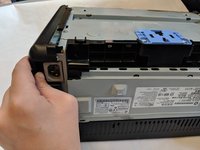
转到步骤 1These steps will show how to replace the left side panel from the printer. This prerequisite guide will be used for the power plug removal, motherboard removal, and half of the drive belt removal guides.
你所需要的


-
-
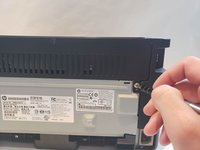
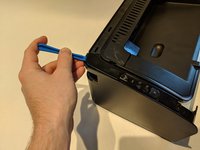
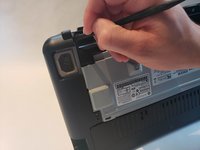
Flip printer on it's back. Using the plastic spudger, pry off front panel. There will be two main points to focus as shown.
-
-
-
-
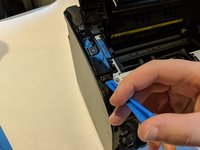
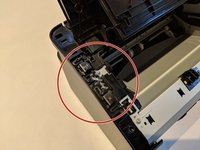
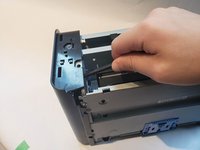
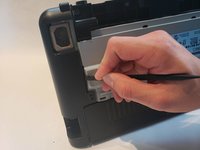
Use the plastic spudger to remove the side panel. There are three main prying points as shown.
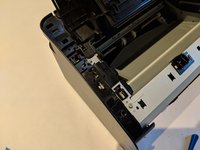
mine had a PH2 screw on the printer back thru the side panel into the aluminum serial plate/back, placed in the 2nd and third picture in the tab with a round screw hole and square locator hole. Critical clips were center back, center top and center bottom, and two points on the front.
edit, i see the screws talked about in step 3. sorry.
-


To reassemble your device, follow these instructions in reverse order.
To reassemble your device, follow these instructions in reverse order.
另外一个人完成了本指南。
团队

UW Stout, Team S6-G4, Ogden Fall 2018 UW Stout, Team S6-G4, Ogden Fall 2018 的会员
UWSTOUT-OGDEN-F18S6G4
4 名成员
创作了10篇指南
my two main points were precisely under the rubber feet, they were surprisingly difficulty to dislodge.
Peter Taffs - 回复