
HP LaserJet P1102w Left Side Panel Replacement
简介
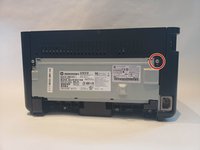
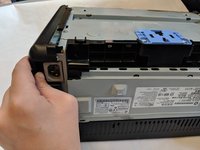
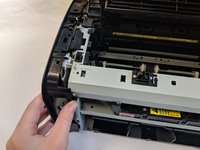
转到步骤 1These steps will show how to replace the left side panel from the printer. This prerequisite guide will be used for the power plug removal, motherboard removal, and half of the drive belt removal guides.


-
-
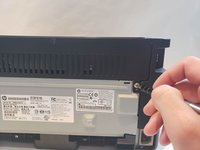
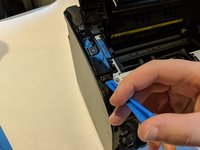
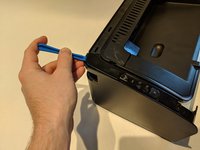
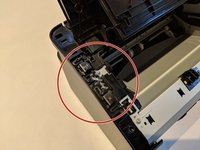
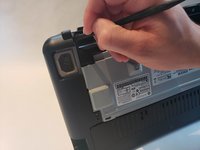
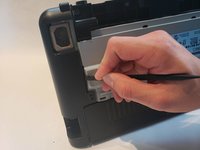
Flip printer on it's back. Using the plastic spudger, pry off front panel. There will be two main points to focus as shown.
-
-


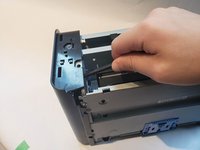


To reassemble your device, follow these instructions in reverse order.
To reassemble your device, follow these instructions in reverse order.
另外一个人完成了本指南。
团队

UW Stout, Team S6-G4, Ogden Fall 2018 UW Stout, Team S6-G4, Ogden Fall 2018 的会员
UWSTOUT-OGDEN-F18S6G4
4 名成员
创作了10篇指南