简介
本维修指南由 iFixit 员工撰写,未经 Google 认可。 详细了解我们的维修指南 here。
通过这个指南来移除Pixel的屏幕 --以便更换它者维修其他部件
警告:由于粘贴屏幕的胶非常牢固,为了插入你的维修工具你将需要使用高温并进行一些疏通,在这个过程中你很有可能会损坏原来的屏幕。如果你在更换损坏的屏幕,不用担心这一点,但进行其他的维修操作就必须非常小心的进行操作,并做好更换屏幕的准备.
你所需要的
-
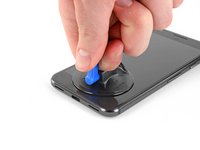
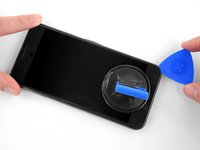
在这个步骤中使用的工具:Suction Handle$2.95
-
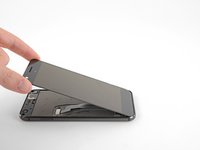
使用 Suction Handle 来拉起显示屏并在显示屏和设备外框之间创建一个小缝隙
-
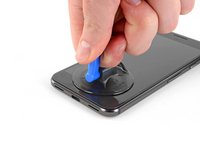
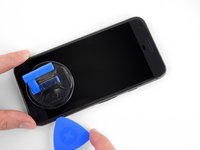
如果无法拉起屏幕并创造一个小缝隙,您可能需要继续加热。保持耐心,这需要时间。一旦您可以将工具轻轻地插入间隙中,请继续下一步。
-
-


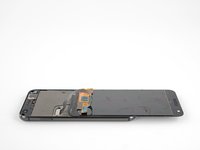


别忘了将你需要更换的部件与原来的部件对比一下--你可能需要从换下来的部件中迁移一些零件到新部件上,或者需要移除新部件上的保护膜等.
要重新组装你的设备,将上面的步骤反过来进行即可.
把你的电子垃圾带到 R2 或者 e-Stewards certified recycler.
修理过程中出现问题?通过我们的 社区 来寻求帮助
59等其他人完成本指南。


19指南评论
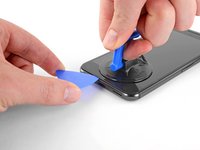
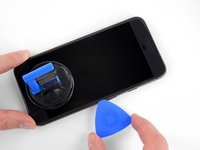
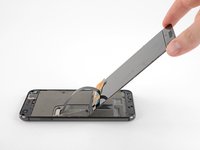
It’s also best to, if you haven’t already, look at your replacement part to get a feeling of how far you can go with the guitar pick or pry tool. It’s around 1/16th of an inch on the sides so you don’t want to go too far in and damage the display
Honestly, this felt easier than what the guide advised, definitely invest in the ifixit opening kit, made this a breeze. Hardest part was just scrapping the leftover residue off after removing the cracked screen.
You can use any adhesive for screen replacements for this screen. I personally used a double-sided tape 2 mm wide. The replacement screen does not usually come with the fabric covering the phone speakers, so make sure to transfer it from your old screen.
Mingye Wang - 回复 分享