简介
这是一条作为前提的指南!本指南是另一操作的一部分,不一定可以单独使用。
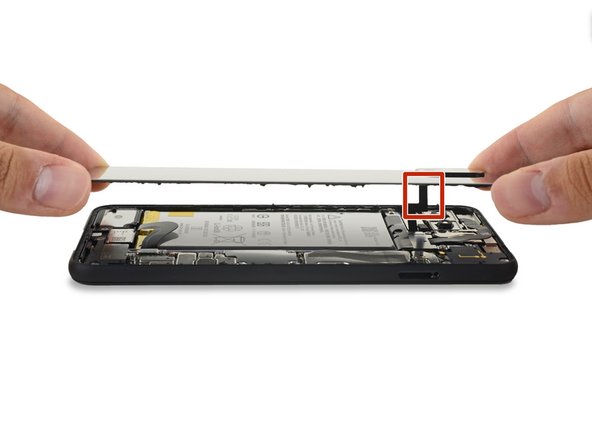
本指南旨在引导自行移除或更换 Google Pixel 4 XL 的玻璃背板。无线充电线圈、LED 闪光灯和 NFC 硬件都被连接到背板上,会被一同移除;如果你的替换件上没有这些部件,那可能必须从原有的背板上把这些配件移过去。
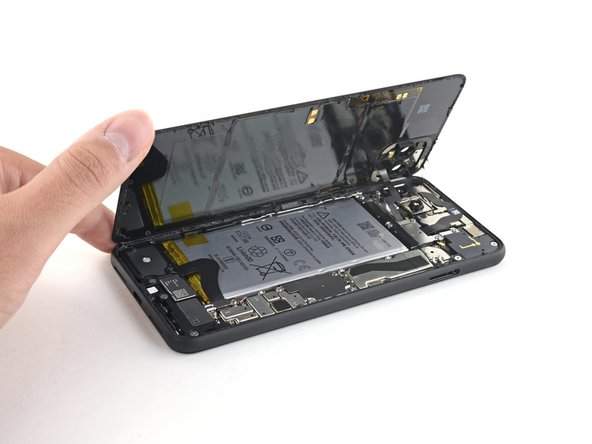
而如果想要看到内部零件,就必须得移除这块玻璃背板。
你所需要的
-
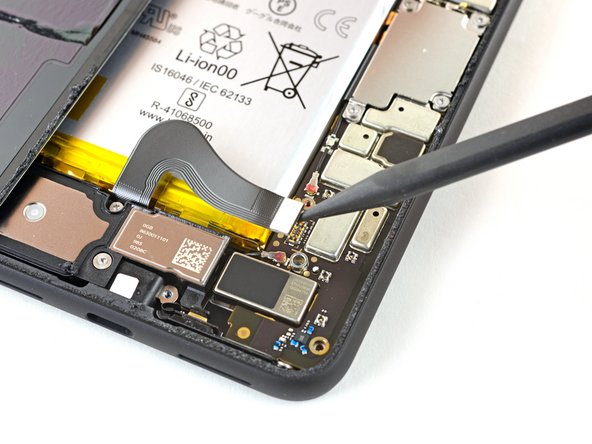
这个步骤还没有翻译 帮忙翻译一下
-
Slide the opening pick across the bottom towards the left corner to slice the adhesive.
-
With the pick still inserted, slide it from the bottom left corner over to the bottom right corner to completely slice the bottom side adhesive.
-
Leave the pick inserted in the bottom right corner to prevent the adhesive from re-sealing.
-
-


请比对新的替换部件和原始部件——在最终组装之前,可能需要转移一些剩余的部件或去除新部件上的背胶贴纸。
***要重新组装设备,请按照上述步骤以相反的顺序操作。***
请将你的电子垃圾送到R2或e- steward认证的回收商。
请比对新的替换部件和原始部件——在最终组装之前,可能需要转移一些剩余的部件或去除新部件上的背胶贴纸。
***要重新组装设备,请按照上述步骤以相反的顺序操作。***
请将你的电子垃圾送到R2或e- steward认证的回收商。
2等其他人完成本指南。


