跳转到主内容

How to Replace the Back Panel Adhesive on Your Google Pixel 4 XL

你所需要的

  1. How to Replace the Back Panel Adhesive on Your Google Pixel 4 XL, Scrape off the old adhesive: 步骤 1 中的图像 1,3 How to Replace the Back Panel Adhesive on Your Google Pixel 4 XL, Scrape off the old adhesive: 步骤 1 中的图像 2,3 How to Replace the Back Panel Adhesive on Your Google Pixel 4 XL, Scrape off the old adhesive: 步骤 1 中的图像 3,3
    • When scraping the frame and back panel, take care not to damage the spring contacts and graphite film.

    • Use the flat end of a spudger or your fingernail to scrape off the old adhesive from the frame and back panel.

  2. How to Replace the Back Panel Adhesive on Your Google Pixel 4 XL, Remove the remaining adhesive: 步骤 2 中的图像 1,2 How to Replace the Back Panel Adhesive on Your Google Pixel 4 XL, Remove the remaining adhesive: 步骤 2 中的图像 2,2
    在这个步骤中使用的工具:
    Microfiber Cleaning Cloths
    $3.99
    购买
    • Apply a few drops of high-concentration (90% or higher) isopropyl alcohol to any remaining adhesive.

    • Use a microfiber cloth to remove the remaining adhesive.

    • If you're still having trouble removing the adhesive, apply a few drops of alcohol to the adhesive and scrape it with a spudger.

  3. How to Replace the Back Panel Adhesive on Your Google Pixel 4 XL, Orient the adhesive: 步骤 3 中的图像 1,1
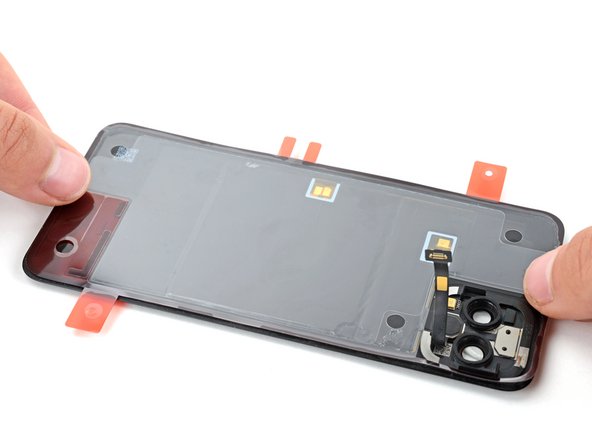
    • Before peeling off any liners, lay the new adhesive down on the back panel and use the camera cutout to find its proper orientation.

  4. How to Replace the Back Panel Adhesive on Your Google Pixel 4 XL, Remove the adhesive liner: 步骤 4 中的图像 1,1
    • Peel and remove the large rectangular liner.

    • This should expose the adhesive that will stick to the back panel.

  5. How to Replace the Back Panel Adhesive on Your Google Pixel 4 XL, Apply the adhesive: 步骤 5 中的图像 1,3 How to Replace the Back Panel Adhesive on Your Google Pixel 4 XL, Apply the adhesive: 步骤 5 中的图像 2,3 How to Replace the Back Panel Adhesive on Your Google Pixel 4 XL, Apply the adhesive: 步骤 5 中的图像 3,3
    • Be very careful during this step! The adhesive is very sticky, and once it touches the back panel you won't be able to reposition it. Misaligned adhesive can lead to an improper seal.

    • When laying down the adhesive, make sure the back panel connector cable is threaded through the camera cutout. If the adhesive sticks to the cable, you'll have to restart the repair with new adhesive.

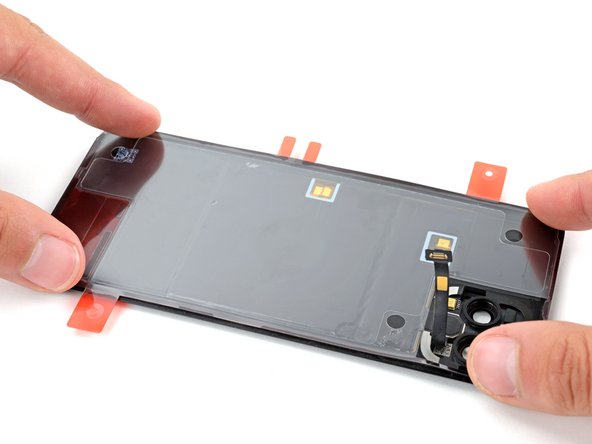
    • With the adhesive in its proper orientation, lay it sticky side down on the back panel.

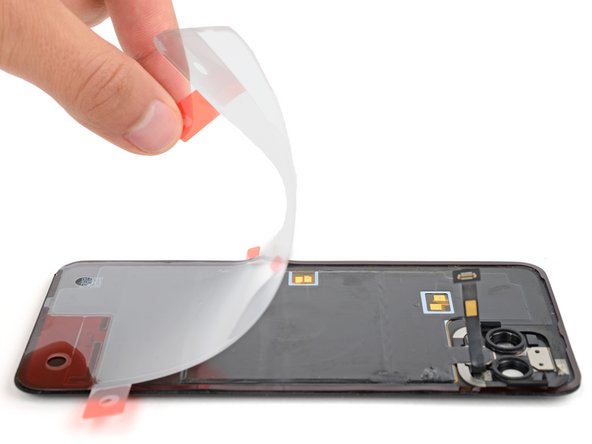
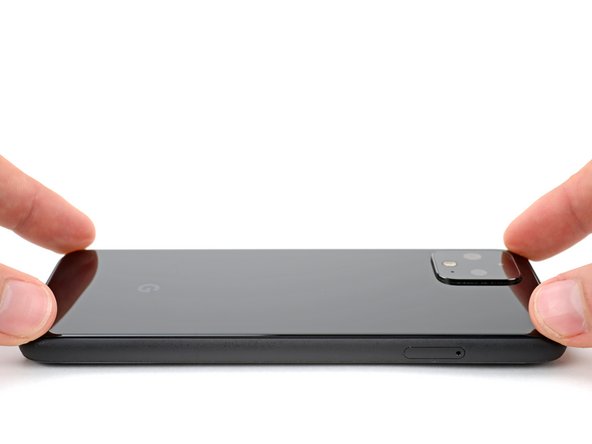
    • Press down firmly around the perimeter of the back panel, ensuring all the adhesive is secured.

  6. How to Replace the Back Panel Adhesive on Your Google Pixel 4 XL: 步骤 6 中的图像 1,2 How to Replace the Back Panel Adhesive on Your Google Pixel 4 XL: 步骤 6 中的图像 2,2
    • Use the pull tabs to remove all remaining liners from the adhesive.

  7. How to Replace the Back Panel Adhesive on Your Google Pixel 4 XL: 步骤 7 中的图像 1,1
    • Return to your phone's repair guide and continue reassembly.

    • Be very careful when reassembling your device, as the adhesive is exposed and very sticky. Take special care to prevent the back panel cable from touching the adhesive.

    • Return to this guide before securing the back panel to the phone.

  8. How to Replace the Back Panel Adhesive on Your Google Pixel 4 XL: 步骤 8 中的图像 1,3 How to Replace the Back Panel Adhesive on Your Google Pixel 4 XL: 步骤 8 中的图像 2,3 How to Replace the Back Panel Adhesive on Your Google Pixel 4 XL: 步骤 8 中的图像 3,3
    • Align the back panel over the back of the phone and lay it down.

    • Secure the back panel by firmly pressing along its perimeter for one minute.

终点

4等其他人完成本指南。

Spencer Day

于09/14/22注册

50,288 声望

创作了362篇指南

团队

iFixit iFixit 的会员

Staff

135 名成员

创作了16,767篇指南

0条评论

添加评论

浏览统计数据:

过去 24 小时: 0

过去 7 天: 13

过去 30 天: 50

总计 1,452