跳转到主内容
Dell Vostro 5510 Fan Replacement

Dell Vostro 5510 Fan Replacement

Ky Vang

Ky Vang 另一个贡献者

最后更新于 June 12, 2023

2分钟
简单

Once you have removed the back cover and gain access to the internal components of the Dell Vostro 15 5510, once of the components you will be able to replace is the fan. To complete this guide, you will need a Phillips #0 screwdriver head and a plastic opening tool. You will not need to do any difficult steps, but be sure to remove the fan cable carefully.

你所需要的

工具

  1. Dell Vostro 5510 Fan Replacement, Back Cover: 步骤 1 中的图像 1,1
    • Power off your laptop before beginning disassembly.

    • Place the laptop so the bottom cover is facing upwards.

  2. Dell Vostro 5510 Fan Replacement: 步骤 2 中的图像 1,1
    • Remove the remaining (M2x4mm) screws with the screwdriver.

    • Loosen the two captive (M2x7.5mm) corner screws with the screwdriver.

  3. Dell Vostro 5510 Fan Replacement: 步骤 3 中的图像 1,3 Dell Vostro 5510 Fan Replacement: 步骤 3 中的图像 2,3 Dell Vostro 5510 Fan Replacement: 步骤 3 中的图像 3,3
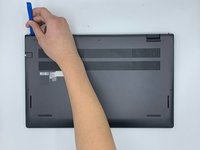
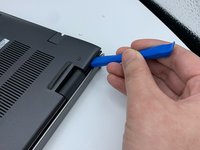
    • Pry open the top left corner of the cover with the opening tool.

    • Pry open the top right corner of the cover with the opening tool.

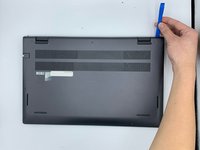
    • Pry the rest of the cover with the opening tool, working in a clockwise motion until it is completely loosened.

  4. Dell Vostro 5510 Fan Replacement: 步骤 4 中的图像 1,3 Dell Vostro 5510 Fan Replacement: 步骤 4 中的图像 2,3 Dell Vostro 5510 Fan Replacement: 步骤 4 中的图像 3,3
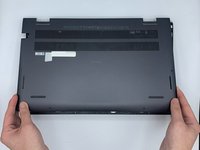
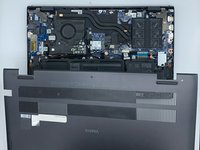
    • Lift the cover to remove it from the rest of the laptop.

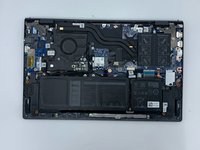
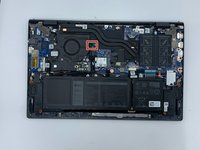
  5. Dell Vostro 5510 Fan Replacement, Fan: 步骤 5 中的图像 1,3 Dell Vostro 5510 Fan Replacement, Fan: 步骤 5 中的图像 2,3 Dell Vostro 5510 Fan Replacement, Fan: 步骤 5 中的图像 3,3
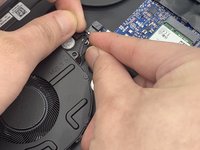
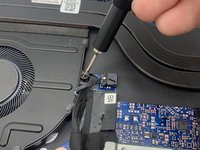
    • Disconnect the fan cable from the system board.

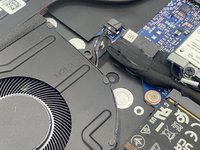
  6. Dell Vostro 5510 Fan Replacement: 步骤 6 中的图像 1,3 Dell Vostro 5510 Fan Replacement: 步骤 6 中的图像 2,3 Dell Vostro 5510 Fan Replacement: 步骤 6 中的图像 3,3
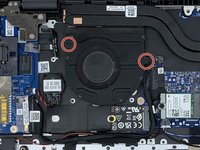
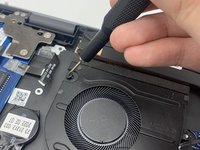
    • Remove the two (M2x3mm) screws from the fan using the screwdriver.

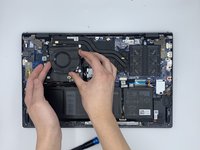
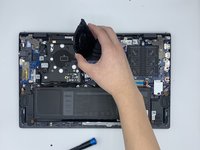
  7. Dell Vostro 5510 Fan Replacement: 步骤 7 中的图像 1,2 Dell Vostro 5510 Fan Replacement: 步骤 7 中的图像 2,2
    • Lift the fan to remove it.

结论

To reassemble your device, follow these instructions in reverse order.

另外一个人完成了本指南。

0指南评论

添加评论

浏览统计数据:

过去 24 小时: 0

过去 7 天: 3

过去 30 天: 14

总计 203