Dell Inspiron 3148 Display Replacement
简介
转到步骤 1This guide is a step by step disassembly of the Dell Inspiron 3148, up to and including the removal of the display screen for replacement. The end result of this guide will be an entirely removed display screen to allow for easy installment of a functioning display.
-
-
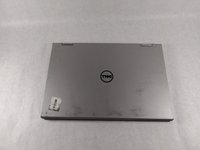
Ensure the device is powered off and unplugged. Close the device and orient it face up, with the hinges further away from you.
-
Flip the device over so the backside is facing you.
-
-
-
Remove the three 4mm screws holding battery in place using the Phillips #0 screwdriver.
-
-
-
-
If there is a piece of tape connecting the hard drive and a small power cord, remove the tape.
-
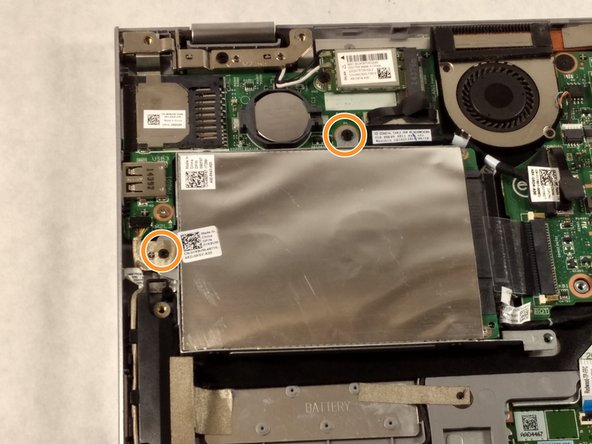
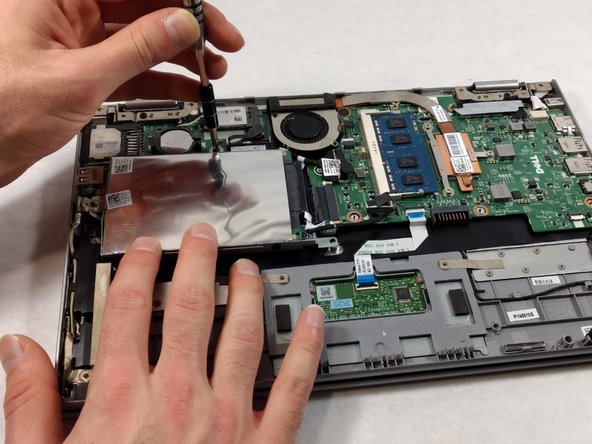
Using the Phillips #0 screwdriver, remove the two 4mm screws.
-
-
-
Remove the 3.4 mm screws from the cable bar using a Phillips #000 screwdriver.
-
Detach the cables located beneath the bar by lifting the tabs and pulling out the cables from their respective bases.
-
To reassemble your device, follow these instructions in reverse order. Take care not to damage the new screen when installing.
To reassemble your device, follow these instructions in reverse order. Take care not to damage the new screen when installing.
2等其他人完成本指南。


