跳转到主内容
加入维修社区 - 创建账户

Dell 1908FPb monitor power supply Replacement

你所需要的

    1. Dell 1908FPb monitor power supply Replacement, power supply: 步骤 1 中的图像 1,3 Dell 1908FPb monitor power supply Replacement, power supply: 步骤 1 中的图像 2,3 Dell 1908FPb monitor power supply Replacement, power supply: 步骤 1 中的图像 3,3
      • Here is a Dell 1908FPb LCD monitor without the stand.

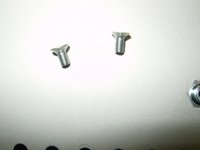
      • Remove the four (4) Phillips screws from the back of the monitor.

      • The four (4) screws are M3x10 machine screws

      询问修复机器人

      添加评论

    2. Dell 1908FPb monitor power supply Replacement: 步骤 2 中的图像 1,3 Dell 1908FPb monitor power supply Replacement: 步骤 2 中的图像 2,3 Dell 1908FPb monitor power supply Replacement: 步骤 2 中的图像 3,3
      • Start removing the front bezel. It is a snap fit and can be removed by inserting ones fingertips between the bezel and the LCD panel.

      • At this time just unsnap the bezel.

      • Continue to unsnap the bezel all the way around, with the side of the control buttons being last.

      询问修复机器人

      添加评论

    3. Dell 1908FPb monitor power supply Replacement: 步骤 3 中的图像 1,3 Dell 1908FPb monitor power supply Replacement: 步骤 3 中的图像 2,3 Dell 1908FPb monitor power supply Replacement: 步骤 3 中的图像 3,3
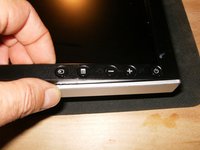
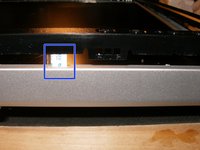
      • Unsnap the bezel at the button bar last. Do not try to lift the bezel up just yet.

      • The ribbon cable from the button bar still attaches the bezel to the monitor.

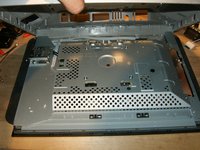
      • With the bezel loose, but still in place, turn the monitor upside down.

      • Lift the back cover of the monitor off and place it aside.

      • If the back does not come off easy, make sure that the front bezel is all the way unsnapped.

      询问修复机器人

      添加评论

    4. Dell 1908FPb monitor power supply Replacement: 步骤 4 中的图像 1,3 Dell 1908FPb monitor power supply Replacement: 步骤 4 中的图像 2,3 Dell 1908FPb monitor power supply Replacement: 步骤 4 中的图像 3,3
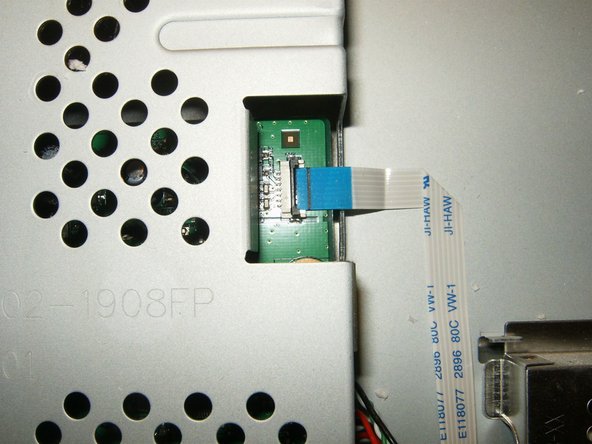
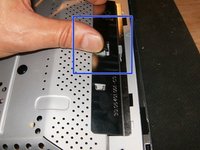
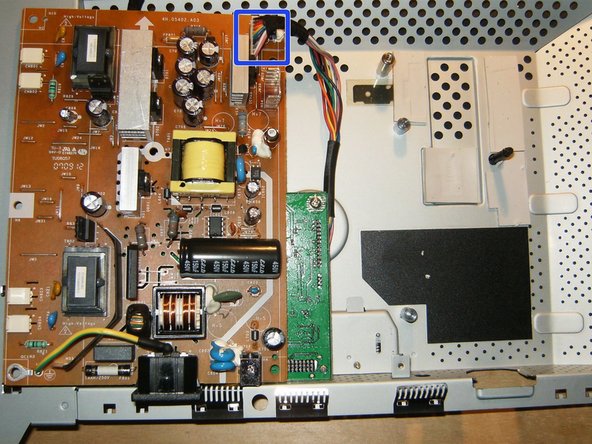
      • Here is the connector for the cable from the front button bar.

      • Unhook the cable by simply flipping the black clip away from the cable side.

      • Removing the cable will allow for the removal of the front bezel

      询问修复机器人

      添加评论

    5. Dell 1908FPb monitor power supply Replacement: 步骤 5 中的图像 1,3 Dell 1908FPb monitor power supply Replacement: 步骤 5 中的图像 2,3 Dell 1908FPb monitor power supply Replacement: 步骤 5 中的图像 3,3
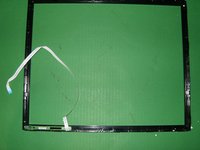
      • Remove the front bezel and set it aside.

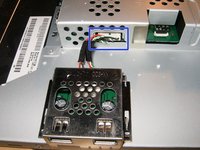
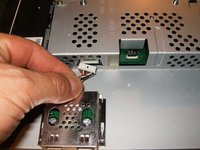
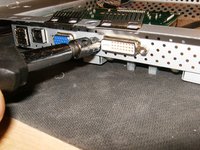
      • Next disconnect the USB ports

      • This connector is a simple pull connector. Pull on the connector itself, not the wires.

      询问修复机器人

      添加评论

    6. Dell 1908FPb monitor power supply Replacement: 步骤 6 中的图像 1,3 Dell 1908FPb monitor power supply Replacement: 步骤 6 中的图像 2,3 Dell 1908FPb monitor power supply Replacement: 步骤 6 中的图像 3,3
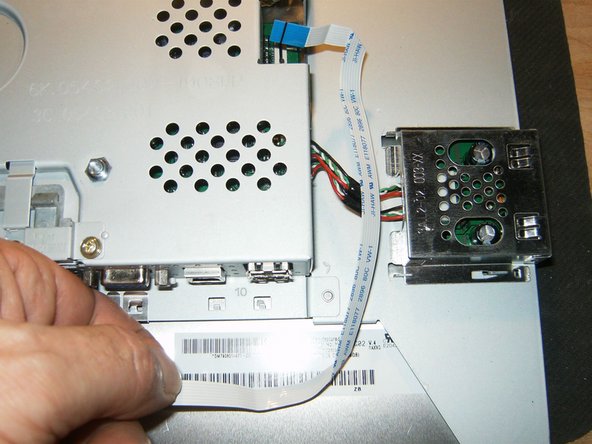
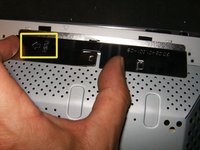
      • Next is the cover for the CCFL cables.

      • Lift the middle security tab,

      • and slide the cover into the opposite direction of the imprinted arrow

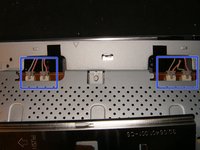
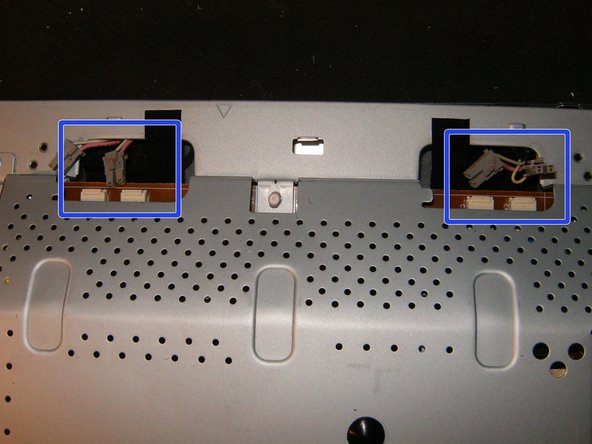
      • the cover can now be removed. Clearly visible are the connectors from the inverter to the CCFL's. This monitor uses four (4) tubes.

      询问修复机器人

      添加评论

    7. Dell 1908FPb monitor power supply Replacement: 步骤 7 中的图像 1,3 Dell 1908FPb monitor power supply Replacement: 步骤 7 中的图像 2,3 Dell 1908FPb monitor power supply Replacement: 步骤 7 中的图像 3,3
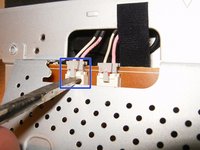
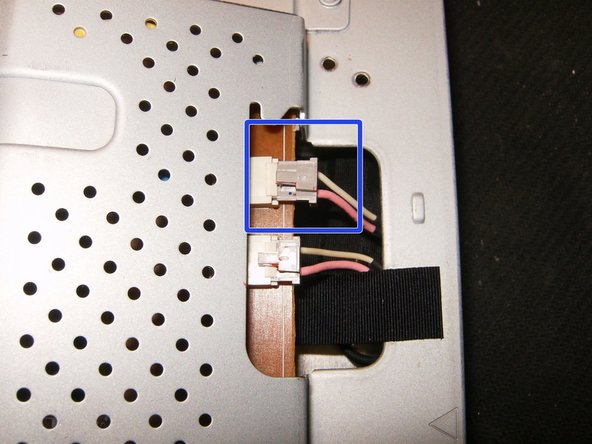
      • Use a screwdriver (or your fingernails) to lift the security tab

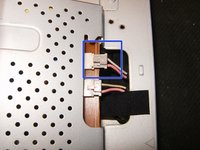
      • and remove the wire from the connector.

      • Remove all four (4) connectors

      询问修复机器人

      添加评论

    8. Dell 1908FPb monitor power supply Replacement: 步骤 8 中的图像 1,3 Dell 1908FPb monitor power supply Replacement: 步骤 8 中的图像 2,3 Dell 1908FPb monitor power supply Replacement: 步骤 8 中的图像 3,3
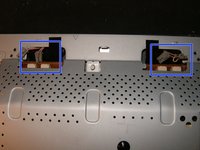
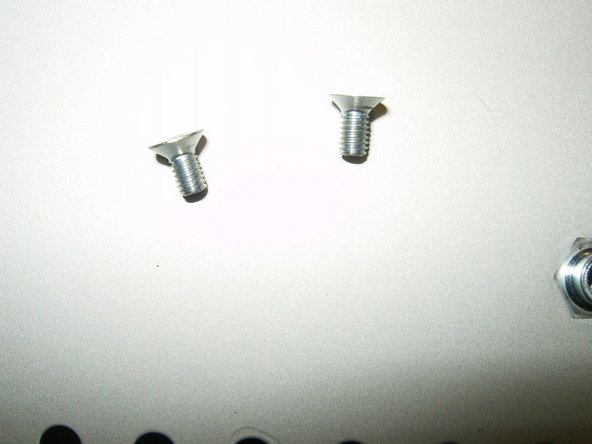
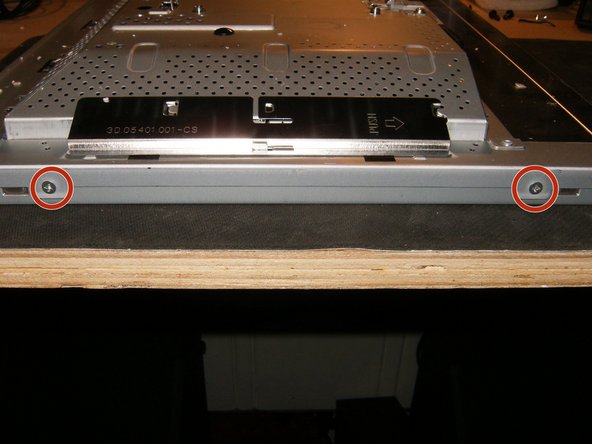
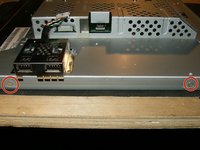
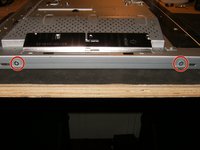
      • Remove the two Phillips screws on the right side of the panel.

      • The screws are M2x5

      • Remove the two Phillips screws on the left side of the panel. They are identical to the right side.

      询问修复机器人

      添加评论

    9. Dell 1908FPb monitor power supply Replacement: 步骤 9 中的图像 1,3 Dell 1908FPb monitor power supply Replacement: 步骤 9 中的图像 2,3 Dell 1908FPb monitor power supply Replacement: 步骤 9 中的图像 3,3
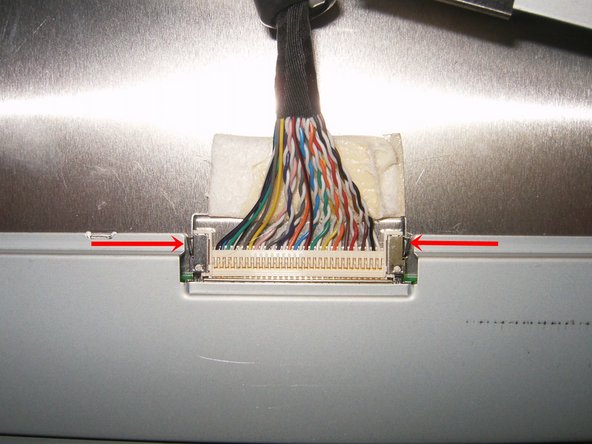
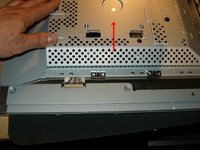
      • Do not remove the metal case from the panel yet. Slide it upward in the direction of the arrow, this will make the display data connector more accessible

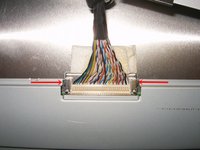
      • To remove the connector, squeeze both metal clips together. Remove the cable by gently pulling on the connector, not the cable.

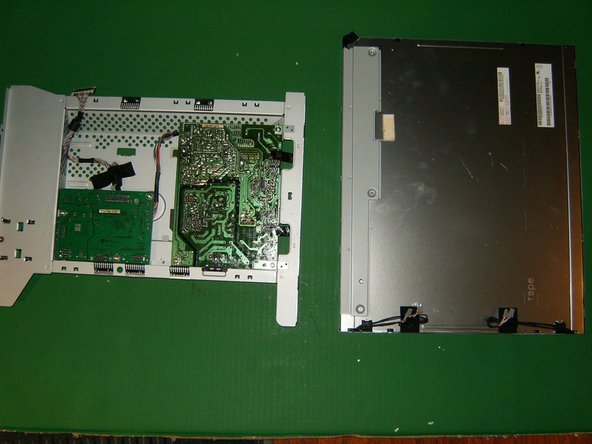
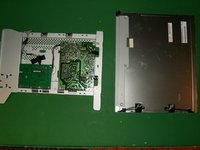
      • The panel and the metal case can now be separated. The power supply and the video board are both contained on the inside of the metal case.

      询问修复机器人

      添加评论

    10. Dell 1908FPb monitor power supply Replacement: 步骤 10 中的图像 1,3 Dell 1908FPb monitor power supply Replacement: 步骤 10 中的图像 2,3 Dell 1908FPb monitor power supply Replacement: 步骤 10 中的图像 3,3
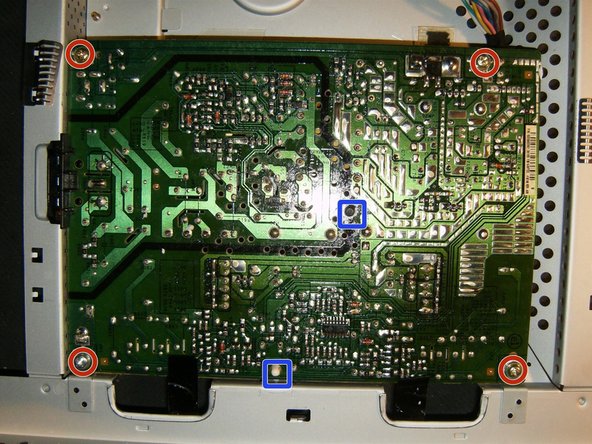
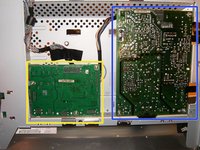
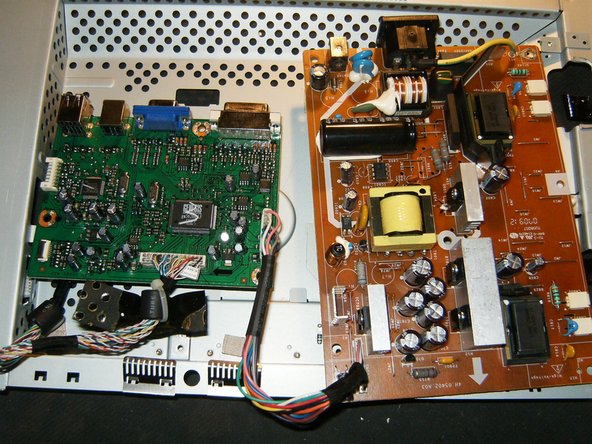
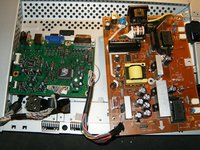
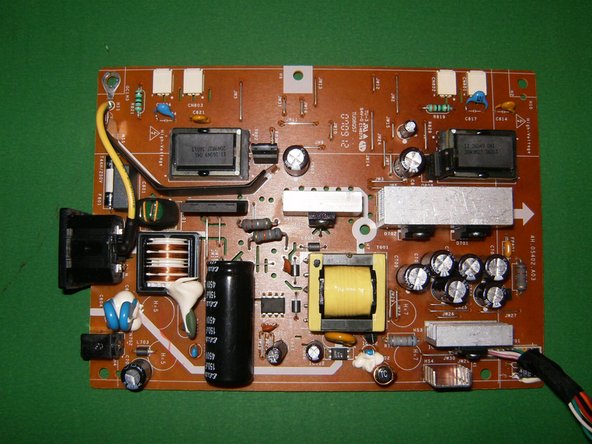
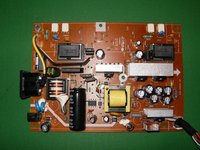
      • This is the power supply,

      • and the video board.

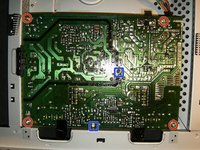
      • The power supply is mounted with four Phillips screws and two plastic standoffs

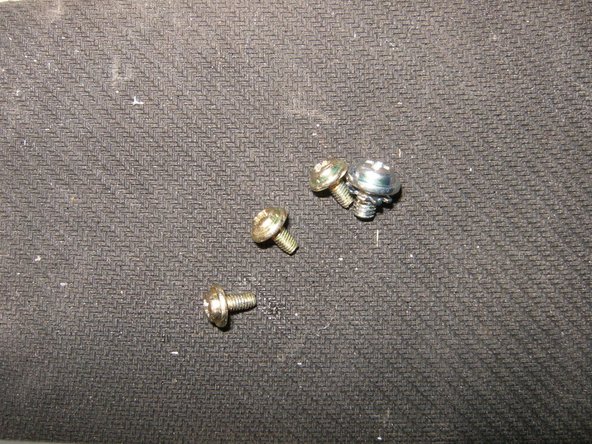
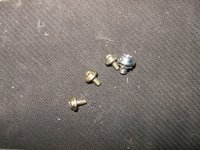
      • Remove the four screws. Three of those are brass colored M3x5, the bottom left is nickel colored M4x5 and is the grounding screw.

      询问修复机器人

      添加评论

    11. Dell 1908FPb monitor power supply Replacement: 步骤 11 中的图像 1,3 Dell 1908FPb monitor power supply Replacement: 步骤 11 中的图像 2,3 Dell 1908FPb monitor power supply Replacement: 步骤 11 中的图像 3,3
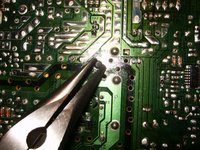
      • To loosen the plastic standoffs, use a pair of needle nose pliers (or similar) and squeeze the tops to free the board. Once it is free, flip it over onto the video board.

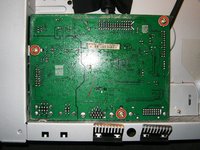
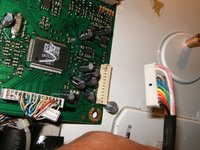
      • The cable from the power supply to the video board does not come off easy. To ensure that the connector will not break, it may be necessary to remove it from the video board. For that, remove the video board.

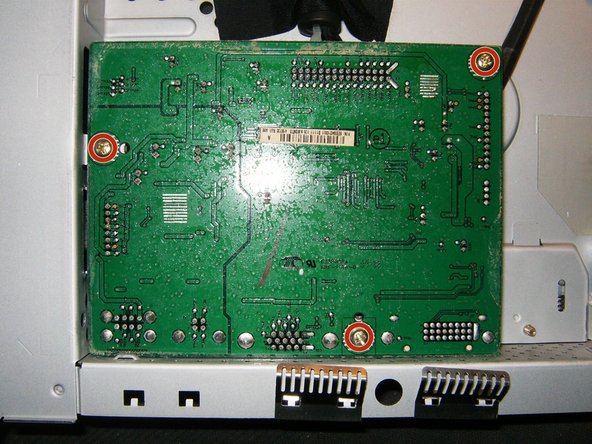
      • Remove the three Phillips screws. They are M3x5

      询问修复机器人

      添加评论

    12. Dell 1908FPb monitor power supply Replacement: 步骤 12 中的图像 1,3 Dell 1908FPb monitor power supply Replacement: 步骤 12 中的图像 2,3 Dell 1908FPb monitor power supply Replacement: 步骤 12 中的图像 3,3
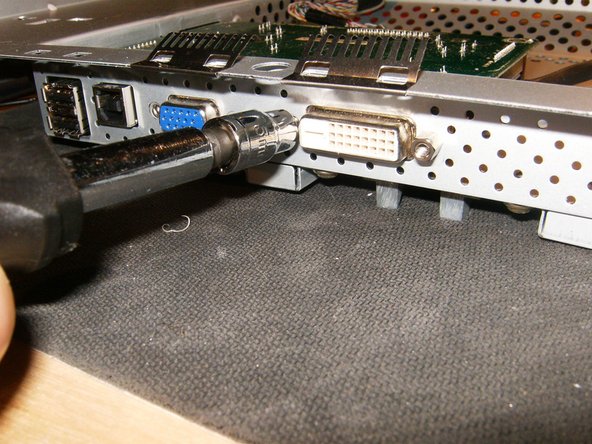
      • Remove the four standoff screws. Two from the VGA connector and two from the DVI connector.

      • Use a pair of pliers or a 4mm socket to remove the standoffs.

      • Remove the video board from the metal casing. There will be easy access to the cable with the power supply and the video board turned over.

      询问修复机器人

      添加评论

    13. Dell 1908FPb monitor power supply Replacement: 步骤 13 中的图像 1,2 Dell 1908FPb monitor power supply Replacement: 步骤 13 中的图像 2,2
      • Disconnect the power supply connector from the video board.

      • The power supply can now either be replaced or repaired.

      询问修复机器人

      添加评论

结论

To reassemble your device, follow these instructions in reverse order.

取消:我没有完成这个指南。

16等其他人完成本指南。

oldturkey03

于09/29/10注册

858,381 声望

创作了123篇指南

4指南评论

The 2007FP is very similar up to step 11, where there's no need to to remove the video board because the power connector is much easier to remove.

tiflokhus99 - 回复 分享
I have removed the power board, now how do I replace it….???

Storm Clouds - 回复 分享
Great tutorial! One done and just about to start on another. Both are 1908FPt but very similar to the FPb in construction, but be warned the 1908FPb power board is different to the one in the FPt's and won't fit.

John Smith - 回复 分享

@johnsmith24648 Good to hear that is is helping you out. Best of luck with your repairs. Repair is War on Entropy!

oldturkey03 - 回复 分享

添加评论

浏览统计数据:

过去 24 小时: 0

过去 7 天: 22

过去 30 天: 100

总计 14,578