跳转到主内容
ASUS Chromebook C424MA-DH48F Touchpad Replacement

ASUS Chromebook C424MA-DH48F Touchpad Replacement

Anthony Wink

Anthony Wink2 其他贡献者

最后更新于 December 19, 2024

20分钟
简单

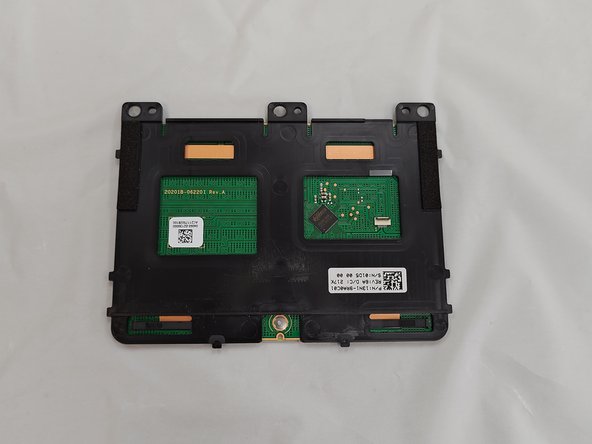
This is the ASUS Chromebook (Model C424MA-DH48F), here we will be guiding you though replacing the touch pad, also known as the mouse pad, for the ASUS Chromebook.

You will need to remove the battery first to access the connectors and screws for the touchpad.

Reasons to replace the touch pad include:

  • Physical damage
  • Erratic behavior
  • Water damage

你所需要的

工具

查看更多...

  1. ASUS Chromebook C424MA-DH48F Touchpad Replacement, Lower Case: 步骤 1 中的图像 1,2 ASUS Chromebook C424MA-DH48F Touchpad Replacement, Lower Case: 步骤 1 中的图像 2,2
    • Use a Phillips #0 screwdriver to remove the eleven 6.9 mm screws that secure the lower case.

    • Make sure all the screws on this side get taken out because there could be a label or warranty sticker covering up a screw that might be missed.

    • Insert an opening pick into the gap between the lower case and chassis.

    • Slide the pick around the entire perimeter of the laptop until the lower case fully releases.

    • Remove the lower case.

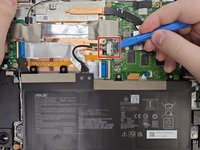
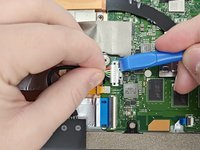
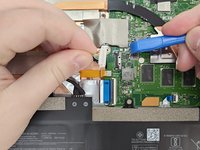
  2. ASUS Chromebook C424MA-DH48F Touchpad Replacement, ASUS Chromebook C424MA-DH48F Battery Disconnection: 步骤 2 中的图像 1,3 ASUS Chromebook C424MA-DH48F Touchpad Replacement, ASUS Chromebook C424MA-DH48F Battery Disconnection: 步骤 2 中的图像 2,3 ASUS Chromebook C424MA-DH48F Touchpad Replacement, ASUS Chromebook C424MA-DH48F Battery Disconnection: 步骤 2 中的图像 3,3
    • Use an opening tool to pop up the silver locking bar securing the battery connector.

    • Push the battery connector directly out of its motherboard port.

  3. ASUS Chromebook C424MA-DH48F Touchpad Replacement, Battery: 步骤 3 中的图像 1,3 ASUS Chromebook C424MA-DH48F Touchpad Replacement, Battery: 步骤 3 中的图像 2,3 ASUS Chromebook C424MA-DH48F Touchpad Replacement, Battery: 步骤 3 中的图像 3,3
    • Carefully use the plastic prying tool and pop up the locking bar and lift the connector off with your hand.

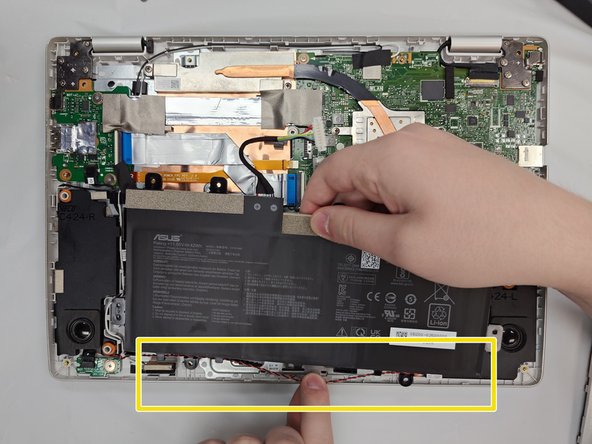
  4. ASUS Chromebook C424MA-DH48F Touchpad Replacement: 步骤 4 中的图像 1,3 ASUS Chromebook C424MA-DH48F Touchpad Replacement: 步骤 4 中的图像 2,3 ASUS Chromebook C424MA-DH48F Touchpad Replacement: 步骤 4 中的图像 3,3
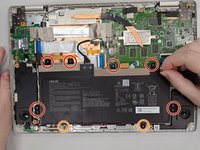
    • Use a Phillips #0 screwdriver to remove the six 4.1 mm screws that secure the battery.

    • The two screw holes (marked in orange) on the bottom won't have screws associated with them since they were removed earlier when the base was removed.

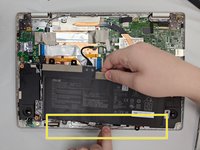
    • Unseat the speaker cable from the black plastic hooks on the lower side of the battery.

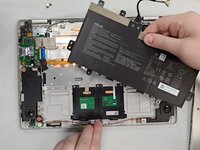
    • Lift the battery up and out of the chassis.

  5. ASUS Chromebook C424MA-DH48F Touchpad Replacement, Touchpad: 步骤 5 中的图像 1,1
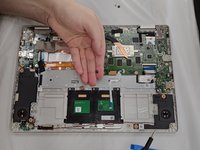
    • Use a Phillips #000 screwdriver to remove the three 1.9 mm screws that secure the touchpad.

  6. ASUS Chromebook C424MA-DH48F Touchpad Replacement: 步骤 6 中的图像 1,1
    • Carefully peel off the gray tape on the touchpad.

  7. ASUS Chromebook C424MA-DH48F Touchpad Replacement: 步骤 7 中的图像 1,2 ASUS Chromebook C424MA-DH48F Touchpad Replacement: 步骤 7 中的图像 2,2
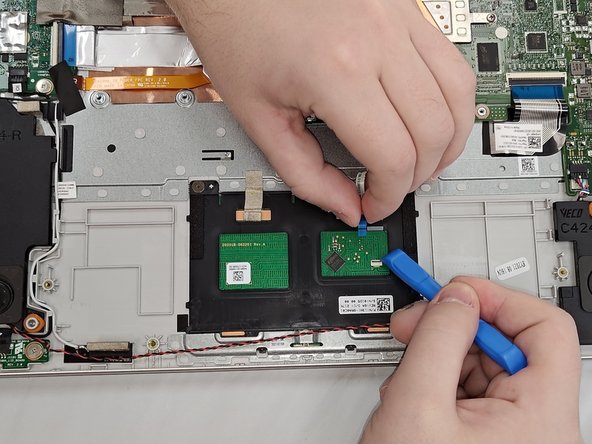
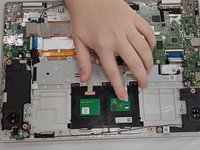
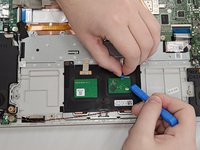
    • Use an opening tool to flip up the black ZIF locking flap that secures the ribbon cable connector to the touchpad.

    • Pinch both sides of the ribbon cable connector and gently pull straight back to disconnect the touchpad.

    • Be very careful as the ribbon cable is fragile and can rip easily.

  8. ASUS Chromebook C424MA-DH48F Touchpad Replacement: 步骤 8 中的图像 1,3 ASUS Chromebook C424MA-DH48F Touchpad Replacement: 步骤 8 中的图像 2,3 ASUS Chromebook C424MA-DH48F Touchpad Replacement: 步骤 8 中的图像 3,3
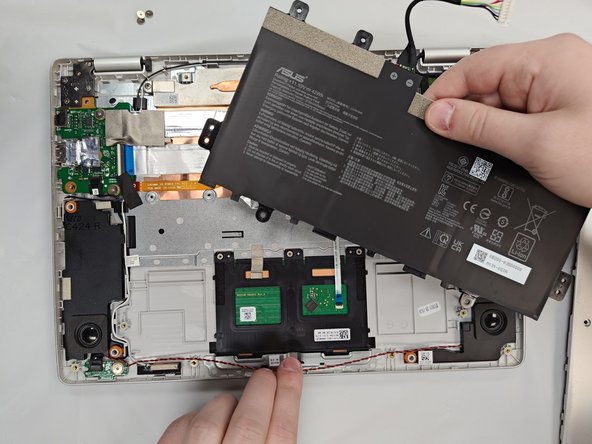
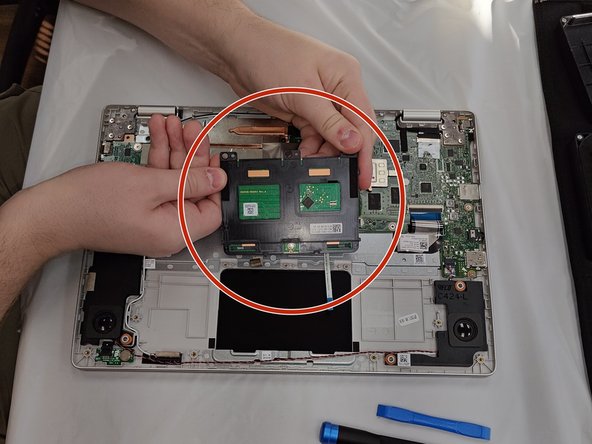
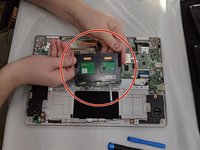
    • Lift the touchpad up and out of the chassis.

结论

To reassemble your device, follow the above steps in reverse order.
Take your e-waste to an R2 or e-Stewards certified recycler.
Repair didn’t go as planned? Try some basic troubleshooting, or ask our Steam Deck answers community for help.

0指南评论

添加评论

浏览统计数据:

过去 24 小时: 3

过去 7 天: 5

过去 30 天: 10

总计 39