当前版本的文档还未经巡查,您可以查看最新的已查核版本。
简介
按照这个指南来更换微软Surface Book中损坏或者鼓包的电池。
***为了最小化风险,在开始之前关闭你的Surface Book。(如果你的电池鼓包了,那就需要做额外的预防)
- 键盘部分有它独立的电池,更换它需要另外的指南和说明。
你所需要的
-
-
-
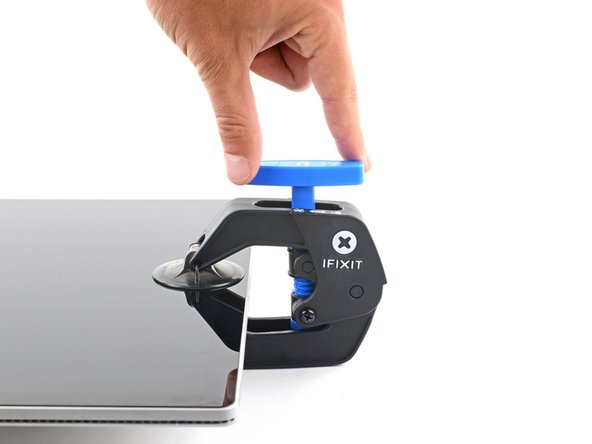
将蓝色把手向后扳,解锁反向钳臂.
-
将Surface Book下面垫高,这样留出足够空间让上下吸盘吸住
-
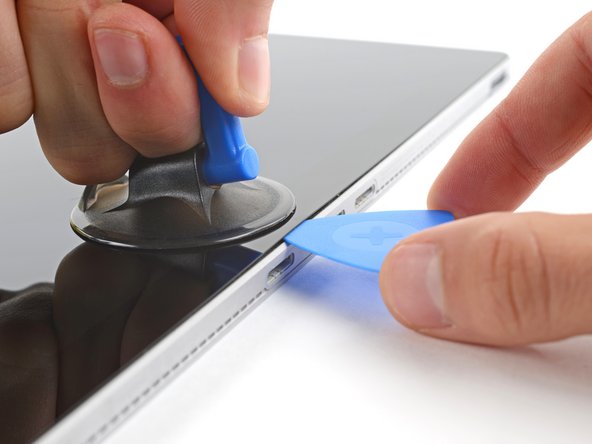
吸盘放置在底部边缘中间位置,正反面各一个吸盘吸住
-
紧握,握稳反向钳,紧紧按下上吸盘以施加吸力.
-
-
这个步骤还没有翻译 帮忙翻译一下
-
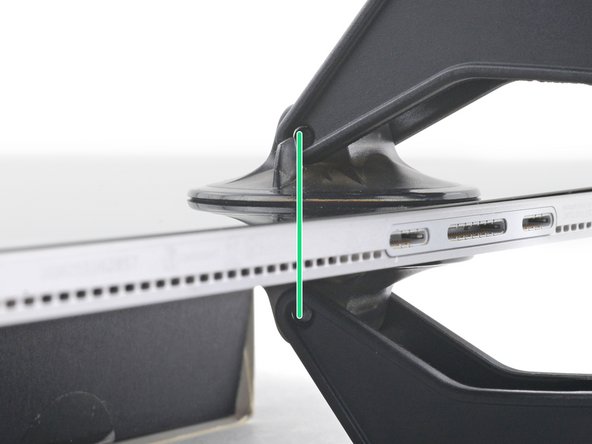
Pull the blue handle forward to lock the arms.
-
Turn the handle clockwise 360 degrees or until the cups start to stretch.
-
Make sure the suction cups remain aligned with each other. If they begin to slip out of alignment, loosen the suction cups slightly and realign the arms.
-
-
这个步骤还没有翻译 帮忙翻译一下
-
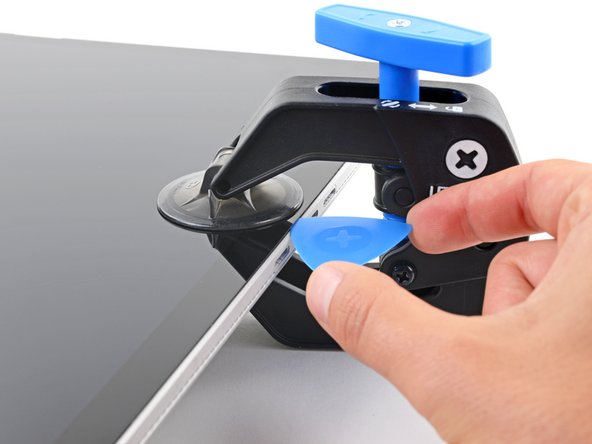
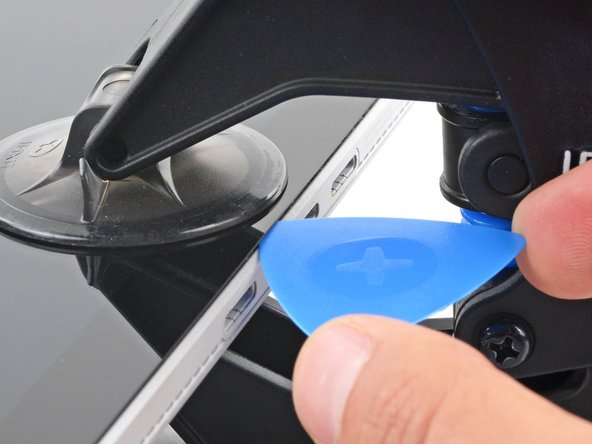
Wait one minute to give the adhesive a chance to release and present an opening gap.
-
If your screen isn't getting hot enough, you can use a hair dryer to heat along the bottom edge.
-
Insert an opening pick under the screen when the Anti-Clamp creates a large enough gap.
-
Skip the next step.
-


在安装前比较一下您要更换的电池和你取下的电池——你可能需要转移一些部件或者去除新电池上粘胶剂的膜。
要重新组装设备,请按照相反顺序按照上述步骤操作。
按照您当地的法律法规妥善处理产生的电子废物。
维修没有像计划的那样顺利?查看我们的 [链接|https://www.ifixit.com/Answers/Device/Mi...|回答社区] 以获得故障排除帮助。
在安装前比较一下您要更换的电池和你取下的电池——你可能需要转移一些部件或者去除新电池上粘胶剂的膜。
要重新组装设备,请按照相反顺序按照上述步骤操作。
按照您当地的法律法规妥善处理产生的电子废物。
维修没有像计划的那样顺利?查看我们的 [链接|https://www.ifixit.com/Answers/Device/Mi...|回答社区] 以获得故障排除帮助。
67等其他人完成本指南。

团队

USF Tampa, Team 1-6, Sullivan Spring 2017 USF Tampa, Team 1-6, Sullivan Spring 2017 的会员
USFT-SULLIVAN-S17S1G6
3 名成员
创作了14篇指南
84条评论
I got mine off ebay, just do a search, it was like 20 bucks.
First thing’s first, MS will send you a new SurfaceBook Pro if your battery is swollen. They just replaced my 3yo SBP; I did not have an extended warranty and was definitely out of warranty support. Contact them before you attempt the repair on your own.
They only replace machine under 3yo. They want 600USD after that
Hello I am overseas how do I contact MS