简介
转到步骤 1First, I would like to apologize for my poor English, I am from Brazil, but I love this site, especially because I have loved to disassemble electronic things since I was a kid. My mother always freaks out, but I always assemble everything back. Sometimes I even fix some things.
I'm writing this teardown to try to win the PSP GO or the PS3 slim, so please look with care, it was made with care. (editor’s note: WOOOOW This article is outdated. I hope you won your PSP GO or PS3 Slim.
In this teardown, I will show how to disassemble a Sony Playstation 2. I was already planning to disassemble it to clean it and fix a small issue.
Later in the repair guide, I will show how to fix a small problem I had. I sent it to a technician because the rumble effect was no longer working. He says that there was a problem in the motherboard and he needs to change it entirely, but the model is a SCPH 39001. It’s an old model. In fact, it was one of the first in the market. He says that the price to fix it was expensive and that it’s better to buy a PS2 Slim to replace mine. I remember when a bought my PS2. It cost more than R$800, almost US$400. I decided to stay with it anyway, and despite the problem, I even bought an ethernet adapter to continue playing it.
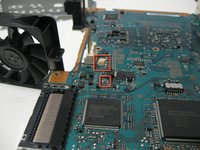
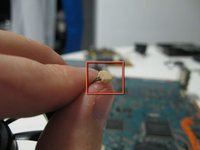
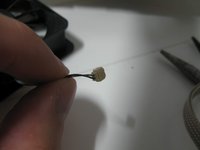
Later, talking with some friends, I found out that there is a fuse that controls the rumble effect and all that I needed to do was change it. I found out that the fuses in the mainboard are very small and fixed in the main board. It’s almost impossible to change them. The same friend gave me a tip that I can use a glass fuse and take the internal wire to use in the main board. I decided to try it and it works perfectly.
So, let’s start the teardown. Enjoy!
视频概述
-
-
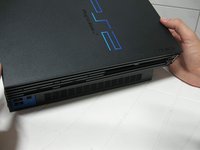
Here we have the system console fully assembled.
-
The USB Ports.
-
The S400 ports
-
The Optical Drive
-
The reset button
-
The eject button
-
-
-
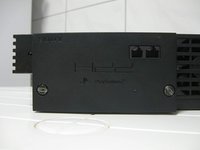
In the Back, in this case we have a Ethernet adapter, to play online and to use with a Hdd.
-
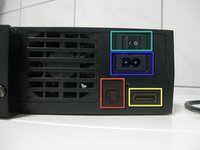
And the cooler,
-
The power switch
-
The AC in.
-
The Av out
-
And the digital output (optical)
-
-
-
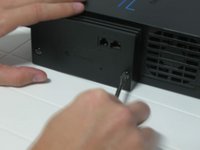
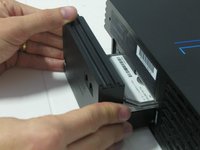
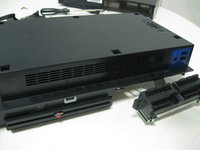
Lets start the teardown. At first we use a Flathead screwdriver to remove the ethernet adapter.
-
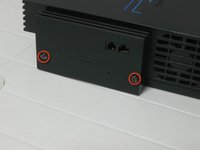
Remove these 2 screws with a Flathead screwdriver.
-
And is quite simple to pull.
I have the ethernet adaptor with mine but no hard drive, how do you get the hard drive to work in it?
来自 Chris Green 的话:
I have the ethernet adaptor with mine but no hard drive, how do you get the hard drive to work in it?
it is a mod. you can look it up
DustySeven - 回复
-
-
-
This is the expansion bay, where the hard drive goes.
I got my ps2 from flea market and it didn't have a lid to cover up the expansion bay is that ok to leave it like that
-
-
-
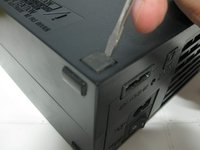
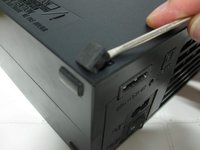
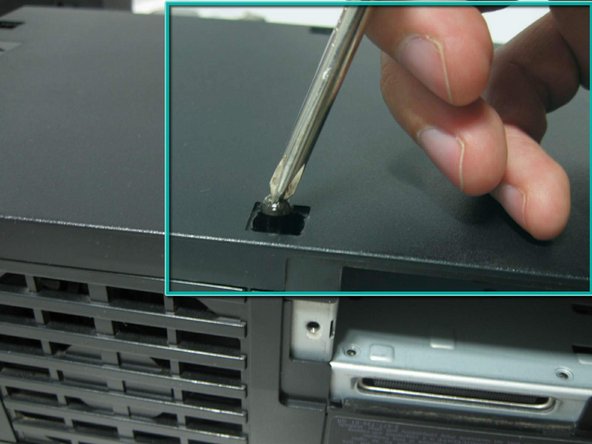
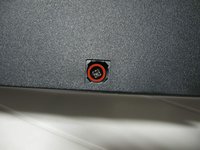
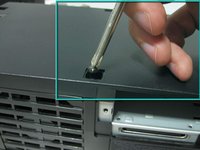
Under the protection, suprise! a screw!
-
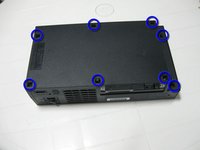
Remove all eight (8) screws with your Philips "0" screwdriver.
-
Yes, hard work!
Hello, nice review! Can you help me out with a question i have? I have this PS2 Fat, i miss those big long screws that hold the outside shell, i need to buy them (if i can) so i can only find long screws from the PS3 4000, does those screws fit into PS2 Fat aswell? Do you know?thanks!
-
-
-
-
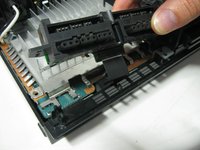
Remove the two screws with a Philips "0" screwdriver to deatach the controller port.
I've tried cleaning my memory slot ports. They look fine. I'm wondering if I just have crap luck and got 2 bad cards or do I need to replace the part.
My controller ports work fine though. Same cable I'd imagine
-
-
-
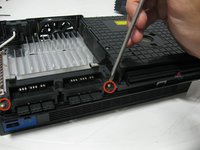
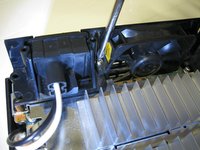
Here we remove the screws from the cooler and the main power switch
After reassembly, I have a fifth screw identical to the ones shown in Step 11 and Step 12 left over, any idea where it goes?
When you remove the power/ac plug there is a spot for the screw underneath.
-
-
-
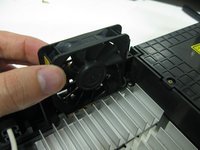
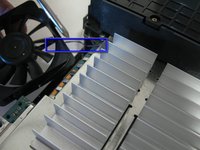
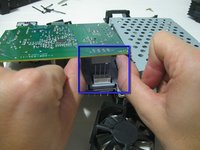
Pull the fan up carefully so you don't break the wire.
-
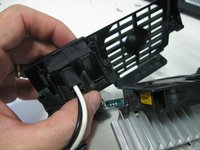
Pull up the fan mount.
I found that there was a little bit of tape holding the fan cable to the fan which prevented me from removing it until I removed the fan connector after step 18.
-
-
-
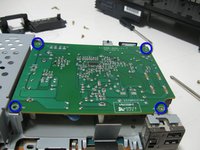
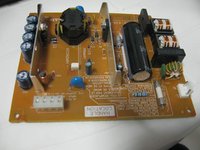
This is the power source board. remove the 4 screws where I marked in blue.
Some older models, the PSU board is in reverse, the circuit board is flat against the inside with the caps face towards you, compared to these pictures.
-
-
-
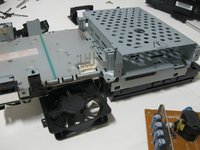
Now we remove the expansion bay grid.
I just broke the fan pins because you have to push the connector to the side and then up. There are 2 hooks that hold the connector in place.
-
-
-
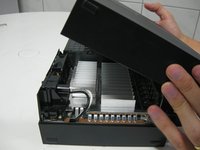
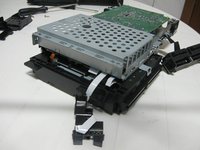
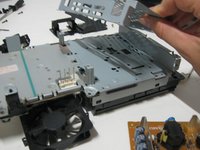
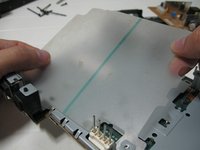
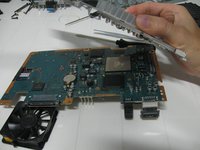
Remove the isolation cover from the metal case.
-
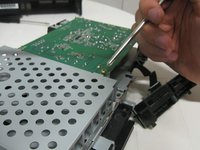
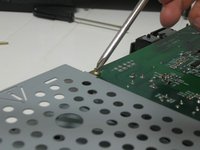
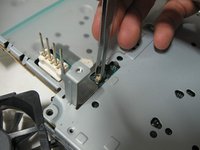
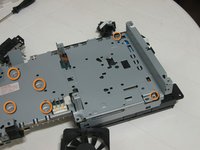
Remove the small screws using a thin crosshead screwdriver.
-
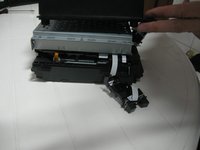
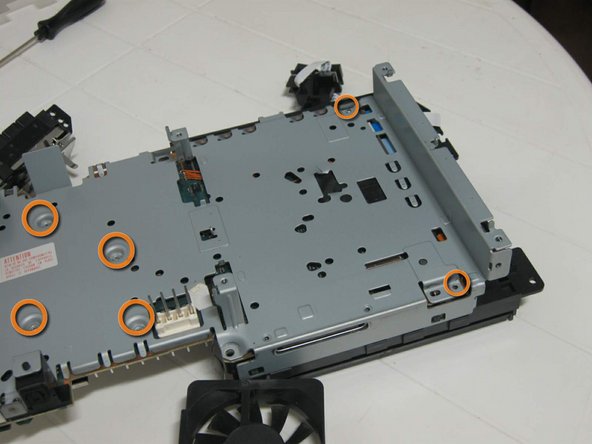
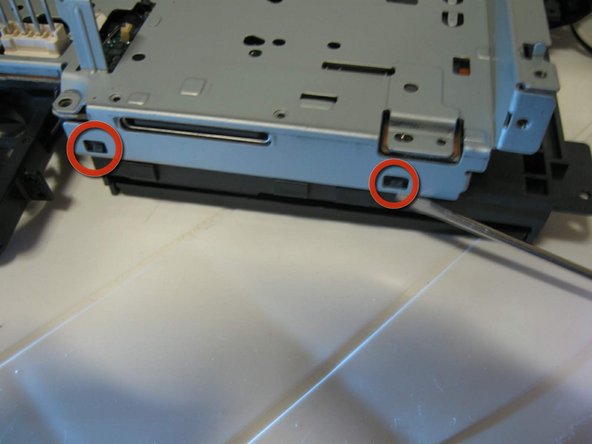
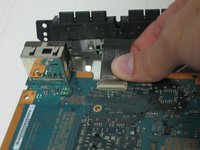
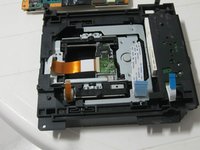
And release the metal case from the DVD player, as indicated, using a small flat screwdriver
There are 4 more screws that you do not have marked that I needed to remove before this metal case could be removed in the next step. Three of them on this side same as the ones circled in orange. One of the is on the other side near the audio out connector.
In the models that I took apart, there was only 3, two near the back of the DVD drive and one near the middle. The PS2 in this teardown has clearly been taken apart before and it looks like they forgot to put some screws back in and even broke the metal case where one screw should go.
-
-
-
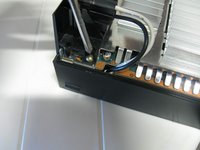
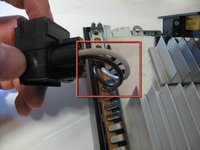
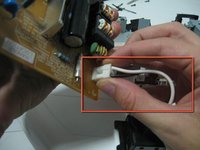
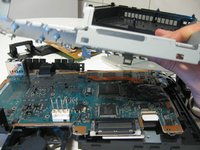
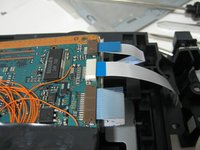
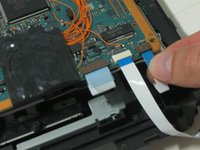
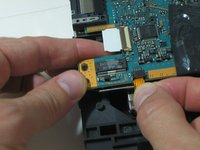
Well, the try to remove the cooler wire was a total failure.
-
The plug is made to deatach, but it is old. The plug had turned into one piece, and broke the soldering.
-
Well, I'll find a way to fix it. I always do =)
How did you fix same happened to me
-
-
-
This is the end of the teardown.
-
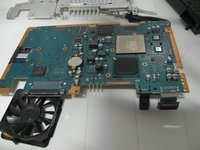
From top, from the left: Ethernet adapter, Ps2 case, Hdd, Cooler, Cooler grid, bottom metal cover protection, screws protectors, screws, Controller board, Power swtich, Power source board, Plastic cover to isolate the power source board, top metal cover, DVD Drive, Expansion Bay cover, main board, reset/eject structure.
You probably shouldn’t put electronics on cloth, but I guess its about 9 years too late for that.
-
14条评论
reverse procedures..step by step..
Yep in reverse, take your time or you'll be like me breaking things and having to rig it haha. Put the shielding back together, drive, power board, the other shield for hard drive. Everything, plug all connections. Even power-reset buttons. Then put it on the bottom casing, connect controller ports and close it up with top casing.
If a cable is ripped or broken, unfortunately there is no way to fix it. You will have to replace the cable.
I put a lot of layers of tape on mine, the last owner of my system was very naughty and disassembled the system when it was still under warranty, so the cable was brokem
John Doe -
do you have the list of screws required for this? i am missing a few trying to locate the size specs
Hi, I have a problem with a hardly used PS2. When I turn it on it only displays some coloured squares. I don’t know if the video chip has gone. Do you have any ideas??
i'd need to see it to tell you whats wrong. what do you mean by coloured squares??
Camdyn -
So I’m curious does all PS2s take thermal paste? Bcuz I noticed the cpu/gpu chip looked like it had some on it b4!
VAMPRESS23 - 回复
I've only disassembled some of the older models, and they only had thermal pads. Possibly the slim models used paste.
And I was going to get inside as I need to change the coin battery but I'm not going to bother it's ridiculous just to get to it
This helped me teardown an old PS2 I just bought a few days ago.
With your help, I was able to give it a thorough clean inside and out and swap the BIOS battery. It looks and works almost like brand new now.
Thank you so much Pollux! 🙂❤️
That video on this is &&^&^$^ dog $@$*. Guy does not know what he's doing and is just guessing; takes out the Optical Drive way too early.


