跳转到主内容
加入维修社区 - 创建账户

iView-776TPCII Camera Assembly Replacement

你所需要的

    1. iView-776TPCII Camera Assembly Replacement, Rear Panel: 步骤 1 中的图像 1,3 iView-776TPCII Camera Assembly Replacement, Rear Panel: 步骤 1 中的图像 2,3 iView-776TPCII Camera Assembly Replacement, Rear Panel: 步骤 1 中的图像 3,3
      • Before disassembling your device, make sure that the power is completely turned off.

      • Use the plastic opening tool to release the clips holding the rear panel of the device onto the front section.

      • The clips may take some pressure before releasing.

      • Continue around the entire device until all of the clips have been released.

      询问修复机器人

      添加评论

    2. iView-776TPCII Camera Assembly Replacement: 步骤 2 中的图像 1,2 iView-776TPCII Camera Assembly Replacement: 步骤 2 中的图像 2,2
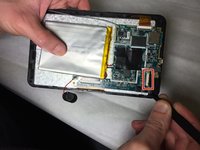
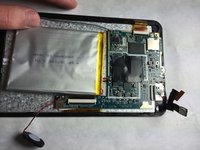
      • Use a spudger to carefully free the speaker from it's housing on the back panel.

      • Place the spudger between the speaker and the rear panel. Use a prying motion to remove the component.

      • Be careful not to apply an over amount of force. If care is not taken, the speaker could break under the pressure.

      询问修复机器人

      添加评论

    1. iView-776TPCII Camera Assembly Replacement, Camera Assembly: 步骤 3 中的图像 1,2 iView-776TPCII Camera Assembly Replacement, Camera Assembly: 步骤 3 中的图像 2,2
      在这个步骤中使用的工具:
      Heavy-Duty Spudger
      $4.99
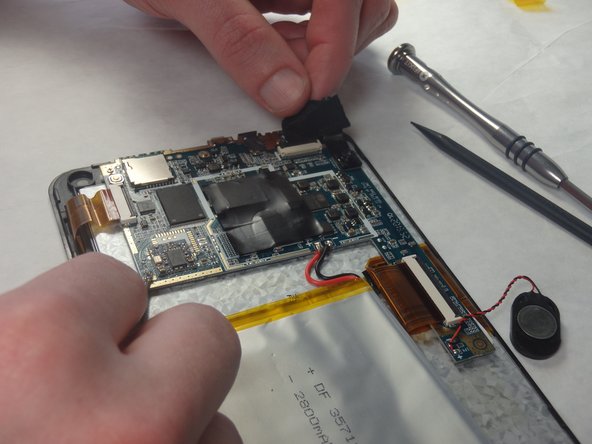
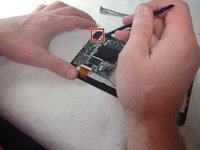
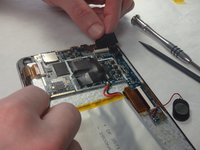
      • The camera module is located in the upper-right corner of the tablet.

      • Loosen the edges of the black tape covering the camera using the heavy-duty spudger.

      • Use the freed edges of the tape to gently remove the camera assembly from its plastic housing.

      • The camera assembly will still be connected to the rest of the device via a ribbon cable. Take care so as not to tear this connection.

      询问修复机器人

      添加评论

    2. iView-776TPCII Camera Assembly Replacement: 步骤 4 中的图像 1,2 iView-776TPCII Camera Assembly Replacement: 步骤 4 中的图像 2,2
      在这个步骤中使用的工具:
      Tweezers
      $4.99
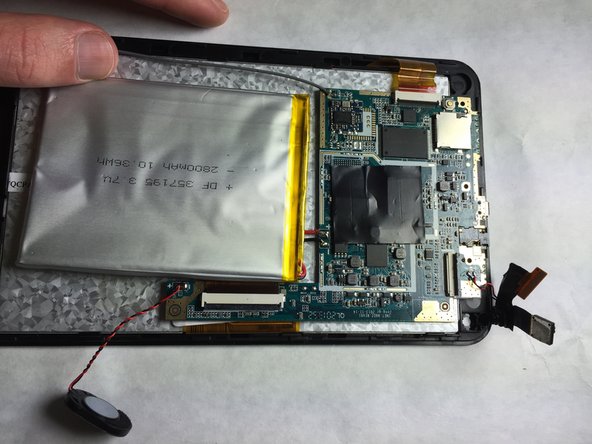
      • Use tweezers to lift the cover off the top of the camera's ZIF adapter.

      • When reassembling the device, be sure to fully secure the ribbon cable from the camera back into the ZIF adapter.

      • Pull the assembly away from the motherboard with a set of tweezers to prepare for desoldering.

      询问修复机器人

      添加评论

    3. iView-776TPCII Camera Assembly Replacement: 步骤 5 中的图像 1,1
      • Use the Portable Soldering Iron tool to heat the leads coming from the camera assembly to the motherboard, thereby breaking the connection.

      • For help on soldering, refer to the iFixit "How To Solder and Desolder Connections" technique guide as necessary.

      • Once heated, use tweezers to pull the wires free from their connections.

      • To ease reassembly, take note of which wire went to the positive and negative terminals.

      询问修复机器人

      添加评论

结论

To reassemble your device, follow these instructions in reverse order.

取消:我没有完成这个指南。

另外一个人完成了本指南。

团队

IUPUI, Team 2-2, Baechle Fall 2015 IUPUI, Team 2-2, Baechle Fall 2015 的会员

IUPUI-BAECHLE-F15S2G2

3 名成员

创作了18篇指南

0指南评论

添加评论

浏览统计数据:

过去 24 小时: 0

过去 7 天: 3

过去 30 天: 26

总计 626