跳转到主内容

iRobot Roomba 890 IR Sensor Replacement

你所需要的

  1. iRobot Roomba 890 IR Sensor Replacement, IR sensor: 步骤 1 中的图像 1,1
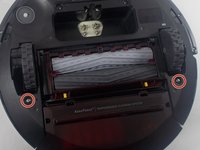
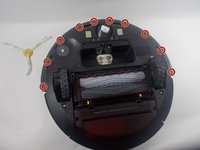
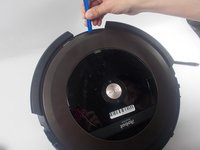
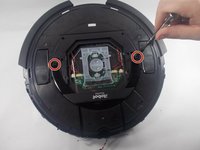
    • Use a Phillips #2 screwdriver to remove the two 11 mm screws.

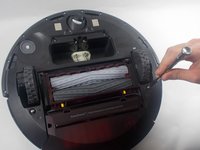
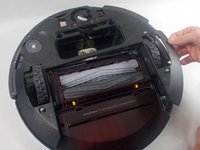
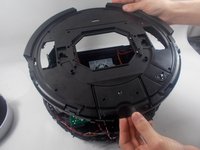
    • Remove the battery cover.

  2. iRobot Roomba 890 IR Sensor Replacement: 步骤 2 中的图像 1,2 iRobot Roomba 890 IR Sensor Replacement: 步骤 2 中的图像 2,2
    • Pull directly up on the grey pull-tabs to remove the battery.

  3. iRobot Roomba 890 IR Sensor Replacement: 步骤 3 中的图像 1,1
    • Use a Phillips #2 screwdriver to remove the one 7.7 mm screw.

    • Remove the yellow brush head.

  4. iRobot Roomba 890 IR Sensor Replacement: 步骤 4 中的图像 1,3 iRobot Roomba 890 IR Sensor Replacement: 步骤 4 中的图像 2,3 iRobot Roomba 890 IR Sensor Replacement: 步骤 4 中的图像 3,3
    • Use a Phillips #2 screwdriver to unscrew the two 11 mm screws.

    • Lift the baseplate up and off.

  5. iRobot Roomba 890 IR Sensor Replacement: 步骤 5 中的图像 1,2 iRobot Roomba 890 IR Sensor Replacement: 步骤 5 中的图像 2,2
    • Use a Phillips #1 screwdriver to remove the ten 9.3 mm screws.

    • Remove the bumper retainer ring.

  6. iRobot Roomba 890 IR Sensor Replacement: 步骤 6 中的图像 1,2 iRobot Roomba 890 IR Sensor Replacement: 步骤 6 中的图像 2,2
    • Use a Phillips #2 screwdriver to remove the two 7.5 mm screws holding the IR sensor in place.

  7. iRobot Roomba 890 IR Sensor Replacement: 步骤 7 中的图像 1,2 iRobot Roomba 890 IR Sensor Replacement: 步骤 7 中的图像 2,2
    • Use an iFixit opening tool to remove the outer plastic covering from the top of the Roomba.

  8. iRobot Roomba 890 IR Sensor Replacement: 步骤 8 中的图像 1,3 iRobot Roomba 890 IR Sensor Replacement: 步骤 8 中的图像 2,3 iRobot Roomba 890 IR Sensor Replacement: 步骤 8 中的图像 3,3
    • Use a Phillips #1 screwdriver to remove the two 9.5 mm handlebar screws; then remove the handle.

    • Use a Phillips #1 screwdriver to remove the fourteen 9.5 mm top plate screws.

    • Lift off the top plate.

  9. iRobot Roomba 890 IR Sensor Replacement: 步骤 9 中的图像 1,3 iRobot Roomba 890 IR Sensor Replacement: 步骤 9 中的图像 2,3 iRobot Roomba 890 IR Sensor Replacement: 步骤 9 中的图像 3,3
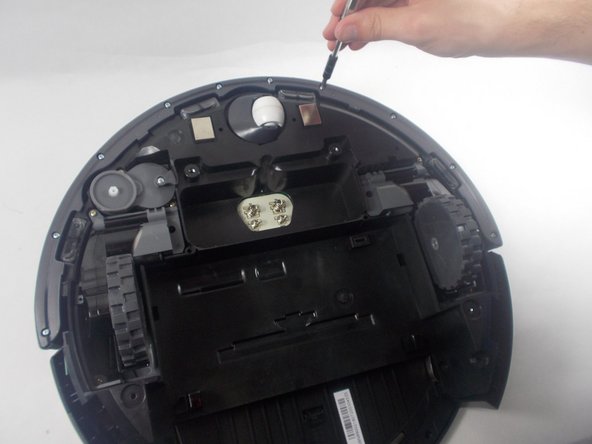
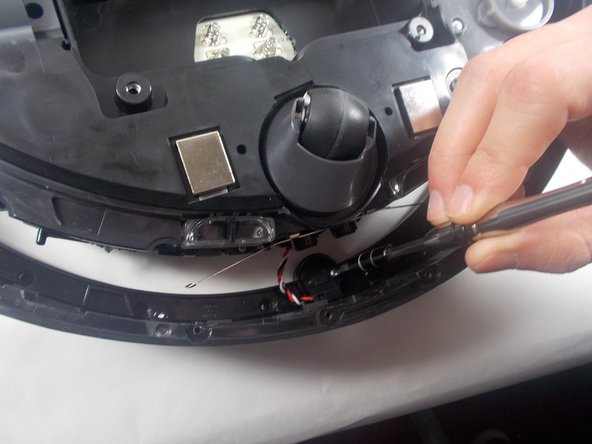
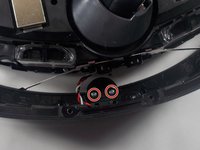
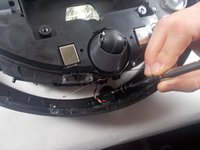
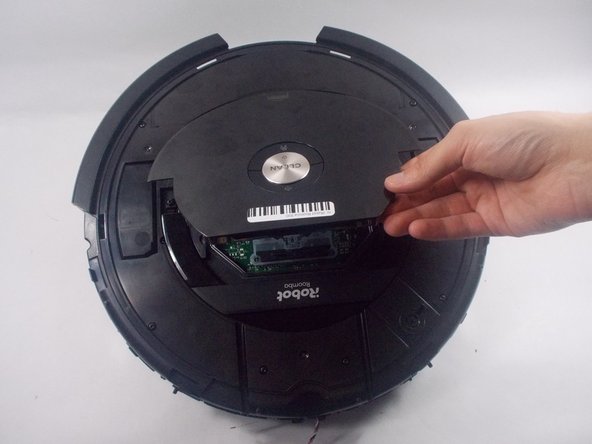
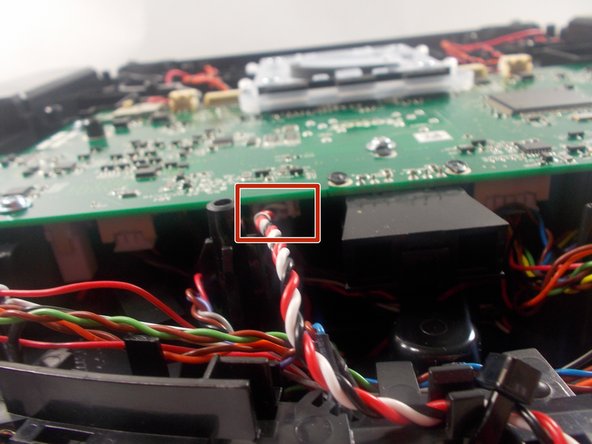
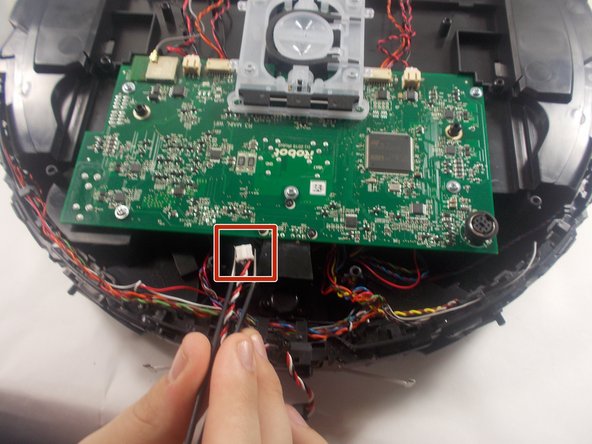
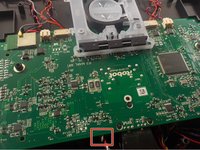
    • Use a pair of angled tweezers to firmly grip the IR sensor plug, and pull it directly backwards to release it from the motherboard.

结论

To reassemble your device, follow these instructions in reverse order.

Caeden Foxhoven

于03/28/22注册

313 声望

创作了2篇指南

团队

UMass Dartmouth, Team 1-3, Petersen Spring 2022 UMass Dartmouth, Team 1-3, Petersen Spring 2022 的会员

UMASSD-PETERSEN-S22S1G3

3 名成员

创作了7篇指南

0条评论

添加评论

浏览统计数据:

过去 24 小时: 1

过去 7 天: 1

过去 30 天: 13

总计 758