


-
-
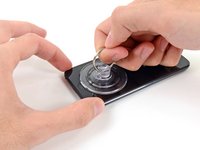
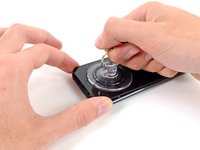
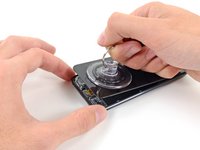
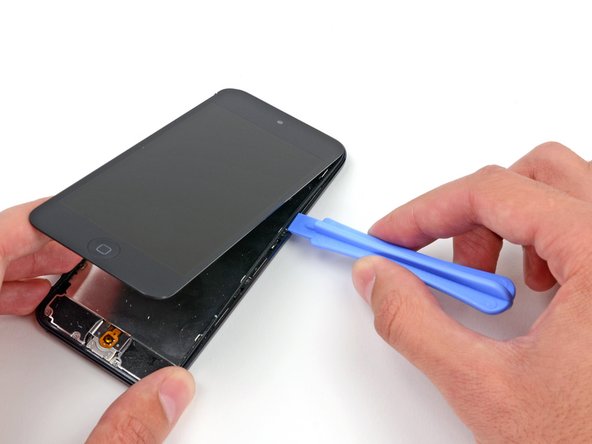
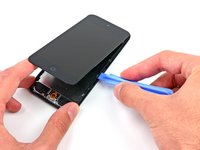
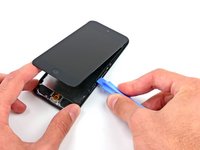
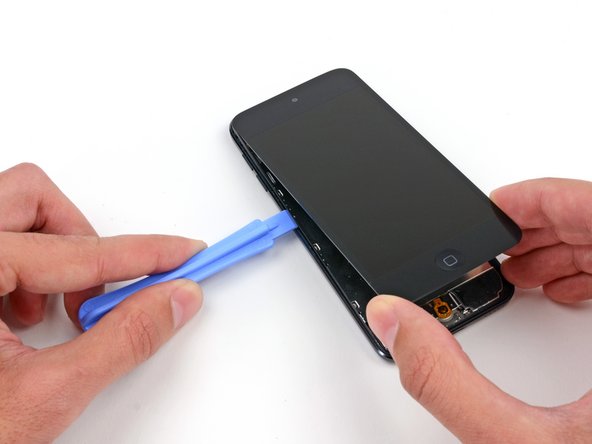
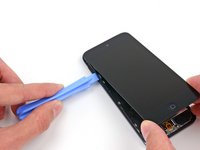
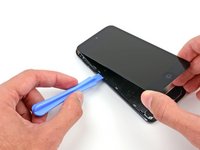
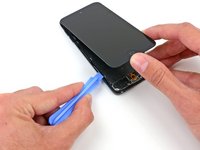
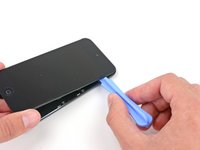
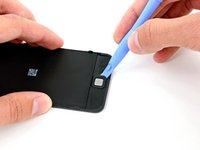
屏幕的底部(接近Home键位置)粘合剂最强。
-
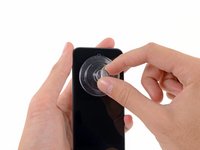
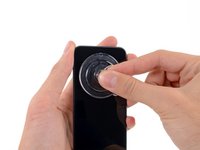
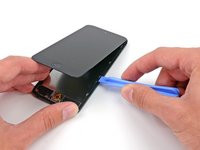
使用热风枪或者吹风机(低档位)来软化粘合剂。
-
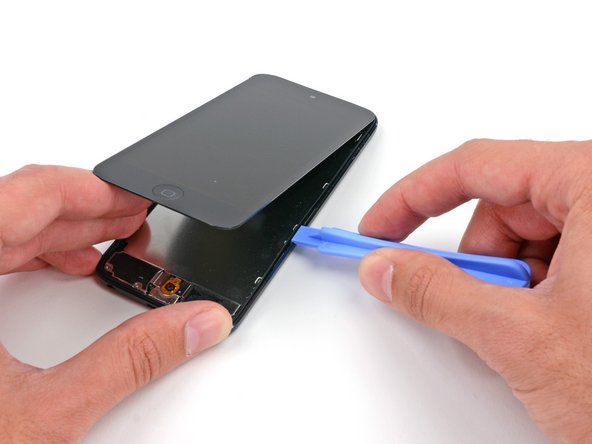
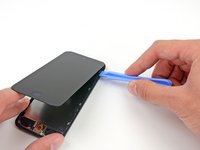
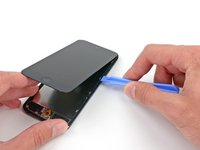
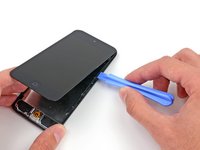
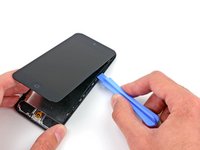
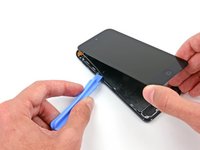
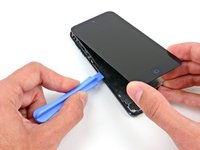
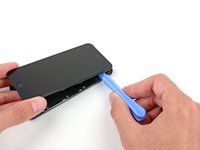
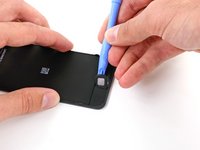
在您进行下一步骤撬起屏幕前,您有可能需要再进一步加热来让粘合剂加温变得软化。
-
-


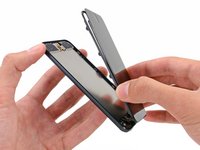


要重新组装设备,请按照相反的顺序进行操作。
要重新组装设备,请按照相反的顺序进行操作。
41等其他人完成本指南。


2条评论
Where's the rest of the guide? How to install the new home button, adhere it, etc. It doesn't appear to replace the actual switch, just the plastic button. Is it expected to fix non-working home buttons, or just make them look good with a new, pretty top?
This is a great disassembly guide, but a poor "Home Button Replacement"guide.
I agree; in most cases the fault won't be the outer button but the dome switch underneath. For that repair the best source I found was here:
https://www.youtube.com/watch?v=lzn5O3Ci...
There are two very small dome-shaped parts, one of which is rimmed with orange adhesive Kapton tape that make up the dome switch; the lower one goes on first, convex side up. Then the Kapton taped upper dome goes on over that, with the small tabs in the tape aligned left and right when placed over the lower dome. This is a very delicate operation, and requires patience and tools for finely detailed work. I successfully got mine working again, so I can confirm that this repair is possible. The parts can be purchased by using the link provided in the YouTube video. Best of luck!