简介
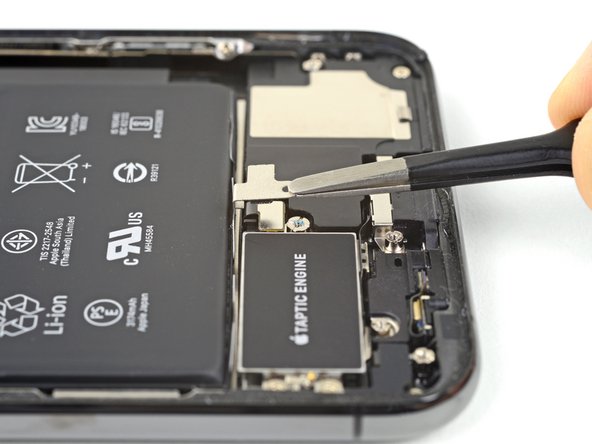
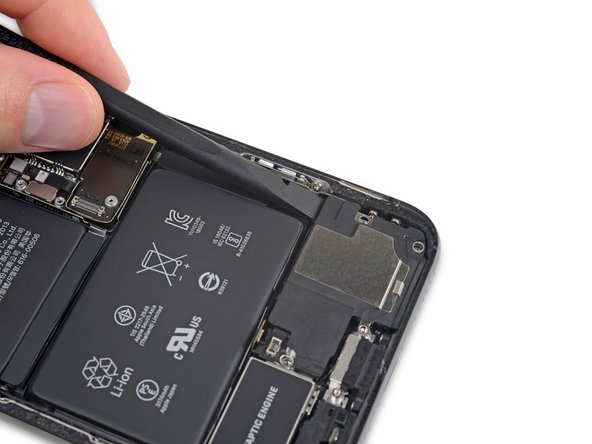
Taptic Engine 可生成 iPhone 的振动和触觉反馈功能。按照本指南拆除和/或更换 iPhone XS Max 中的Taptic Engine。
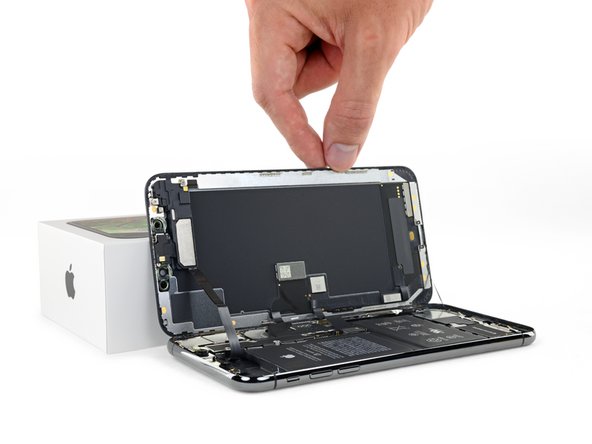
本指南指示你完全卸下显示屏总成;这是为了防止在你工作时意外拉紧或损坏显示屏电缆。如果你在不危及显示屏电缆的情况下轻松拆卸 Taptic Engine,则可以跳过断开显示屏电缆的步骤。
你所需要的
-
在这个步骤中使用的工具:Clampy - Anti-Clamp$24.95
-
将蓝色手柄向后拉,解锁反向钳的手臂。
-
将手臂滑过 iPhone 的左边缘或右边缘。
-
将吸盘靠近 iPhone 的底部边缘——一个在前面,一个在后面。
-
将吸盘一起挤压,以向所需区域施加吸力。
-
-
-
加热 iOpener 并将其穿过反向钳的手臂。
-
把 iOpener 折叠起来,放在 iPhone 的底部边缘。
-
等待一分钟,让粘合剂有机会释放,形成一个开口缝隙。
-
将打开工具插入开口缝隙,位于屏幕和塑料边框之下,而不是屏幕本身。
-
跳过接下来的三个步骤。
-
-


结论
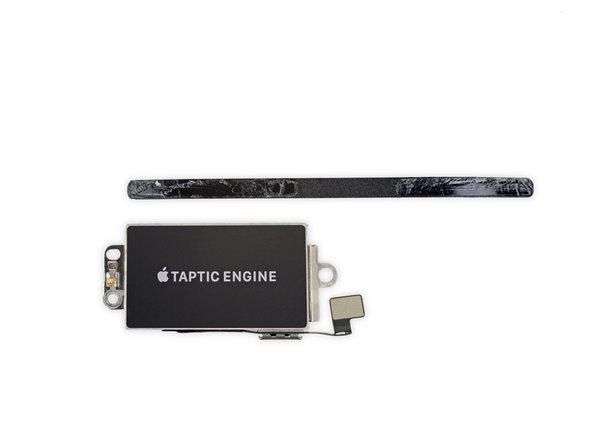
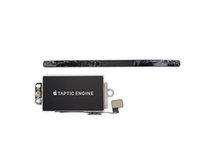
将新的更换配件与原始配件进行比较 —— 在安装之前,你可能需要转移剩余配件或从新配件上移除粘合剂背衬。
要重新组装你的设备,请按逆序执行上述步骤。
将你的电子垃圾带到R2或e-Stewards认证的回收商。
维修没有按计划进行?查看我们的社区论坛以获取故障排除帮助。
20等其他人完成本指南。


