简介
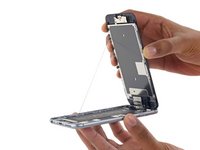
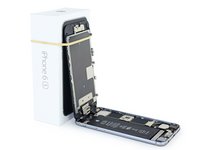
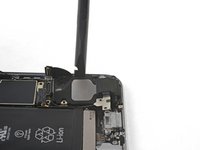
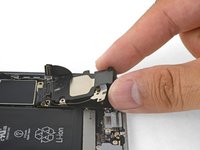
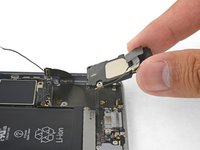
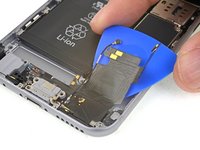
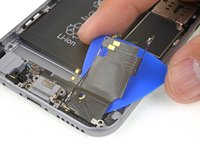
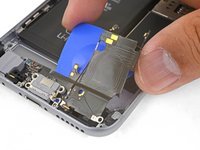
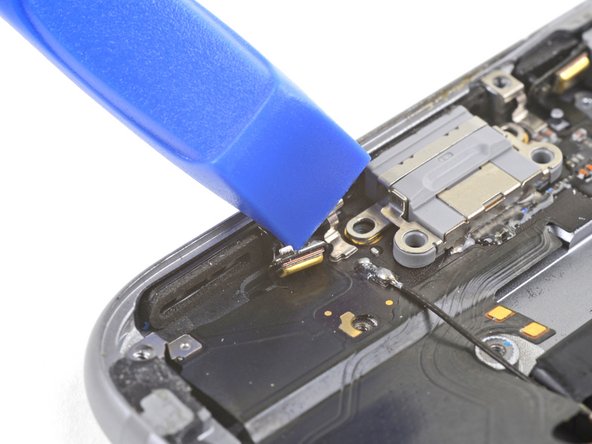
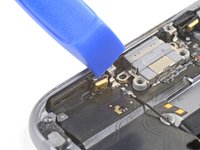
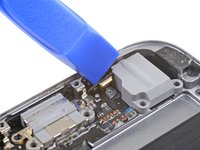
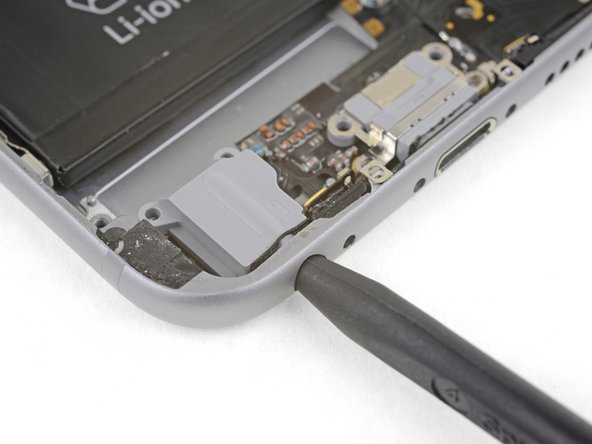
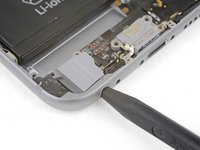
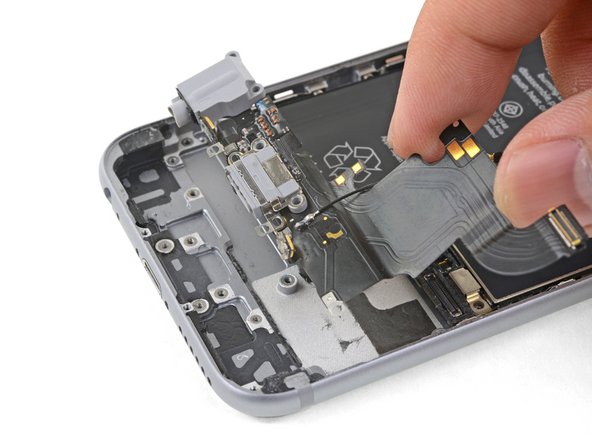
此指南会教导你如何更换你iPhone 6s里的Lightning 接口排线. 此排线包含Lightning 接口, 耳机插孔, 麦克风, 以及连接Taptic Engine线性马达与内置扬声器的弹簧。
你所需要的
-
-
在这个步骤中使用的工具:Magnetic Project Mat$19.95
-
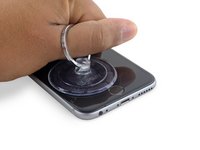
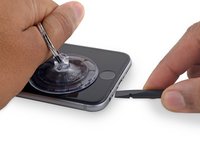
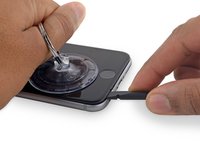
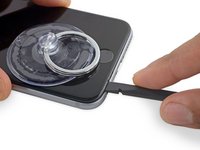
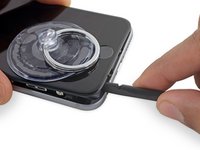
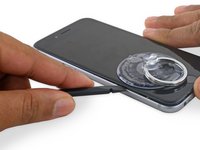
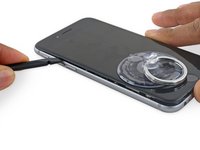
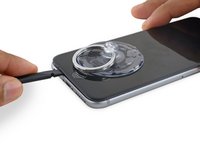
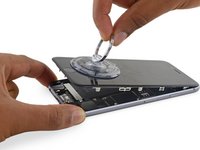
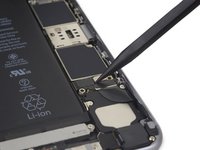
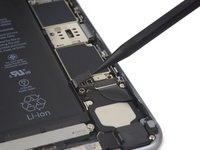
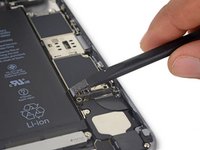
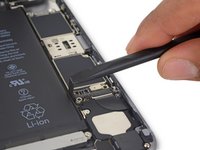
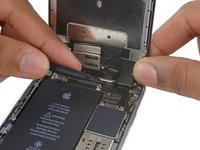
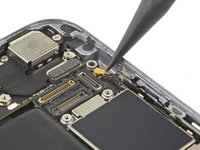
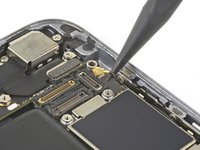
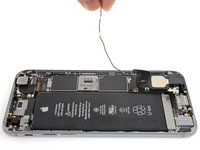
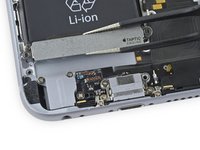
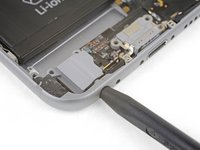
卸下电池排线固定架上的2颗十字 #00 螺丝。
-
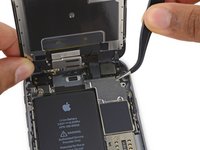
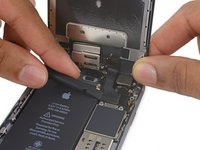
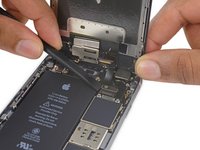
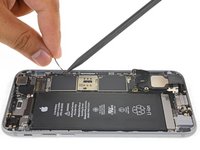
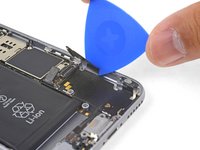
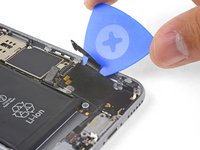
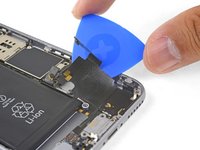
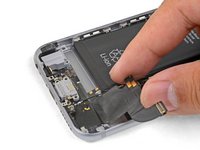
1颗2.9 mm螺丝
-
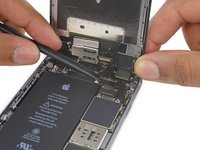
1颗2.2 mm螺丝
-


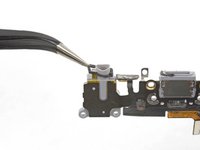
把你的更换零件和原装零件做对比——你可能需要转移一些旧的零件,或者在安装之前把新零件后面的胶带去掉。
请按逆序操作重组你的设备。
把你的电子废料带到 R2 或者 e-Stewards 认证的回收商那里。
维修进展不如意?请查阅我们的iPhone 6s 问题解答社区 来排除障碍。
330等其他人完成本指南。


47指南评论
the reason is the antenna is connected to the loud speaker but you can lay it out of the way, remember do not rip the cable that is attached to the speaker
Can you just plug the new assembly in to check it, before going through the whole installation?
cropcord76 - 回复 分享
I did this repair and everything went fine. The user now has issues with callers hearing them. Is there a cover/sticker over the microphone on the ifixit replacement part? Speaker works and he can talk on speaker phone with no issues. Any ideas?
bofootball57 - 回复 分享
Did you pull the old adhesive off before reinstalling using the new adhesive? Did you align each mic correctly?