简介
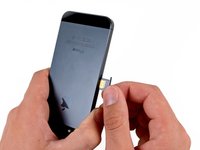
使用本指南从 iPhone 5 后壳上卸下所有组件。
你所需要的
视频概述
-
-
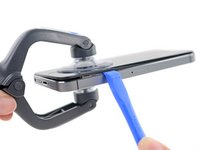
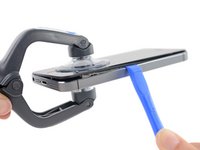
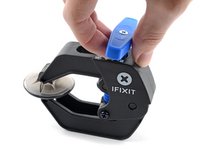
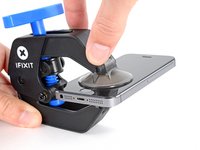
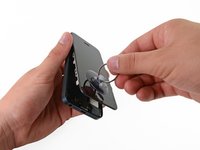
将蓝色手柄拉向铰链以解锁反向钳的手臂。
-
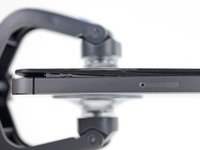
将反向钳手臂滑过 iPhone 的左边缘或右边缘。
-
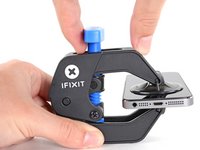
将吸盘放在靠近 iPhone 底部边缘的位置——一个在正面,一个在背面。
-
向下推吸盘以将吸力施加到所需区域。
-
-
-
-
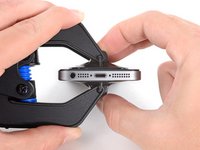
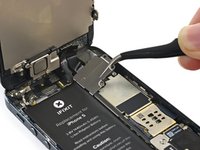
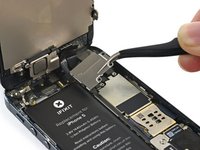
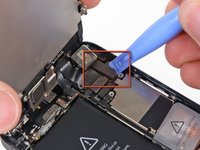
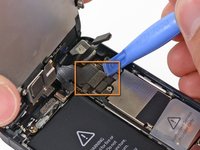
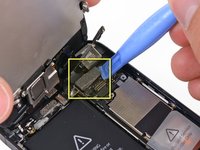
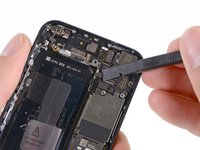
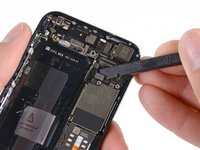
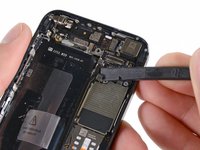
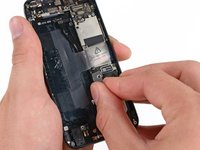
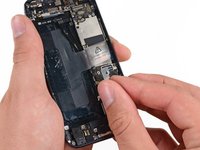
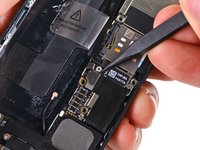
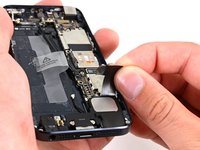
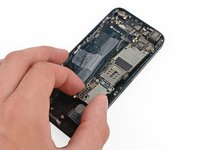
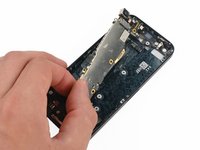
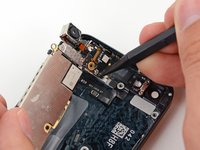
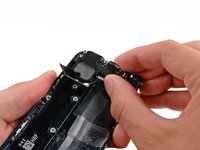
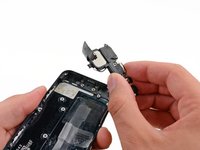
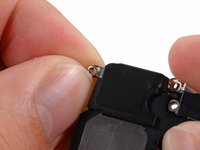
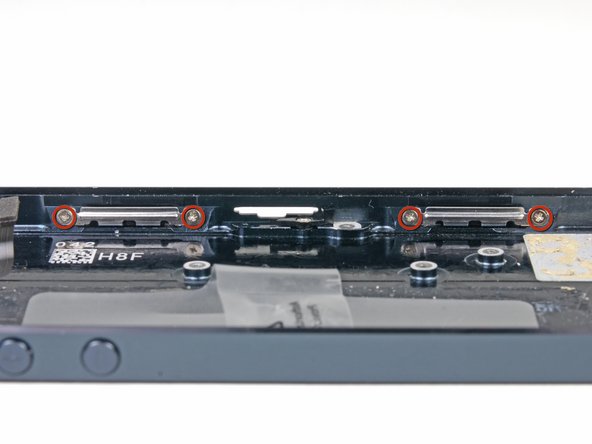
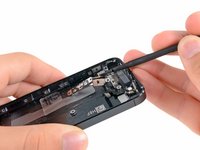
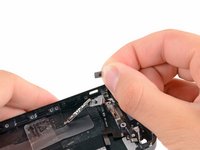
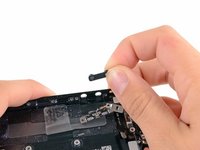
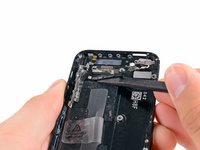
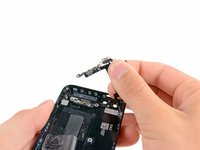
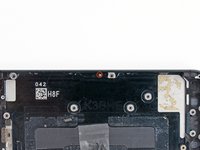
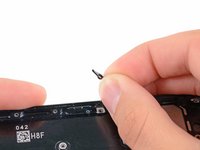
逐步去除连接后壳并保护Lighting接口和扬声器的螺丝:
-
一颗 2.5 mm 的十字螺丝
-
两颗 3.3 mm 的十字螺丝
-
一颗 2.9 mm 的十字螺丝
-
两颗 1.5 mm 的十字螺丝
-
一颗 2.8 mm 的十字螺丝
-


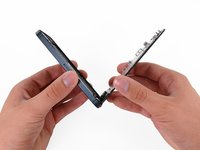


要重新组装您的设备,请按相反的顺序进行这些说明。
199等其他人完成本指南。


8指南评论
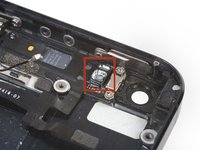
This guide does not describe removal of the wifi-antenna which seems to have taken place between step 32 and 34. For people new to electronics repair, such as myself, I feel this should be included in order to have a complete guide. I did a swap of the back casing yesterday myself, including the antenna and all went well (just a bit more nerve-wrecking removing parts not stated in the guide).
arvegrinden - 回复 分享
You're so right!
Replaced my rear case yesterday according to this guide, everything works :) just the power button pin was stuck on the old case and I had to make one from a paperclip, but still worked :)
All this is fine, but there is a padding to the mic, the lightning port, the audio jack and the speakers that is provided in the original casing but is not there in any of the replacement cases. Without it, there is a gap that is very much visible and susceptible to dust and water seepage. Is there any way to resolve this?