此翻译由机器生成,尚未经过人工审核。 会说这种语言吗? 查看评论。
简介
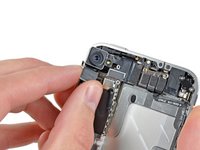
使用本指南拆卸iPhone的后置摄像头。
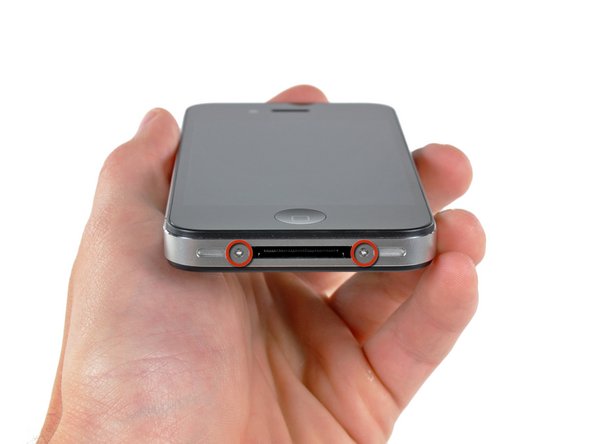
注意:拆下电池可以更方便地接触到覆盖后置摄像头连接器的盖板。但这并非绝对必要。如果你的电池特别难以拆卸,可以将其留在原位,避开它进行操作。
你所需要的
-
-
-
-
-
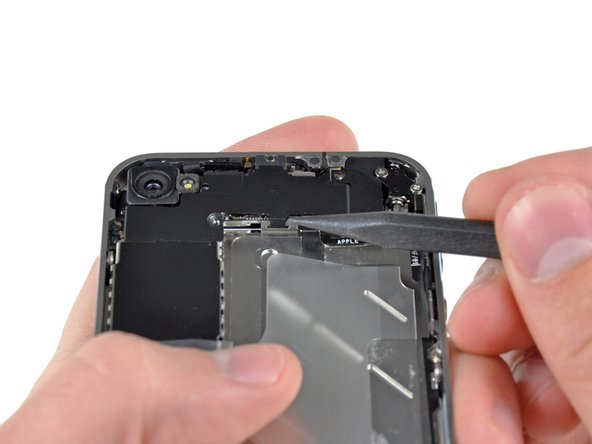
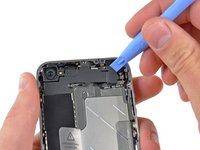
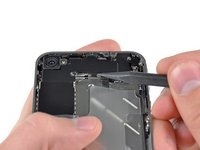
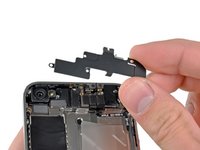
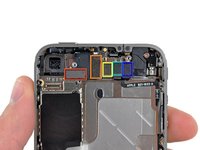
拧下将连接器盖板固定在 iPhone 上的以下五颗螺丝:
-
一颗 2.3 mm 十字螺丝
-
两颗 1.6 mm 十字螺丝
-
一颗 1.4 mm 十字螺丝
-
一颗 4.8 mm 十字螺丝
-
提示:为了记住它们各自的位置,你可以在一张纸上画 5 个圆圈,并将每颗螺丝放在对应的圆圈中。
-
-


 询问修复机器人


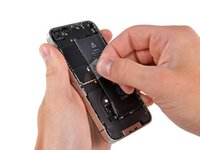
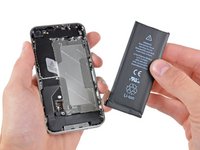
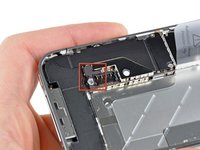





要重新组装设备,请按相反顺序执行这些说明。
194等其他人完成本指南。

附加文件

11指南评论
This was super simple. My camera was not focusing after a previous company replaced it due to a faulty flash. I decided to take things into my own hands...no pun intended.
The instructions are super simple and easy to follow. Be aware of the loose clip under the connector - mine flew out - and I was worried I wouldn't figure out how to get it back in.
I also had to use a #0 screwdriver...#00 was too large.
I couldn't get the battery out...so, I was just super careful that the phone was off, and remained off during the repair.
Out with the defective camera...in with the functioning camera...replaced a couple of screws and the battery connector. Tested the camera prior to replacing everything.
Thank you ifixit!
You ROCK!!!
Hi guys. I just did it ! I would not describe it as super easy, but thanks to the screw template provided file, even the now famous pressure contact can not be lost ;-)
I just wanted to comment, not only to praise iFixit (and myself), but also to mention two side effects I had to overcome:
-First, when finished, the power button did not work (I had to plug the Dock Connector to start the phone). As I the power button is not so far from the rear camera, I figured out something went wrong in the reassembly. Since I had just done it once, I thought I could do it a second time, so I removed the newly assembled camera and reassembled it with extra caution. At the end, the power button worked as expected.
-Second: each time I restarted the phone after reassembly (twice, then), the SIM card would not unlock after the PIN code was entered. I had to remove and reinsert the SIM card for the PIN code to finally unlock it.
Otherwise, everything went smoothly, thanks again to the iFixit guys !
Fantastic!!! my problem was the rear camera, when i switch on the camera app the screen were completely black and the torch was not working at all! I buyed the tools and the rear camera everything arrived here in Italy in perfect time as scheduled and in one hour I did the job !!! now my iphone camera is perfectly up and running !!! thanks to IFIXIT.COM and their guides!
hello guys ! I have done the replacement correctly because my camera wasn't able to focus anymore ! But now the flash light isn't working anymore :(( what can i do ?
Sincerly,
Antoine
antoinevalen - 回复 分享
