


要重新组装设备,请按照相反顺序执行这些步骤。
维修完成后,根据更换的部件,您可能可以使用 Apple 维修助手 进行校准(iOS 18 及以上版本支持)。请更新设备,然后依次进入 设置 → 通用 → 关于本机 → 部件与服务历史记录,点击 重新启动并完成维修,并按照屏幕提示操作。
请将电子废弃物送至 R2 或 e-Stewards 认证的回收机构 进行处理。
维修未按计划进行?请尝试 基本故障排除,或向我们的 Answers 社区 寻求帮助。
36等其他人完成本指南。


团队

6指南评论
Can you fix my IPhone?
Muy buenos instrucciones
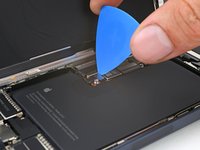
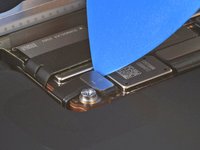
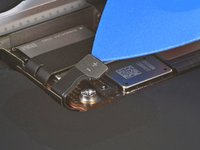
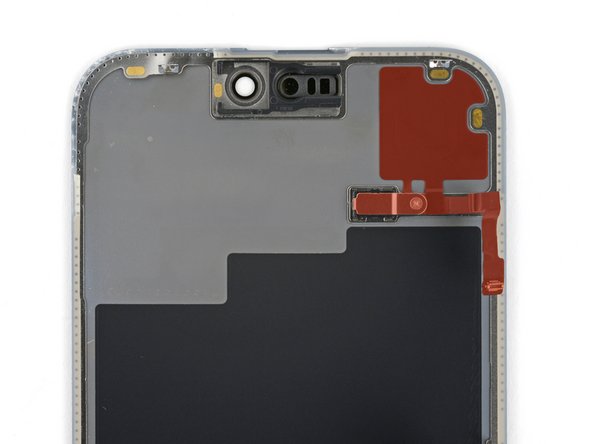
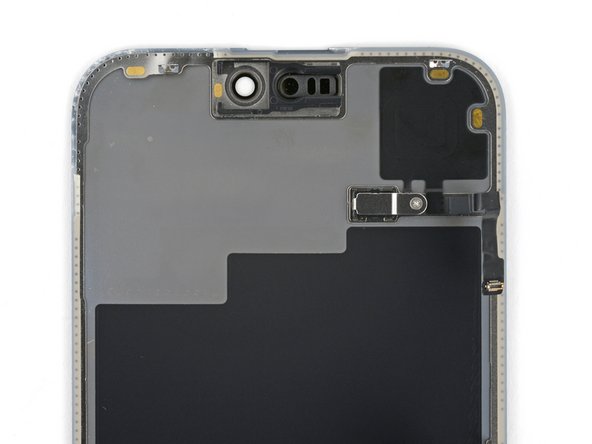
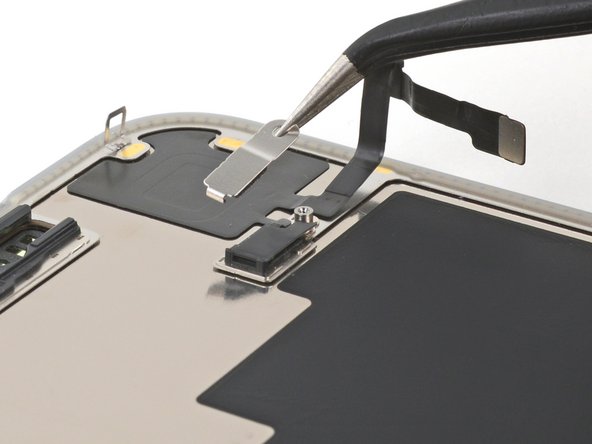
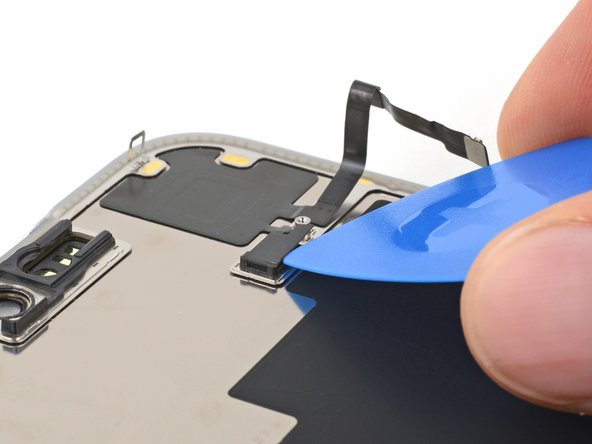
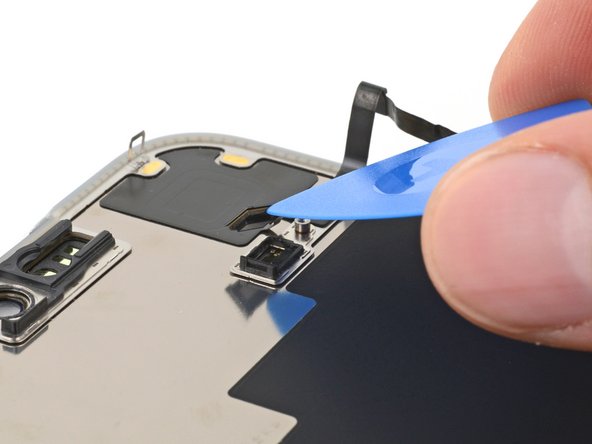
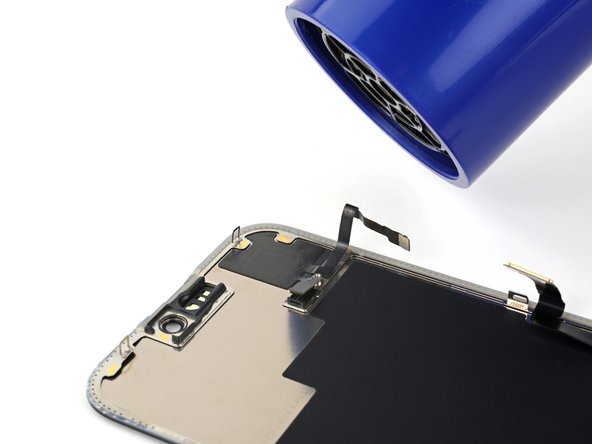
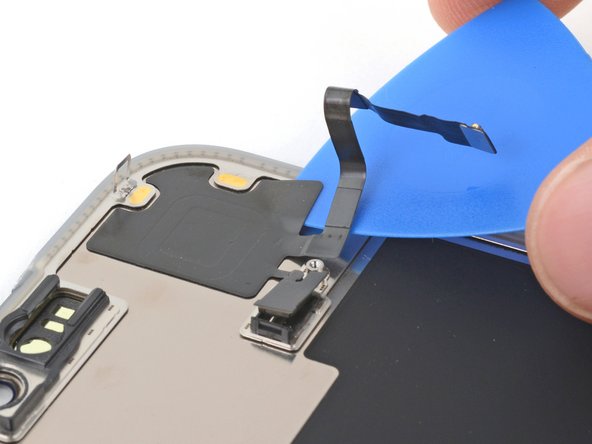
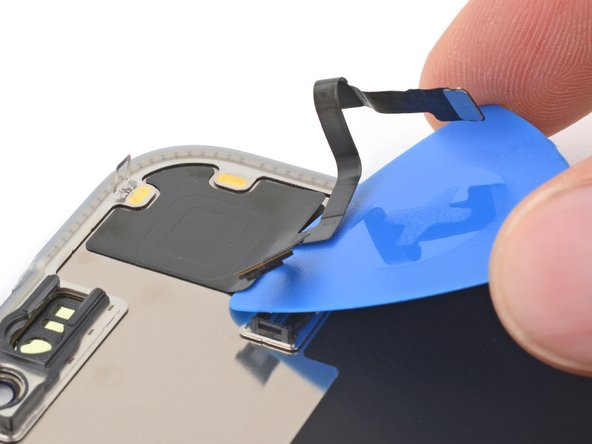
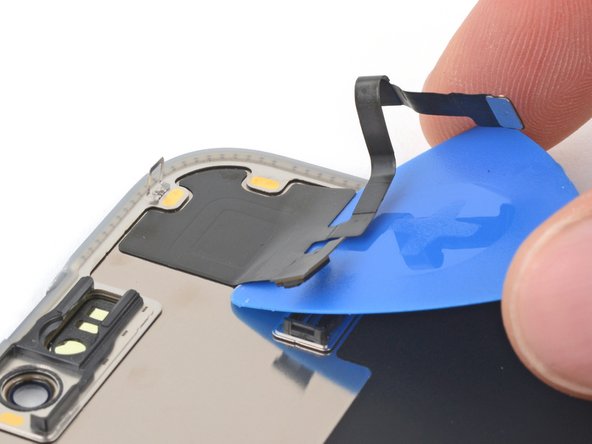
My iFixit replacement screen (“Aftermarket Soft OLED”) did not include the sensor from the original display, and the guide doesn’t explain how to transfer that part. The video about swapping the light sensor on an iPhone 15 gave me the confidence to perform the same procedure on the iPhone 15 Pro Max screen sensor.
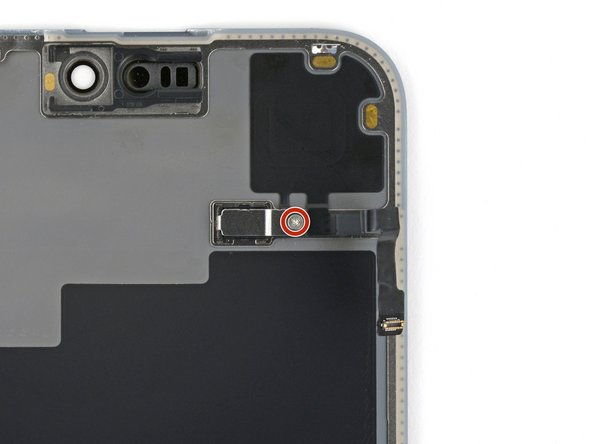
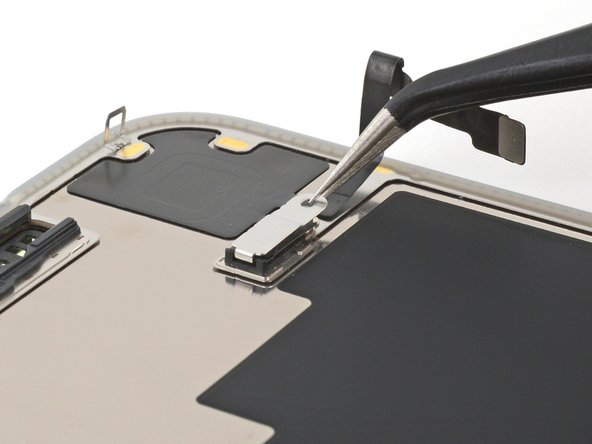
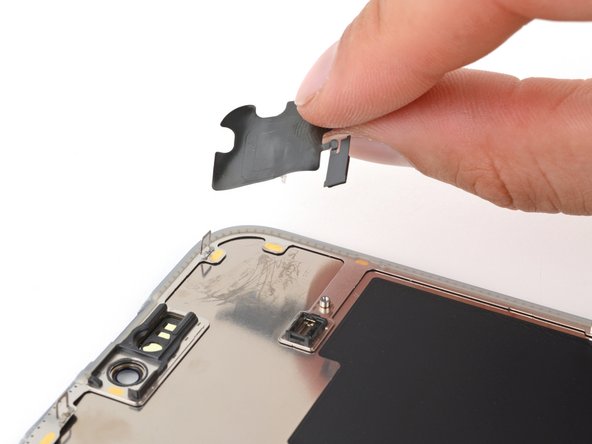
After carefully loosening the adhesive on the cable, I was able to gently pull the small tab to detach the sensor head. The remaining glue on the sensor was sufficient to secure it onto the new screen.
Thank you for the comment! We've just updated the guide accordingly with steps to remove and transfer the sensor.
I have a question, did your soft Oled 120hz display on your iphone 15 pro max still produce its 120hz capability, if so, was there anything different in the way you changed the steps. I am starting to think I got the wrong display when I ordered the soft OLED 120hz display, thanks.
Denis C -