你所需要的
-
-
在锅或平底锅里装满足够的水来完全淹没iOpener。
-
把水加热到沸腾。关火。
-
将iOpener放入热水中2-3分钟。确保iOpener完全浸入水中。
-
用钳子从热水中提取加热的iOpener。
-
用毛巾彻底擦干iOpener。
-
你的iOpener已准备好使用!如果你需要重新加热iOpener,请将水加热到沸点,关火,并将iOpener放入水中2-3分钟。
-
-
-
-
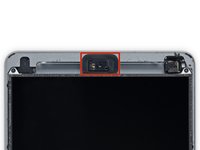
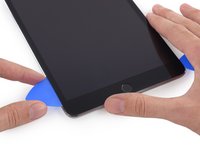
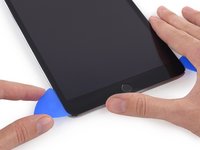
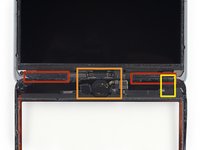
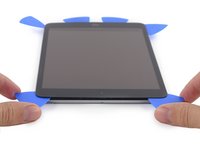
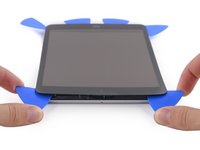
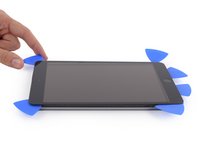
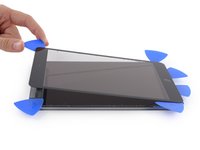
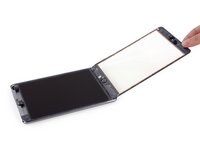
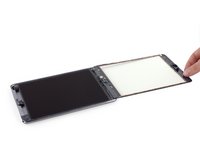
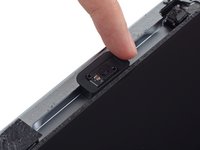
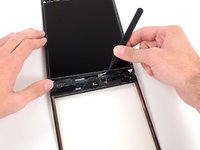
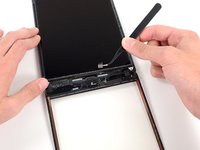
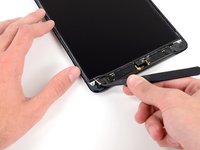
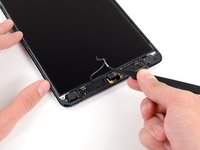
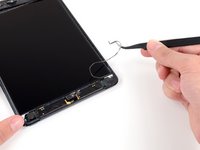
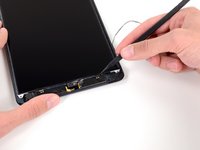
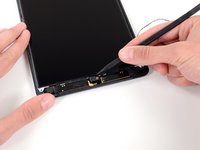
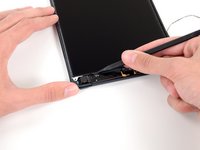
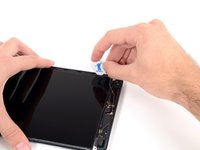
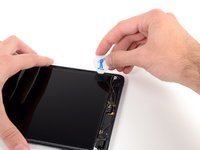
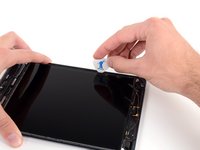
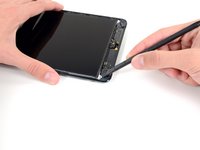
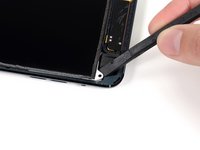
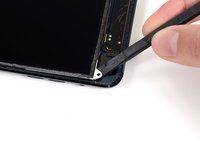
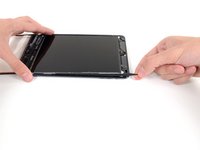
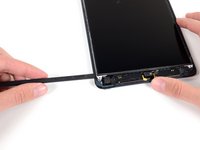
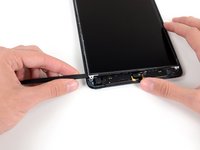
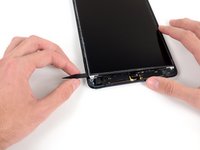
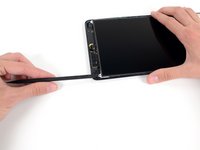
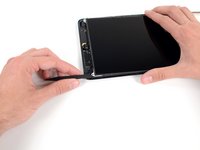
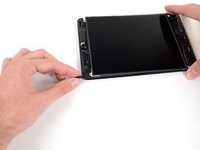
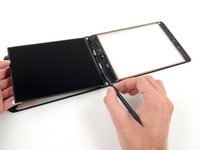
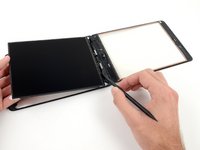
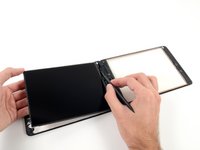
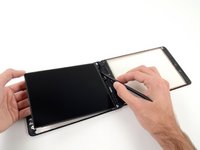
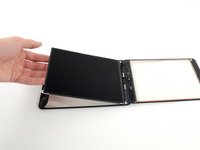
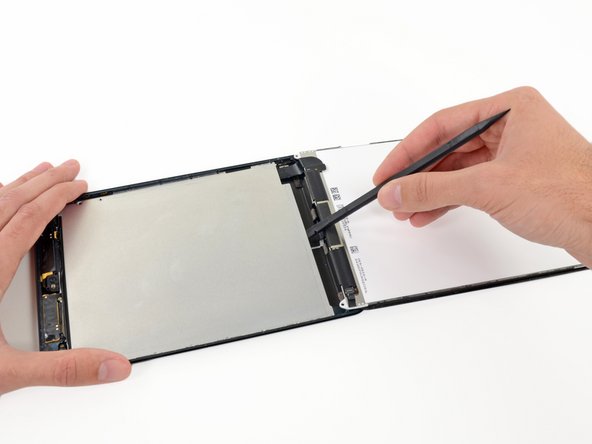
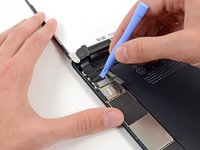
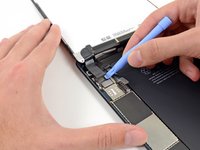
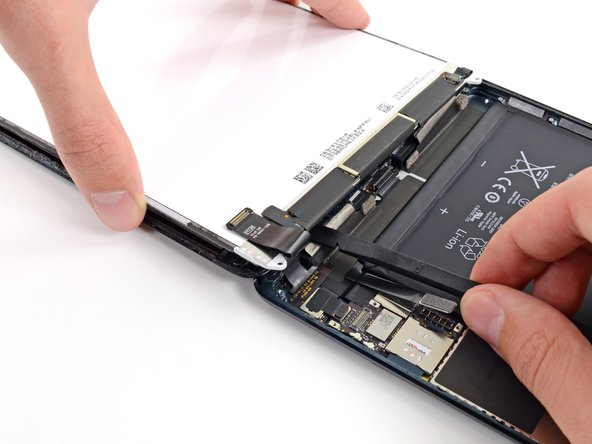
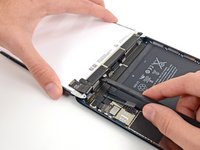
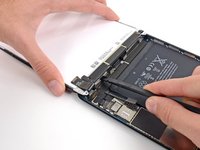
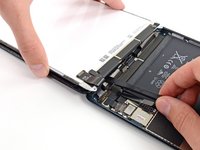
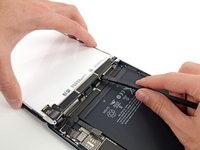
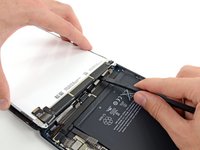
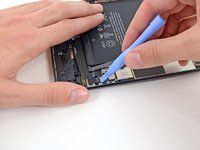
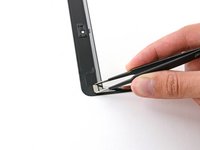
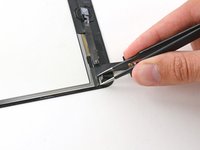
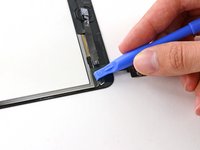
移除下列将LCD屏蔽板与后壳固定的螺丝。
-
2颗2.6 mm Phillips #00 螺丝
-
13颗 1.7 mm Phillips #00 螺丝
-
在有些设备上,额外的一颗1.7 mm Phillips #00螺丝。
-


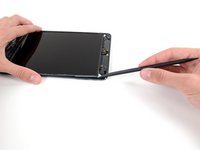
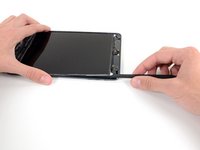


要重新组装您的设备,请按照相反的顺序执行这些说明。
449等其他人完成本指南。


53指南评论
This really isn't that hard of a repair, I struggle more with iphones than an iPad. Just be careful and diligent when you work. Hardest part for me is the stupid adhesive haha
ifixit is forgetting crucial steps in this repair. First off they need to make note of the small magnets on the back of the digitizer which are needed to use the smart cover feature on the ipad. And second they need to make note of the issues people are having with the touch acting up as soon as the digitizer is laid back down. you need to put tape on the contacts of the digitizer so that it does not directly touch the frame. also the iopener burned my microwave, your better off just using a heatgun and guitar picks/spudger.
Hi, I am having the exact issues where the touch is not responding. Where exactly do I need to put tape on the contacts of the digitizer so that it does not directly touch the frame? Can you explain in detail. Thanks.
Either it was updated or you overlooked it. For newcomers, the info implied about is covered in Step 60-63.
Keypad -
Again, ifixit leaves out a VERY important part that will BREAK the LCD if you forget to remove them. The sides of the LCD in the ipad mini has tape on it as well(you can even see the tape in the pictures above in the tutorial). If you do not remove this tape before inserting a tool under the sides of the LCD the LCD will BREAK! You must remove the foam ALL THE WAY AROUND THE LCD and peel back the tape from not only the top (as in the tutorial), but the sides of the LCD as well, holding it to the metal shield behind the LCD. The tape can be replaced, or re attached later, but it HAS to be removed before attempting removal of the LCD itself. I wish I would have known this before digging into the ipad mini. Fix the tutorial PLEASE!