当前版本的文档还未经巡查,您可以查看最新的已查核版本。
你所需要的
-
-
在锅或平底锅里装满足够的水来完全淹没iOpener。
-
把水加热到沸腾。关火。
-
将iOpener放入热水中2-3分钟。确保iOpener完全浸入水中。
-
用钳子从热水中提取加热的iOpener。
-
用毛巾彻底擦干iOpener。
-
你的iOpener已准备好使用!如果你需要重新加热iOpener,请将水加热到沸点,关火,并将iOpener放入水中2-3分钟。
-
-
这个步骤还没有翻译 帮忙翻译一下
-
Pull the blue handle backwards to unlock the Anti-Clamp's arms.
-
Place an object under your iPad so it rests level between the suction cups.
-
Position the suction cups near the middle of the left edge—one on the top, and one on the bottom.
-
Hold the bottom of the Anti-Clamp steady and firmly press down on the top cup to apply suction.
-
-
这个步骤还没有翻译 帮忙翻译一下
-
Wait one minute to give the adhesive a chance to release and present an opening gap.
-
If your screen isn't getting hot enough, you can use a hair dryer to heat along the left edge of the iPad.
-
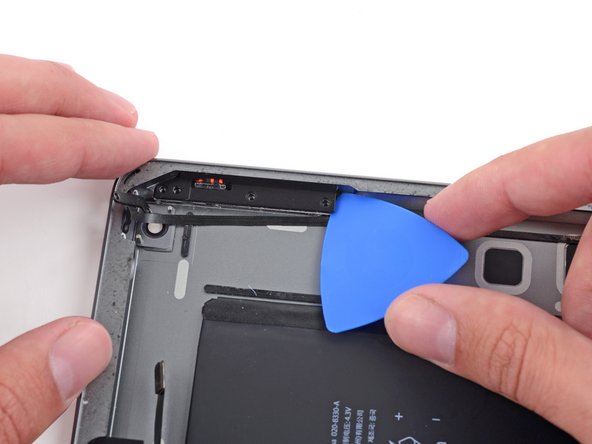
Insert an opening pick under the screen when the Anti-Clamp creates a large enough gap.
-
Skip the next two steps.
-
-
-
-
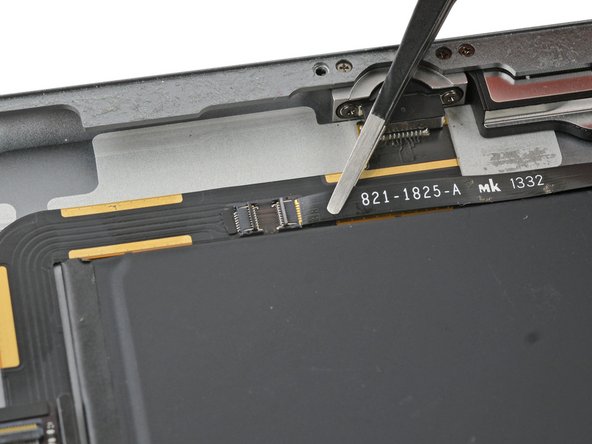
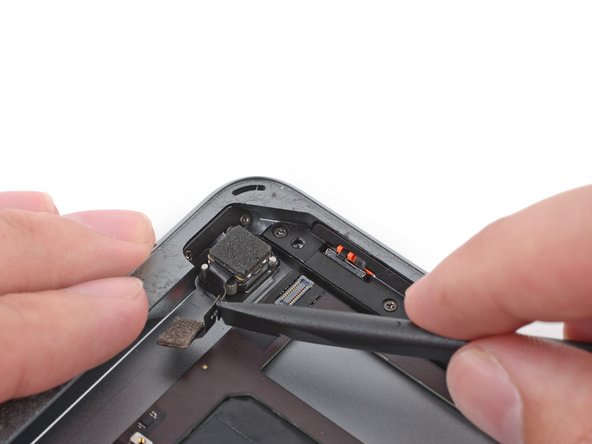
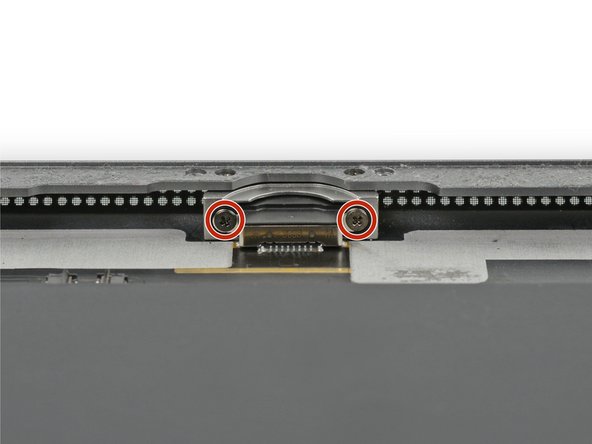
移除前面板组件
-
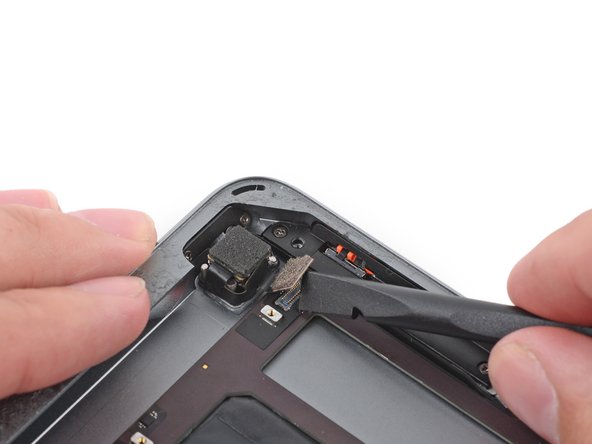
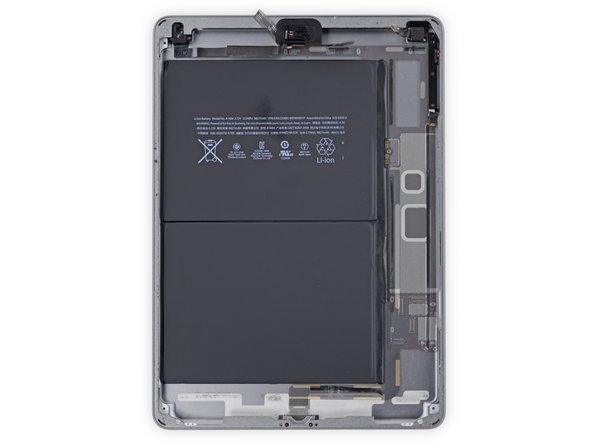
如果您的新屏幕遇到“幽灵”或“幻影”触摸输入问题,可以通过在面板背面的标注区域粘贴一层非常薄的绝缘胶带,例如Kapton (聚酰亚胺)胶带,来解决这个问题。 iFixit面板具有良好的绝缘性,不需要粘贴任何胶带。
-


21等其他人完成本指南。


2条评论
This guide was absolutely invaluable. I am v. grateful to Sam for posting it. I ran into two problems implementing it.
One, I have an ongoing problem re-attaching the glass to the iPad with the ribbon cables failing to slide smoothly into the case, making the seal of the glass on the right side problematic. Any tips/tricks here would be welcome.
Second, the iPad Air now refuses to charge. Attaching a power cable does nothing. I suspect that I have may have mixed up a couple of screws in reassembly or at least that is what I have understood from reading this thread ipad does not charge after screen replace Steeling my nerve for another go at it.
Steve Song - 回复
For the record, it was mixing up two screws in re-assembly that caused the iPad Air to stop charging. I reversed my steps, unscrewed everything and meticulously examined each screw placement. Turns out, I accidentally used a slightly longer screw in one of the three screws holding down the screen ribbon cable connector. Sigh... all good now.