简介
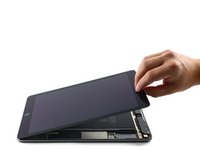
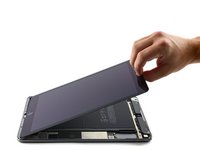
请参照该指南完成对iPad Air 2 Wi-Fi前面板的更换。前面板或屏幕组件包括顶层的玻璃盖板以及下层的液晶面板。在iPad Air 2上,这两部分组件是不可分离的,需作为一个整体来替换。
注意,Home键里的指纹扫描器是与iPad的主板连接的。为了保证Touch ID的正常工作,你需要将原来的Home键安装到新的屏幕组件上。
这个操作指南可以修复类似玻璃盖板破损、屏幕无响应、液晶屏破损等问题。
使用电池隔离器隔离电池时要非常小心。电池触点很容易损坏,从而对主板造成不可逆转的损坏。
你所需要的
-
-
在锅或平底锅里装满足够的水来完全淹没iOpener。
-
把水加热到沸腾。关火。
-
将iOpener放入热水中2-3分钟。确保iOpener完全浸入水中。
-
用钳子从热水中提取加热的iOpener。
-
用毛巾彻底擦干iOpener。
-
你的iOpener已准备好使用!如果你需要重新加热iOpener,请将水加热到沸点,关火,并将iOpener放入水中2-3分钟。
-
-
-
如果您的显示屏玻璃已经碎裂,防止显示屏玻璃在您维修时进一步伤害您,请使用胶带来固定已经碎裂的屏幕。
-
给iPad 的正面整面贴上胶带。
-
尽量根据下面的指南进行操作。但,一旦玻璃破碎,请停下拆解并使用金属撬刀撬出玻璃,避免更多的碎裂。
-
-
-
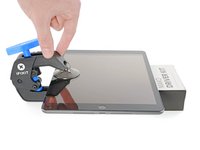
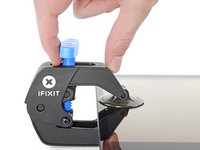
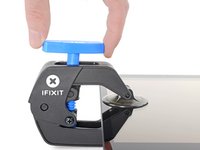
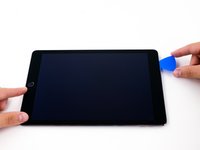
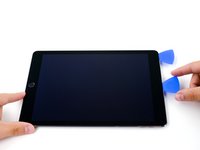
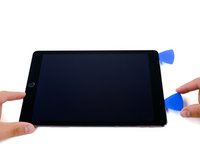
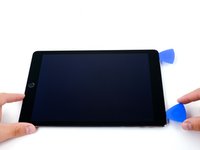
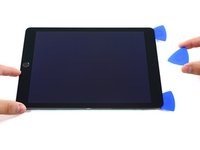
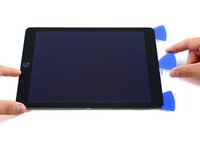
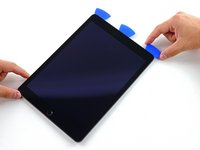
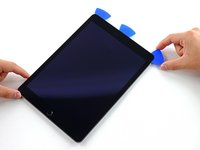
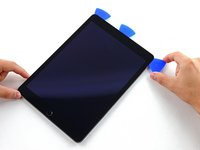
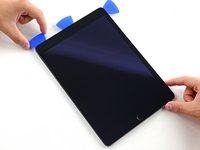
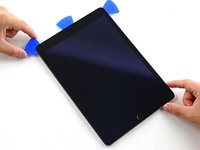
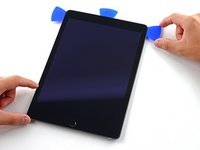
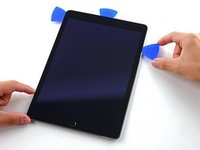
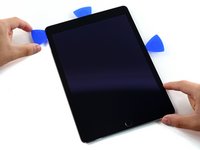
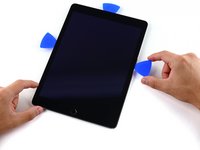
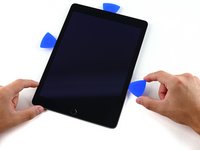
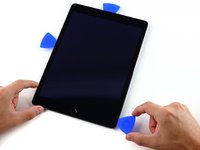
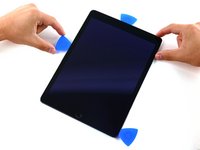
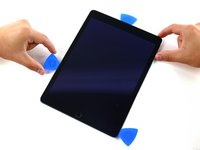
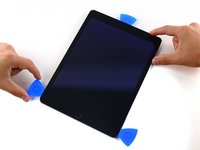
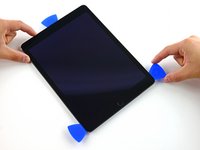
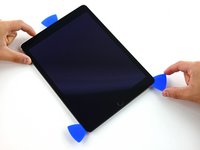
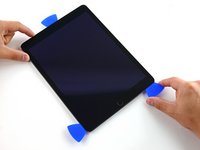
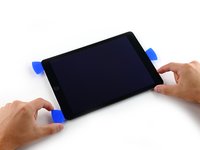
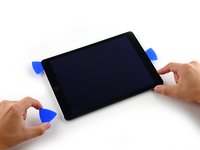
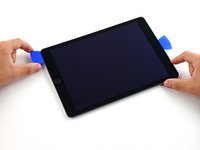
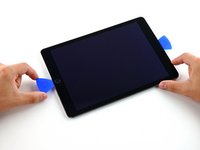
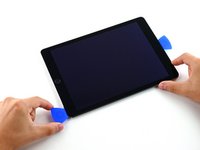
将 iPad 抬高到足以让 反向钳的铰链位于屏幕上方和下方的位置。
-
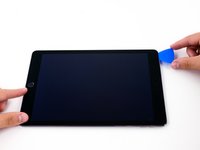
将蓝色手柄拉向铰链以解除开启模式。
-
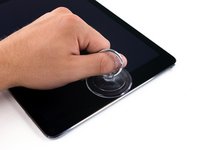
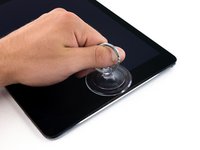
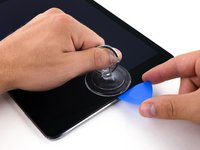
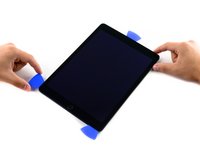
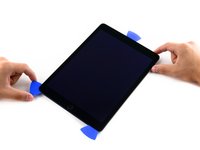
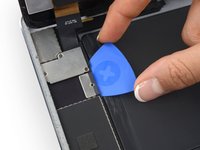
将吸盘放在屏幕上主页按钮的正上方——一个在前面,一个在后面。
-
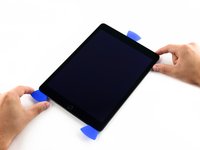
向下推吸盘以将吸力施加到所需区域。
-
-
-
-
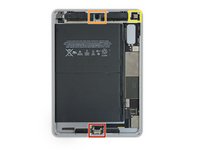
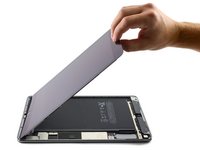
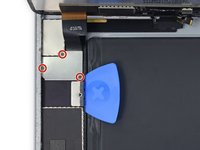
请仔细检查您将要替换的组件是否与原组件相匹配。
-
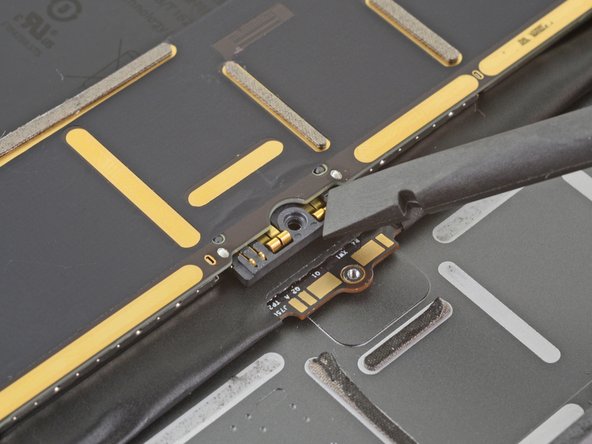
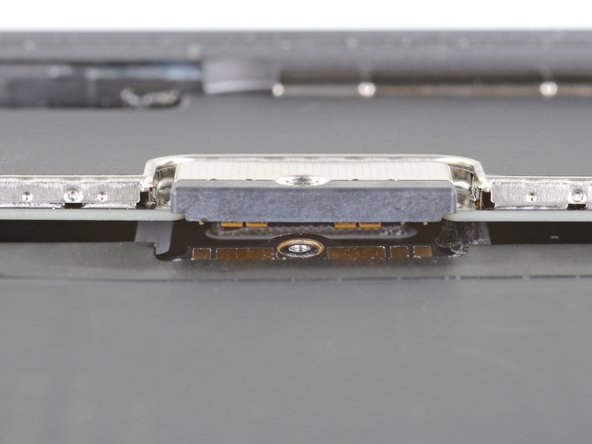
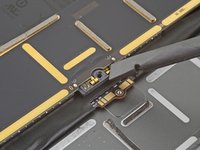
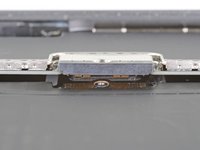
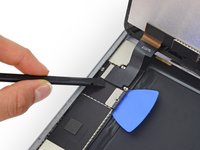
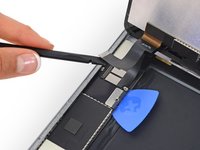
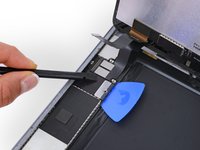
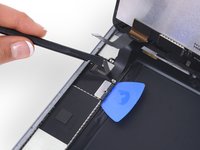
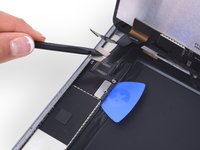
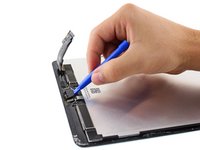
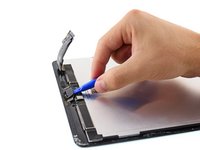
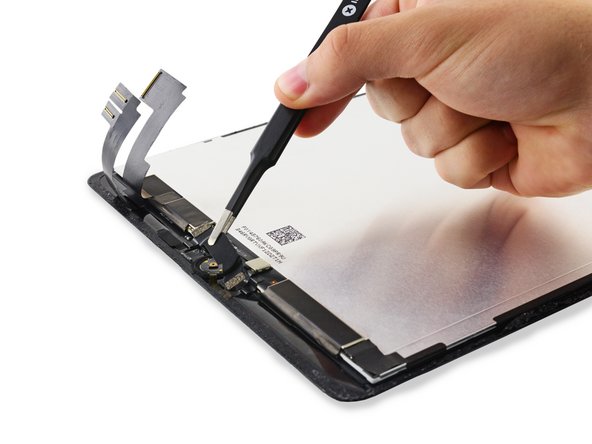
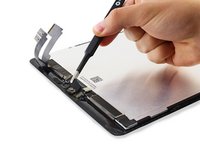
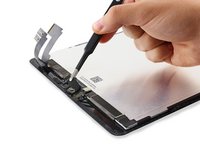
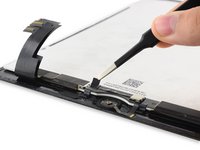
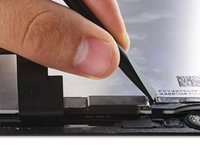
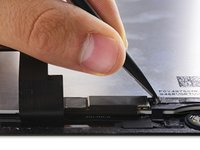
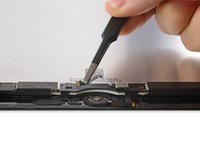
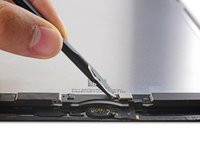
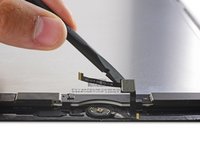
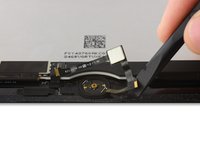
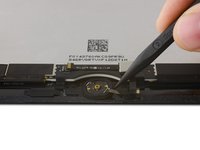
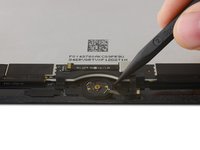
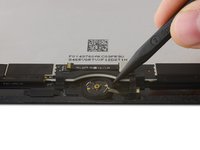
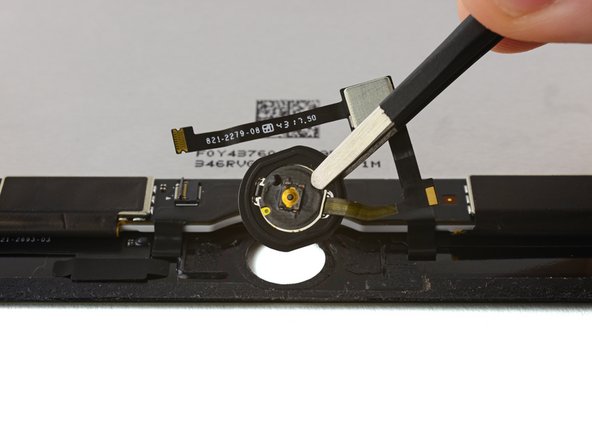
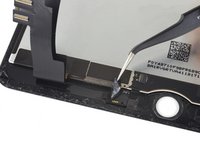
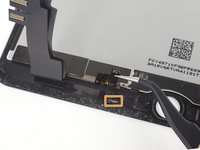
您新的屏幕组件可能缺少针对于Smart Cover的睡眠/唤醒感应器。如果您不希望移除该功能,那么您需要将该组件拆下并适配到新的屏幕组件上。
-
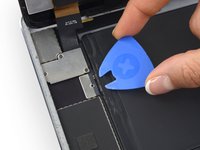
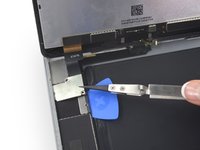
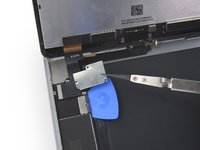
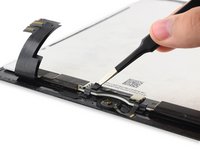
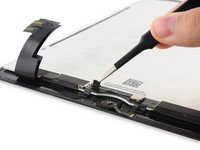
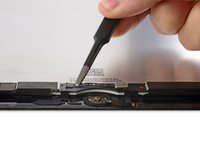
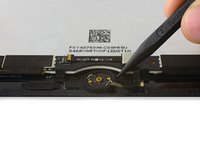
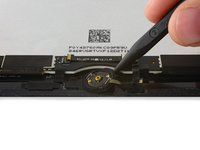
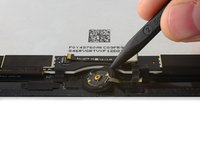
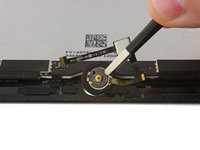
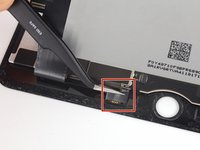
把屏幕左下角的四个焊接点去除,以移除组件电缆的感应器。
-


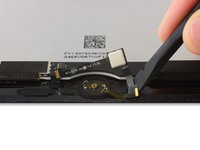


请按照相反的顺序来完成设备的组装。
请按照相反的顺序来完成设备的组装。
185等其他人完成本指南。


26条评论
What about the part soldered to the display to the left of the home button? It's showcased in step 43 but hidden with black tape then missing in step 44? What is the significants of this component or flex cable...
jmcdonough - 回复
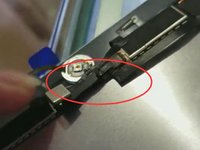
Be careful if you replace the home button bracket, many of the replacements do not have the small silver disc that sits in the recess on the inside of the bracket. If you do not transfer this from the old one, the home button will not work as there will be nothing for the home button to press against
can you describe how to transfer the sensor flex cable assembly (four small solder points left to home button on step 45)?
No use to buy your spare part without this step!
This is one of the harder steps to accomplish I felt. You need to de-solder the four points by heating them up at the same time if possible. They actually have small holes in the center of them for the solder to go through to the bottom pads. Once it is removed you need to clean them off and remove as much old solder as possible without damaging the ribbon they are on. Once you have the new screen in place you need to put the part in its appropriate place and then solder the points. Using an ample amount of flux is helpful but you have to clean up afterwards with IP alcohol. If you have a small microscope or good camera you can zoom in and see if the connections are solid and then you are done.