简介
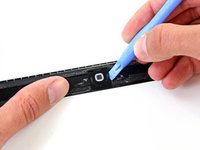
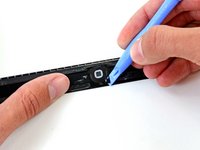
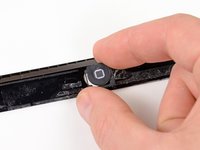
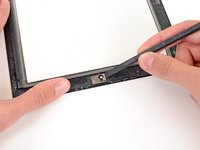
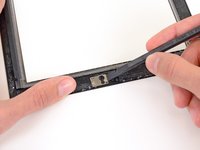
注意:这是一个普通更换前面板的指南。 如果您有前面板组件,请在从旧面板移除Home键那一步前停下,然后进行重组前面板工作。
你所需要的
-
-
-
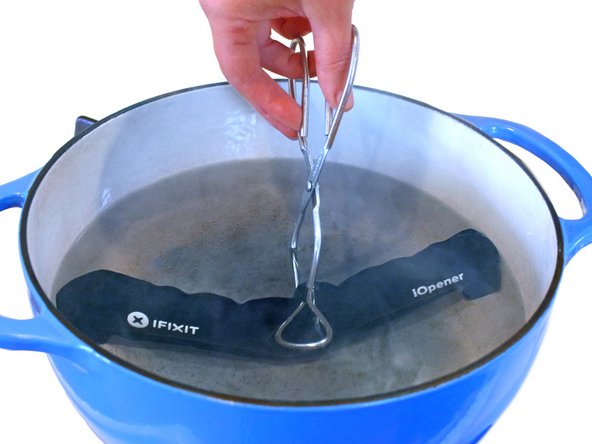
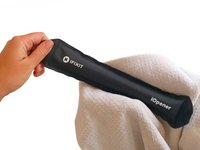
在锅或平底锅里装满足够的水来完全淹没iOpener。
-
把水加热到沸腾。关火。
-
将iOpener放入热水中2-3分钟。确保iOpener完全浸入水中。
-
用钳子从热水中提取加热的iOpener。
-
用毛巾彻底擦干iOpener。
-
你的iOpener已准备好使用!如果你需要重新加热iOpener,请将水加热到沸点,关火,并将iOpener放入水中2-3分钟。
-
-
-
-
-
-
-
-
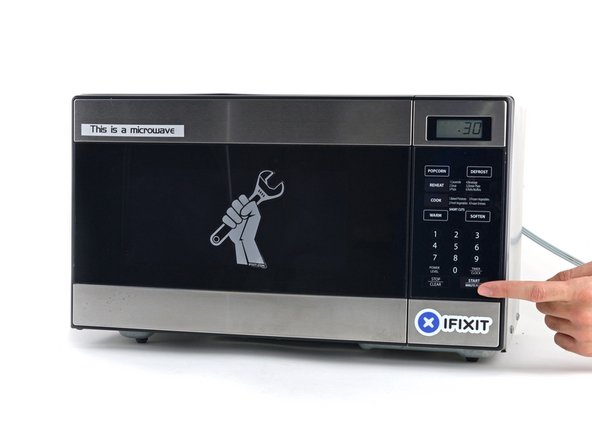
将 iOpener 放入微波炉中,在最高功率下加热 一分钟(如果你使用的是 新款凝胶填充 iOpener,则只需加热 三十秒)。
-
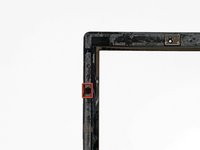
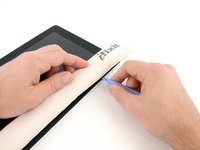
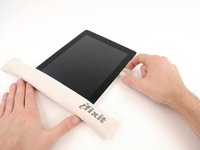
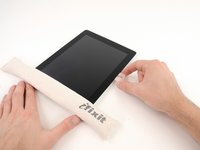
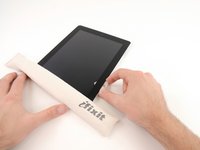
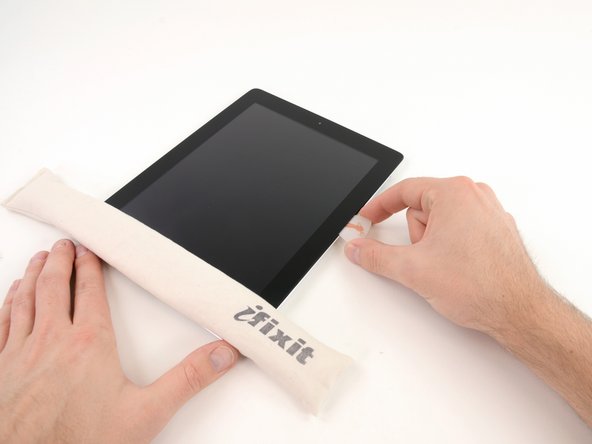
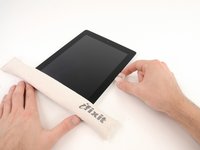
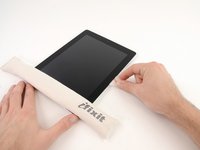
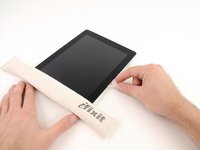
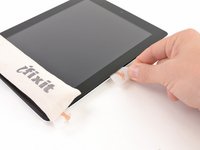
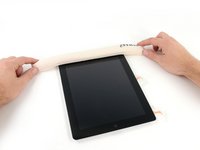
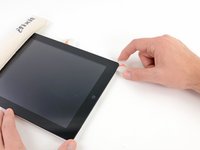
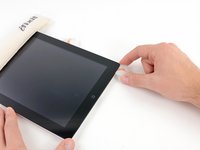
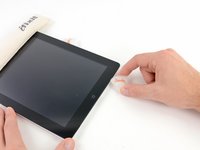
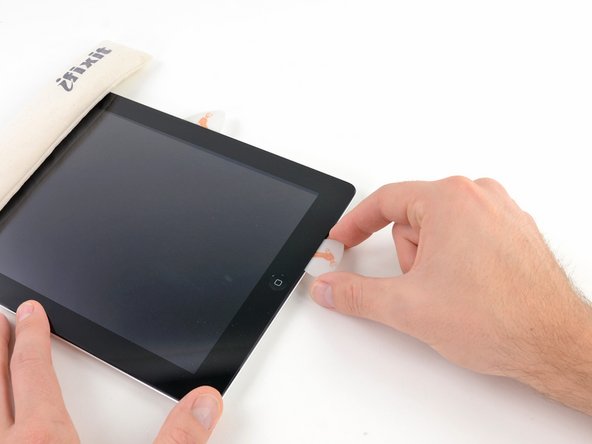
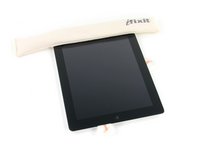
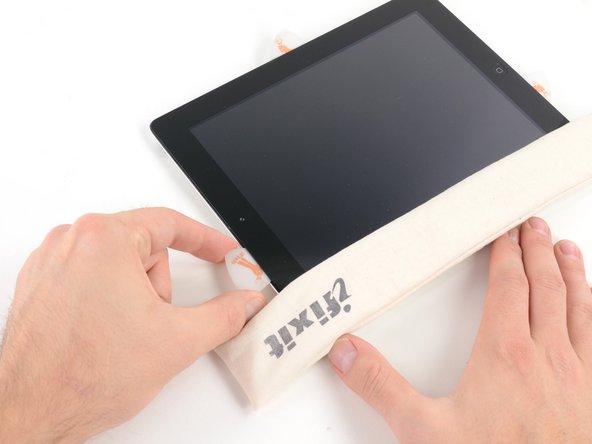
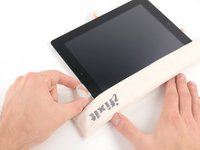
将 iOpener 放置在显示屏前边缘的主屏幕按钮上方。
-
-
-
-


 询问修复机器人






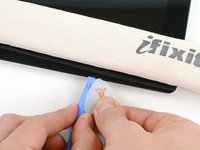
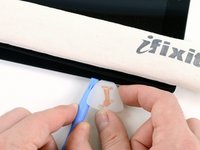


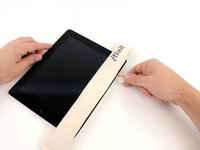
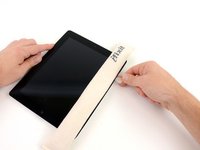













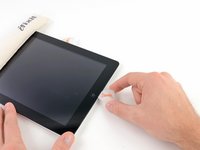
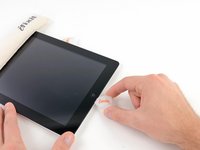
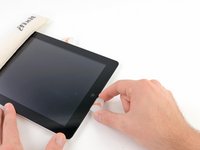


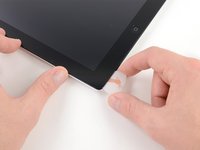




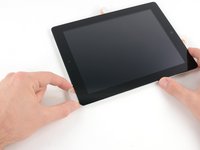
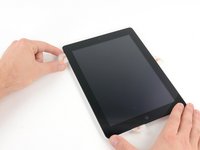


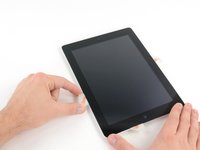
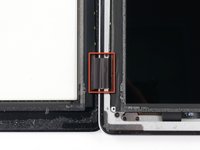
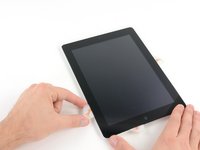
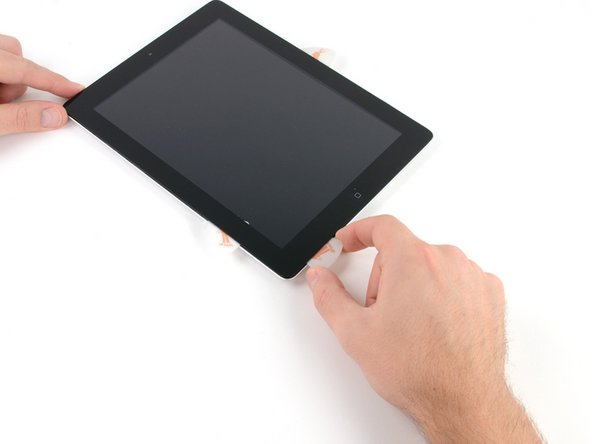


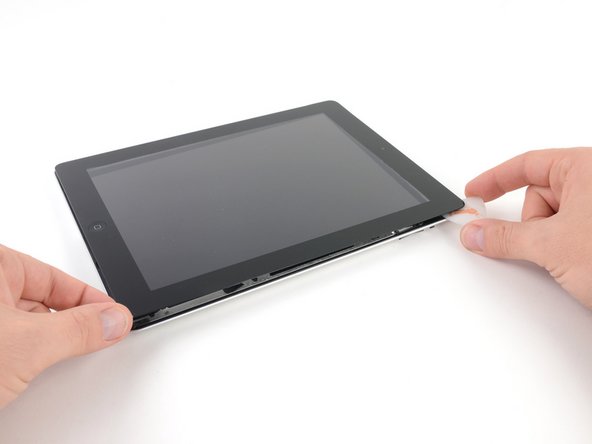


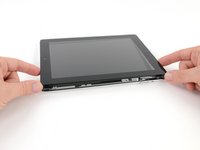
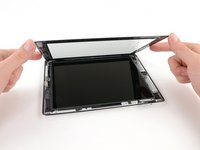


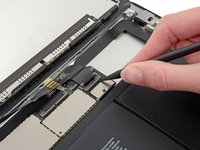
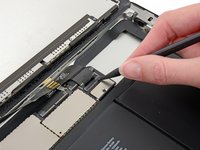
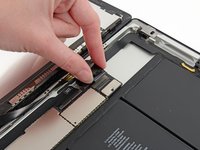


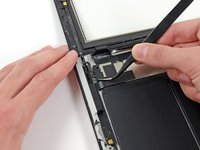
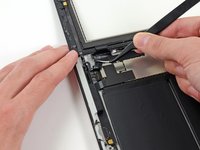


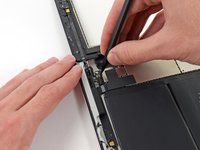
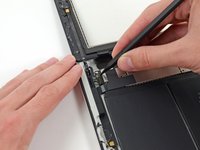


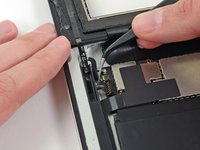
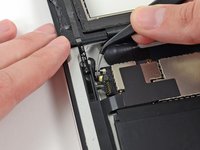


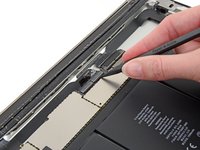
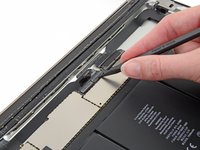
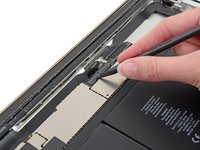


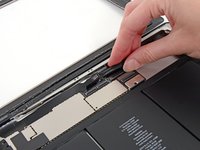
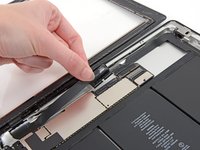


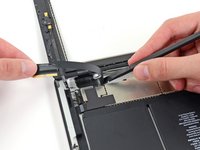
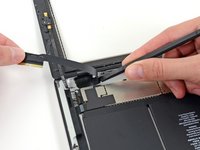


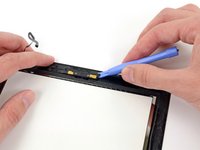
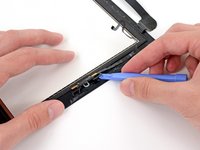






要重新组装您的设备,请按照本指南的相反顺序进行操作。 同时使用我们的 iPad 4 Wi-Fi 前面板粘合剂 指南来重新粘贴前面板。
339等其他人完成本指南。


25指南评论
Step 27. Reassembly. Test the connections by dry fitting the front glass to the chassis prior to removing the white adhesive strip protection. Power on the unit to ensure the LCD panel powers on and that the digitizer functions. Power the unit down. Remove the clear front glass protector from the rear of the glass. Then proceed to perform the final install by removing the white adhesive protection. Seat the front glass. Remove the protective cover from the front of the front glass.
what does the bit at the start mean : "Note: this is a complete guide for replacing a plain front panel. If you have a Front Panel Assembly replacement part, stop before removing the home button from your old front panel, and reverse the steps to install your new front panel assembly."
sorry for being a noob do i have to do the guide diffrently or what
thanks
The front panel assembly will come with the HB attached to the glass already. So you would not have to remove the HB from your original screen, only disconnect it from the socket
nicole shih - 回复 分享
Step 37:
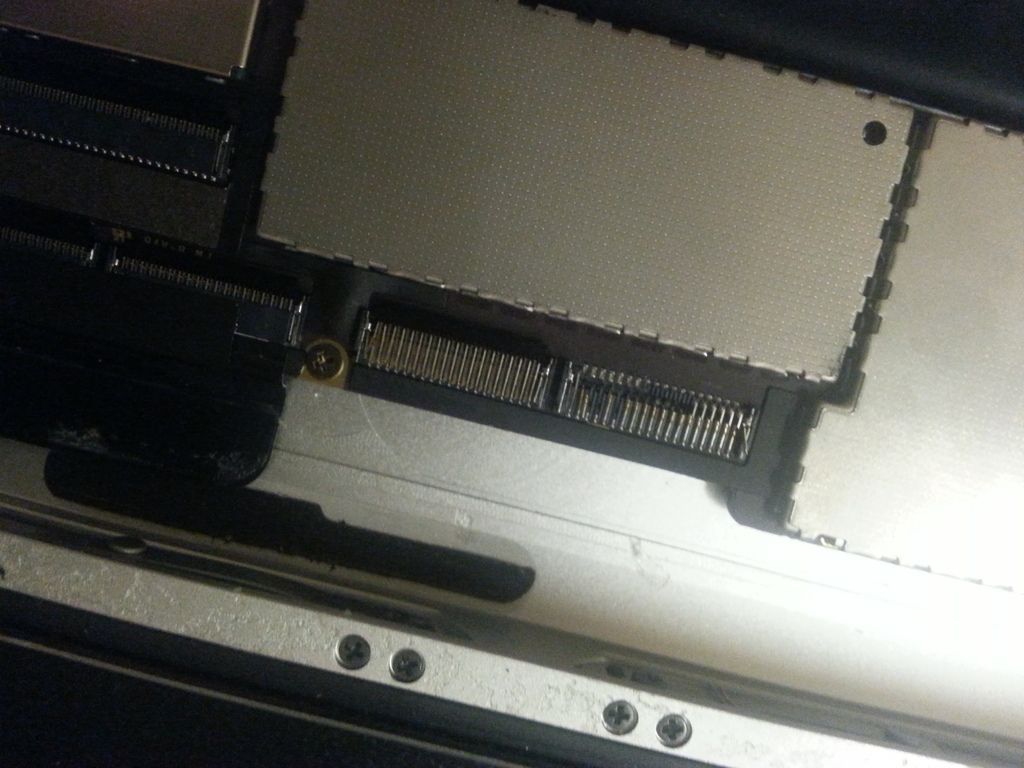
My logic board is damaged. http://i1044.photobucket.com/albums/b447...
Too much force was used to remove the connector. Is there a way to repair this or does the logic board need to be replaced.