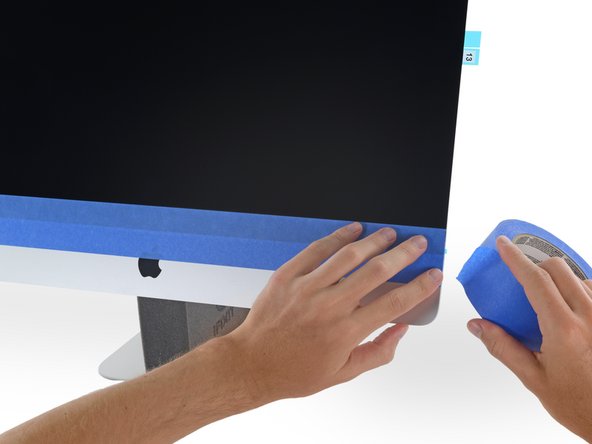
iMac Intel 27" Retina 5K Display 2020 Display Adhesive Replacement
简介
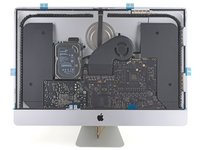
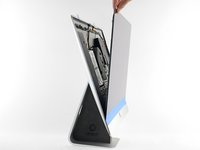
转到步骤 1Follow this guide to apply a new set of adhesive strips to your 2020 iMac display.
Removing the display requires cutting through the adhesive around the perimeter of the screen. After the adhesive is cut, it cannot be used to re-seal the display.
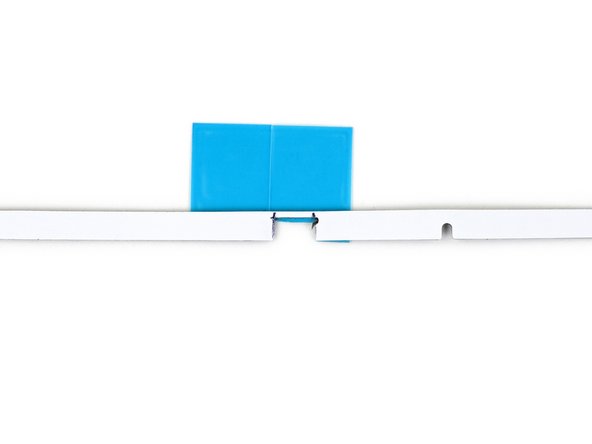
The 2012-2019 adhesive strips only have one cutout for the microphone. You will have to make a second cutout for the left microphone.
你所需要的
修复工具包
本套装包含完成指南所需的所有零件和工具。
配件
工具
查看更多...
-
在这个步骤中使用的工具:iMac Intel 27" Cardboard Service Wedge$4.99
-
Follow these assembly directions to put the service wedge together.
-
Insert the service wedge between the back of the display and the stand.
-
-
在这个步骤中使用的工具:Tweezers$4.99
-
If you are re-using your existing display, you must also remove the old adhesive from the back of the display.
-
Peel off the adhesive strips using tweezers or your fingers. Start at the bottom and peel upward towards the top of the device.
-
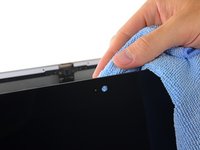
After all the old adhesive is removed, carefully clean the surface with 90% (or greater) isopropyl alcohol and a lint-free cloth. Wipe in one direction, not back and forth.
-
-
-
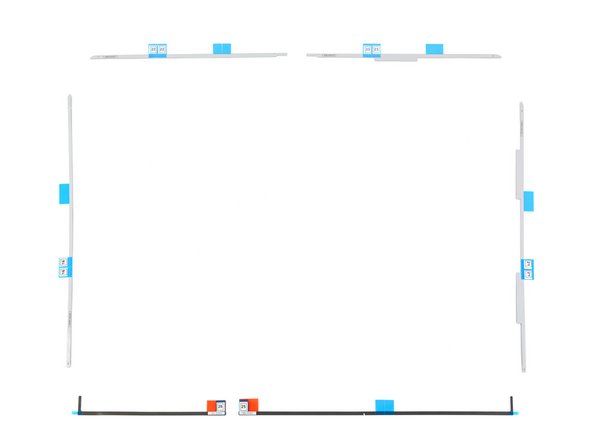
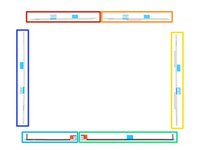
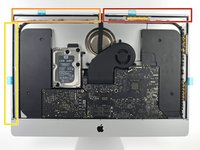
Lay out the adhesive strips to ensure you install them in the correct place:
-
Strip 22 on the top left
-
Strip 23 on the top right
-
Strip 21 on the right vertical
-
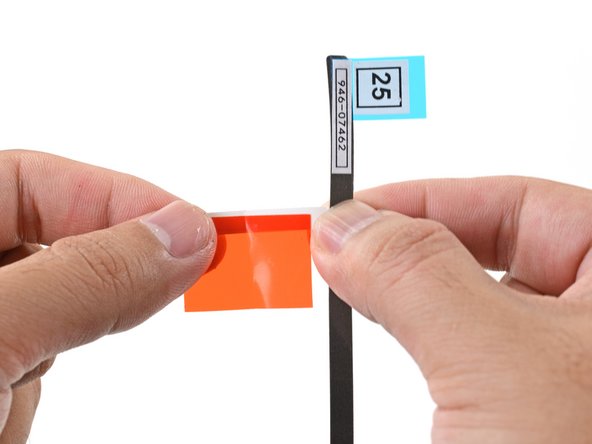
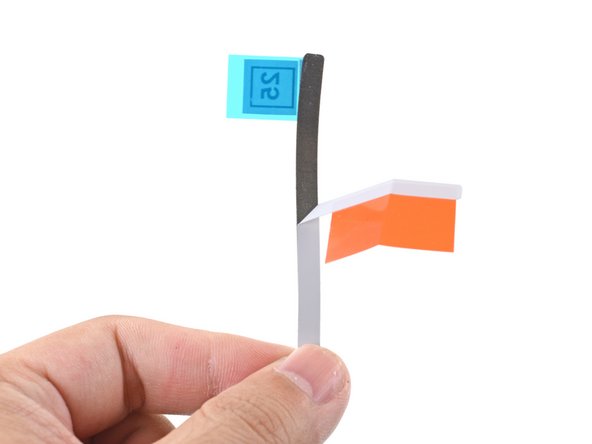
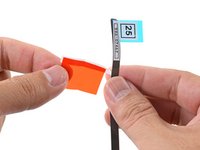
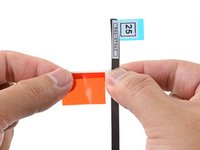
Strip 25 on the bottom right, dark side facing up—double check to make sure this strip has the necessary cutout for the microphone
-
Strip 26 on the bottom left, dark side facing up
-
Strip 16 on the left vertical
-
-
-
Start with strip 21, which goes on the right vertical edge of the iMac frame.
-
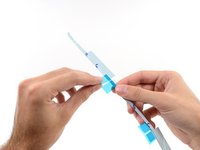
Peel the short piece of backing off the back of the strip.
-
-
-
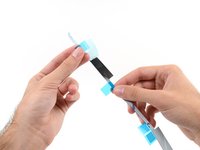
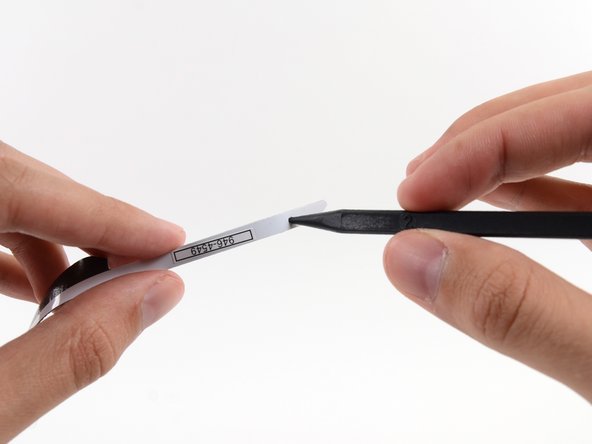
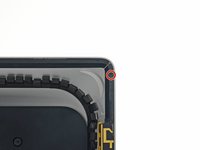
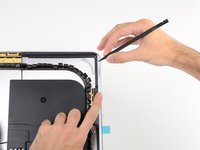
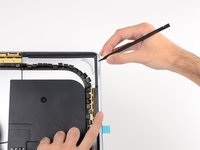
With the spudger still poking through the hole in the adhesive strip, push the spudger tip into the corresponding hole in the frame of the iMac.
-
Using the hole and spudger to anchor the position of the adhesive strip, line the strip up against the right edge, gently pull down against the spudger to ensure the strip is taut, and stick it onto the frame.
-
-
-
Work your way counter-clockwise around the perimeter of the iMac, adding three more adhesive strips in the same manner:
-
Strip 23 on the top right
-
Strip 22 on the top left
-
Strip 16 on the vertical left
-
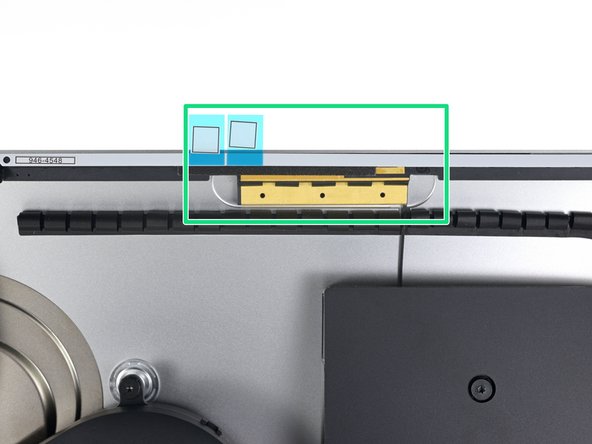
On the iMac Intel 27" Retina 5K Display, the top-right strip's blue tabs will not line up with the top antenna in the same way as the non-5K model. This is perfectly acceptable and won't impact the performance of the strips or antenna.
-
-
-
-
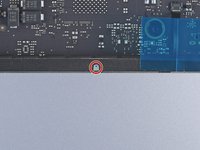
The microphone is a small hole located between two larger holes.
-
-
-
Place adhesive strip 25 on your work surface with the white side facing up and the opening of the microphone notch facing away from you.
-
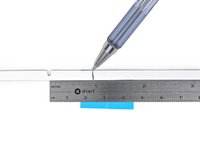
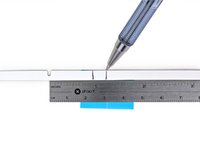
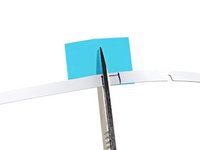
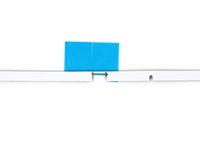
Measuring from the center of the microphone notch, make two marks on the adhesive strip as guides for where to cut:
-
Make the first mark 13/16 inch (23 mm) right of the notch
-
Make the second mark 1 & 5/16 inch (29 mm) right of the notch
-
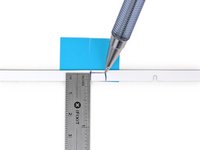
Rotate the adhesive strip so that the notch is now facing toward you.
-
Measuring from the bottom edge of the strip, make a third mark in between the first two 5/32 inch (4 mm) up from the bottom edge.
-
-
-
Align the adhesive strip to the bottom edge by positioning the microphone notch over the microphone hole.
-
If your iMac does not have a microphone hole, align the right end of the strip such that the L-bend sits next to the right vertical adhesive. The L-bend should not overlap the right vertical adhesive.
-
Once you have aligned the strip, carefully set the left exposed edge onto the iMac to secure the alignment.
-
-
-
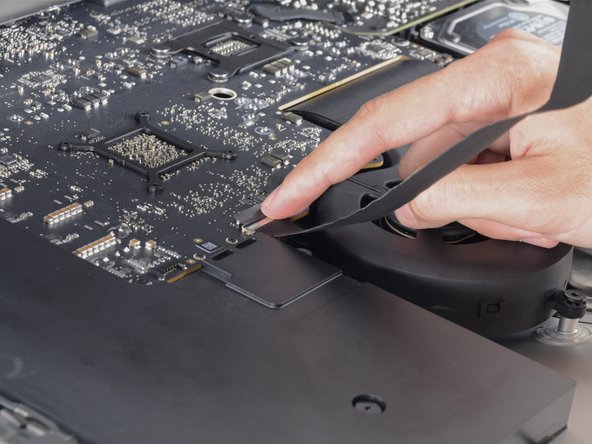
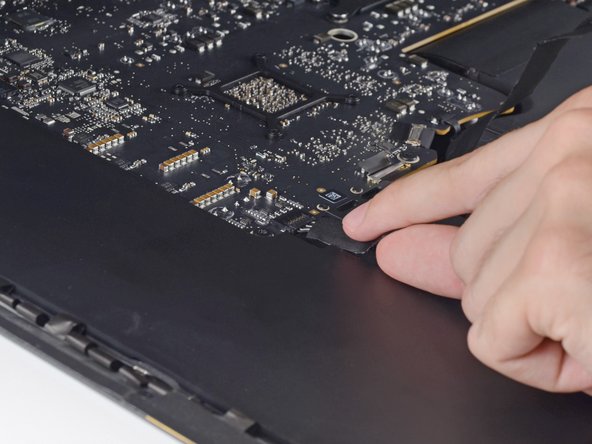
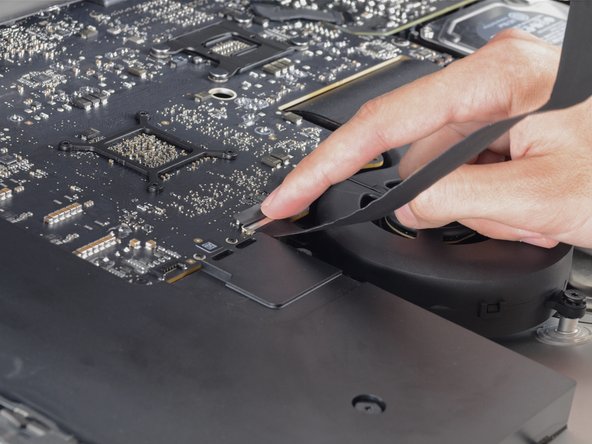
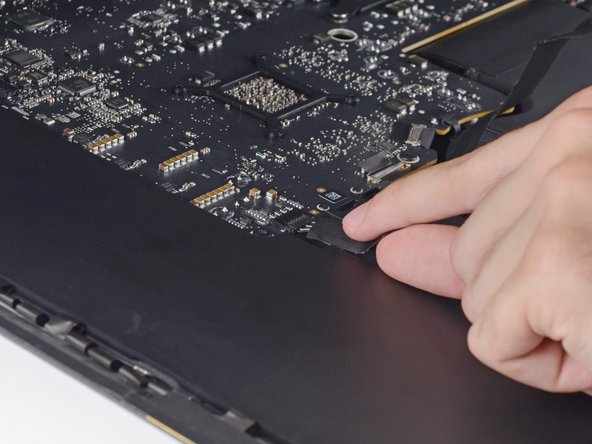
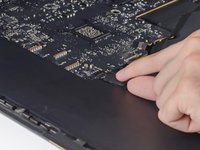
Gently insert the display data connector into its socket on the logic board. Be sure to press it straight into the socket, and insert it completely.
-
Flip the display data connector lock down onto the socket.
-
Insert the display power connector into its socket on the logic board.
-
-
-
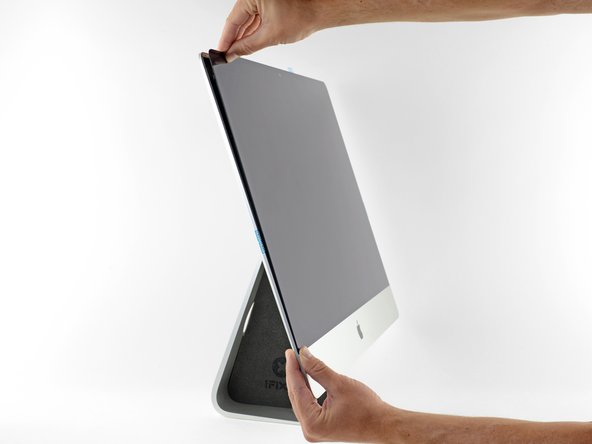
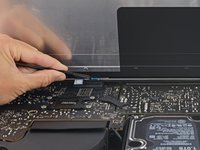
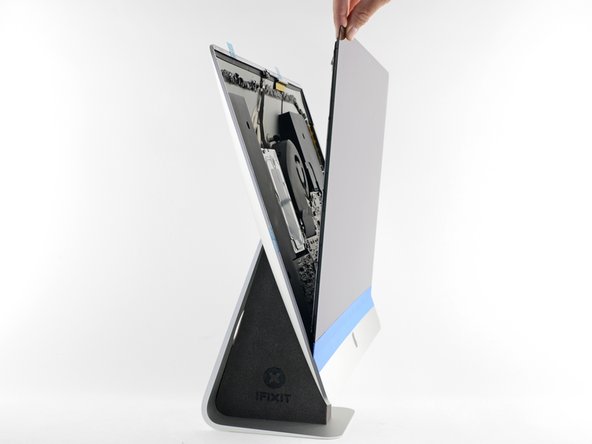
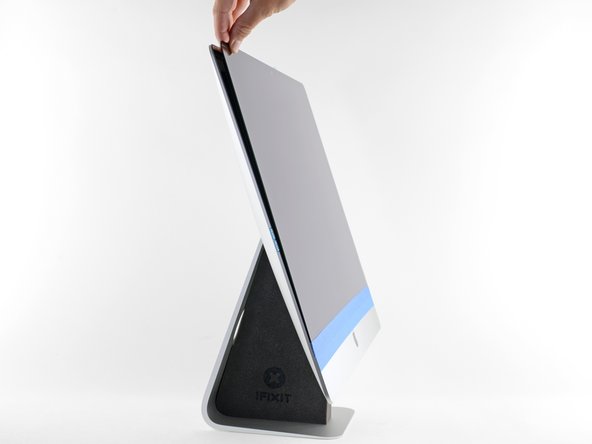
After confirming that your iMac functions properly, disconnect the display cables and carefully lean the display forward.
-
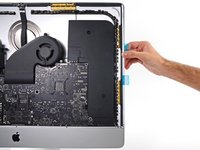
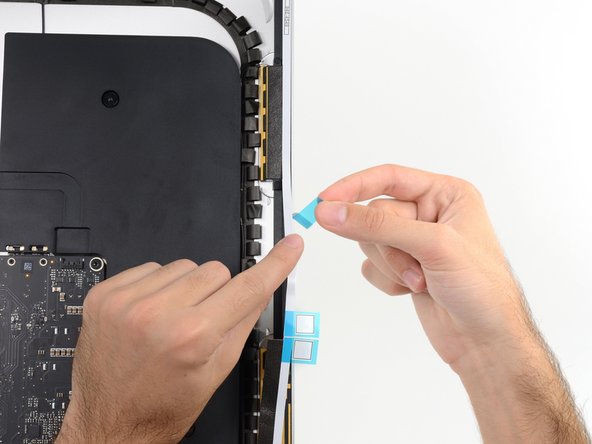
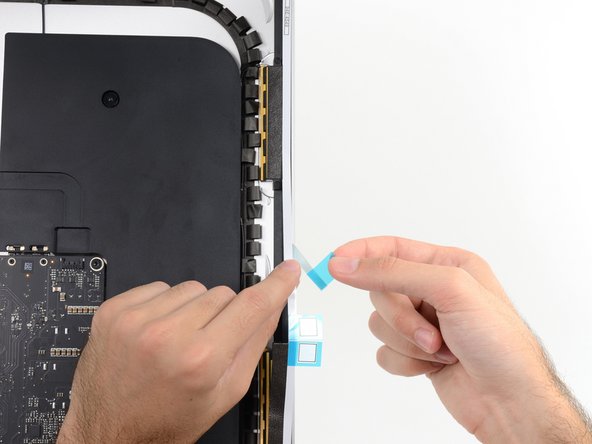
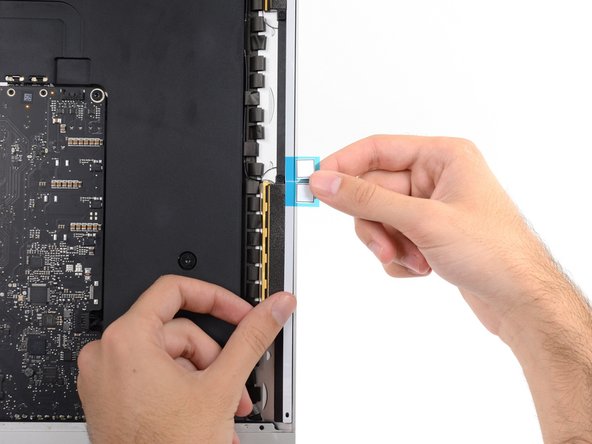
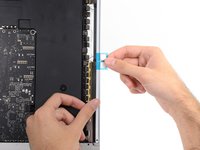
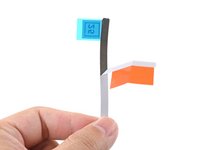
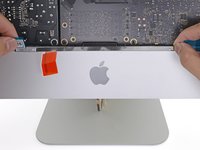
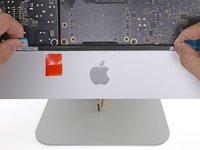
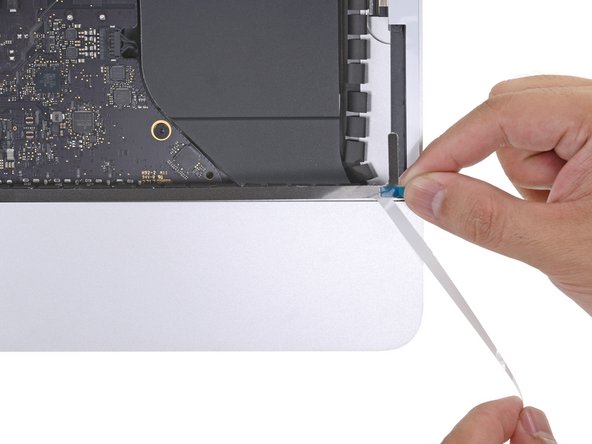
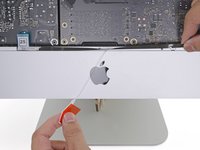
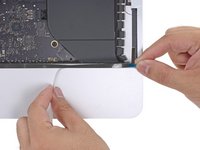
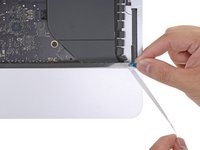
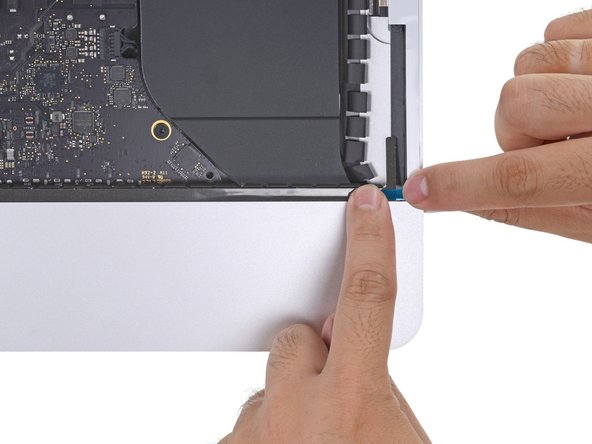
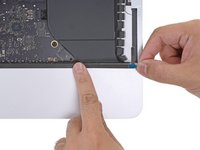
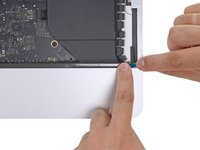
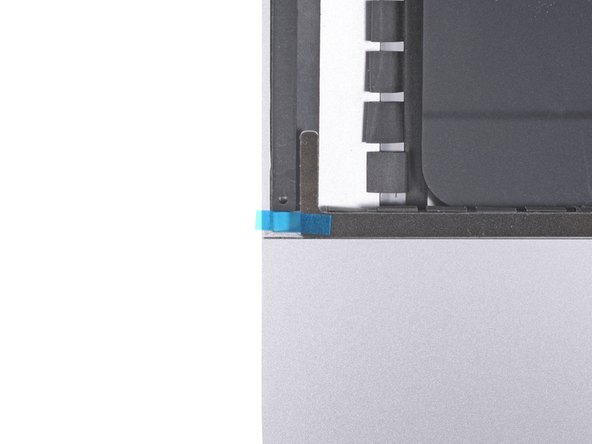
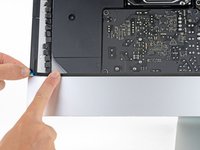
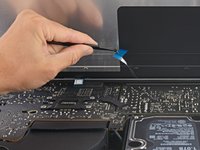
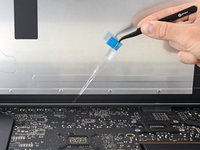
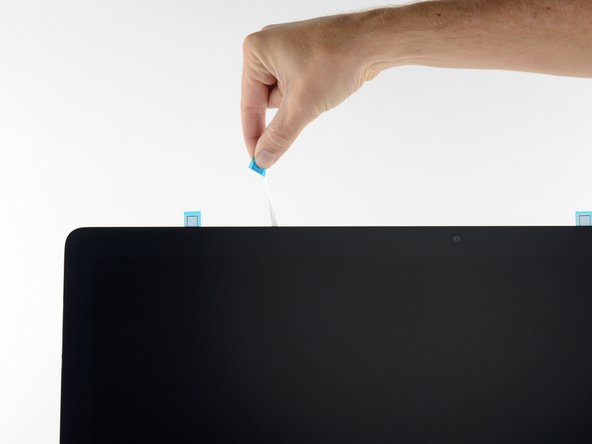
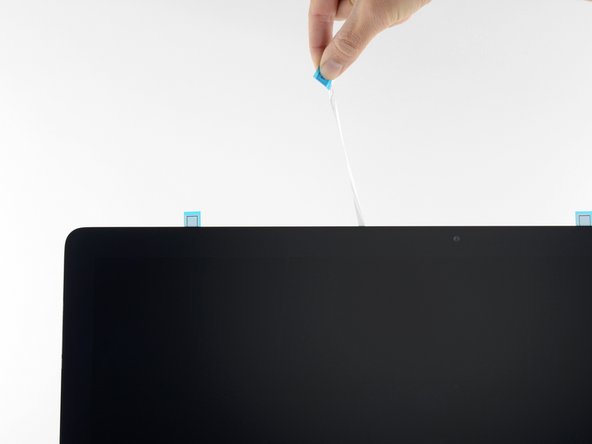
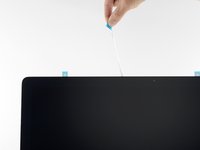
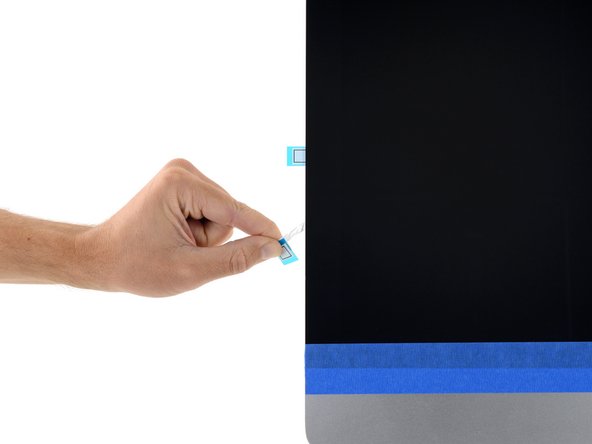
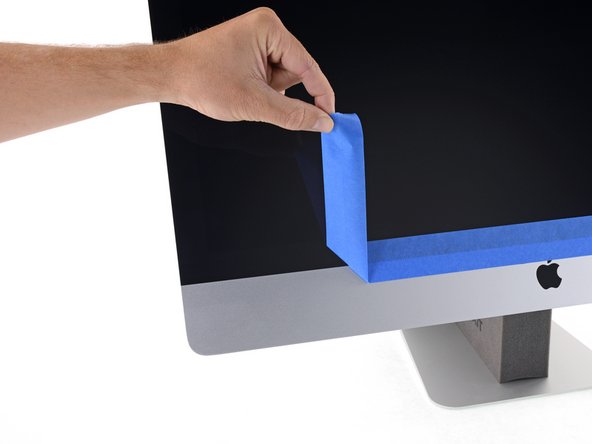
Remove the film from the two bottom strips by reaching in from above with a pair of tweezers and pulling the blue tabs straight up from the bottom edge of the display.
-
To reassemble your device, follow the above steps in reverse order.
Take your e-waste to an R2 or e-Stewards certified recycler.
Repair didn’t go as planned? Check out our Answers community for troubleshooting help.
To reassemble your device, follow the above steps in reverse order.
Take your e-waste to an R2 or e-Stewards certified recycler.
Repair didn’t go as planned? Check out our Answers community for troubleshooting help.
6等其他人完成本指南。


