跳转到主内容
加入维修社区 - 创建账户

此翻译由机器生成,尚未经过人工审核。 会说这种语言吗? 查看评论

Xbox One Elite Controller (Model 1698) 主板更换

你所需要的

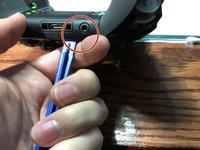
    1. Xbox One Elite Controller (Model 1698) 主板更换, 让我看看这些螺丝!: 步骤 1 中的图像 1,2 Xbox One Elite Controller (Model 1698) 主板更换, 让我看看这些螺丝!: 步骤 1 中的图像 2,2
      • 你可以用撬棒工具拆下侧盖。

      • 不需要拆下橡胶。这个控制器的橡胶本身就已经损坏了。

      询问修复机器人

      添加评论

    2. Xbox One Elite Controller (Model 1698) 主板更换, 拆卸后盖螺丝: 步骤 2 中的图像 1,1
      • 拧下 5 颗防拆 Torx (TR9) 螺丝。

      添加评论

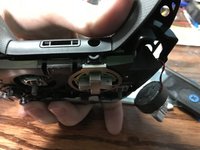
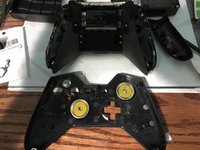
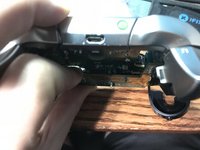
    3. Xbox One Elite Controller (Model 1698) 主板更换, 撬开后盖: 步骤 3 中的图像 1,3 Xbox One Elite Controller (Model 1698) 主板更换, 撬开后盖: 步骤 3 中的图像 2,3 Xbox One Elite Controller (Model 1698) 主板更换, 撬开后盖: 步骤 3 中的图像 3,3
      • 在 3.5 mm 接口旁撬开面板。

      • 注意不要撕坏下一步中显示的排线。

      询问修复机器人

      添加评论

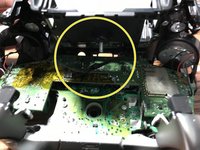
    4. Xbox One Elite Controller (Model 1698) 主板更换, 警告:小心拆下排线: 步骤 4 中的图像 1,2 Xbox One Elite Controller (Model 1698) 主板更换, 警告:小心拆下排线: 步骤 4 中的图像 2,2
      • 请小心,不要扯断排线。

      • 你可以将连接器向上撬起,以便轻松拆下排线。

      • 排线

      添加评论

    5. Xbox One Elite Controller (Model 1698) 主板更换, 控制器主板上的螺丝: 步骤 5 中的图像 1,1
      • 拧下 2 颗 Torx (T6) 螺丝。

      询问修复机器人

      添加评论

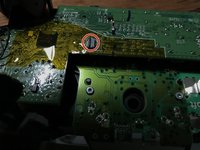
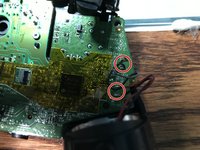
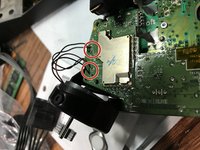
    6. Xbox One Elite Controller (Model 1698) 主板更换, 从主板上拆焊线缆: 步骤 6 中的图像 1,2 Xbox One Elite Controller (Model 1698) 主板更换, 从主板上拆焊线缆: 步骤 6 中的图像 2,2
      • 拆焊两侧的 4 根线缆,它们控制振动和 RT LT 按键。

      添加评论

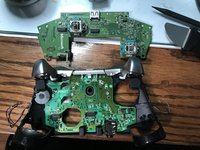
    7. Xbox One Elite Controller (Model 1698) 主板更换, 拆下主板: 步骤 7 中的图像 1,2 Xbox One Elite Controller (Model 1698) 主板更换, 拆下主板: 步骤 7 中的图像 2,2
      • 从子板控制器的“顶部”向上拉。

      添加评论

结论

要重新组装设备,请按相反顺序执行这些说明。

取消:我没有完成这个指南。

9等其他人完成本指南。

EasyAsABC123

于01/22/10注册

2,557 声望

创作了5篇指南

1指南评论

50 minutes? half of that tops

glenn.fowell - 回复 分享

添加评论

浏览统计数据:

过去 24 小时: 3

过去 7 天: 27

过去 30 天: 103

总计 19,416