
Vivitar XO 7 Motherboard Replacement
8 - 10 分钟
中等
简介
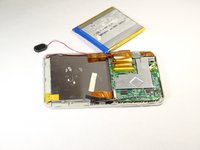
转到步骤 1This guide will show you how to remove your device's motherboard.


-
-
-
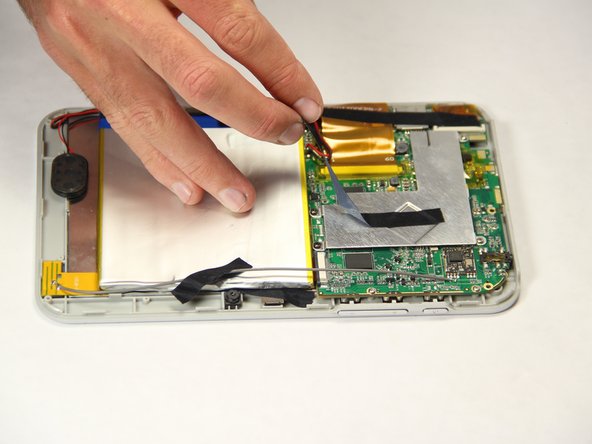
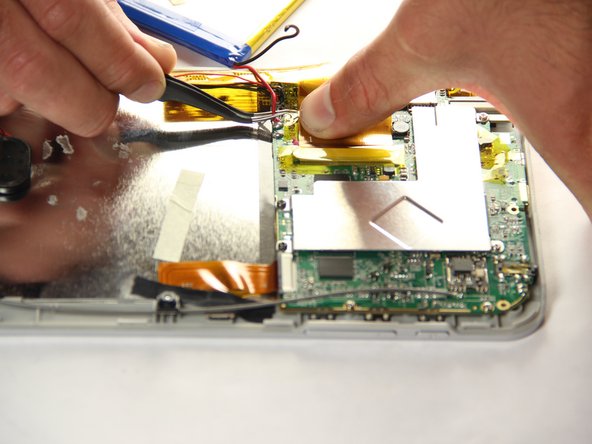
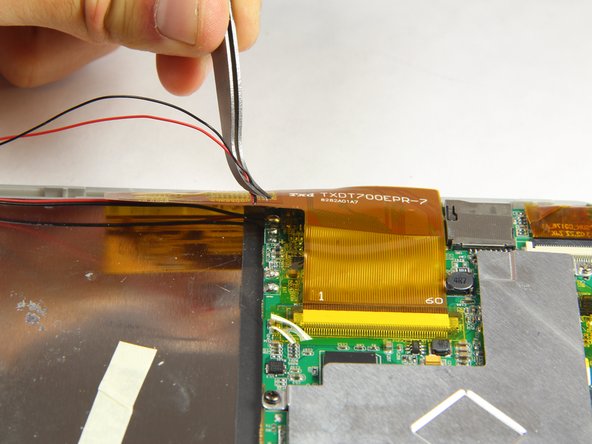
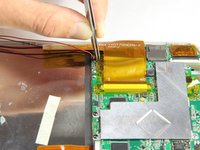
Disconnect the large golden ribbon cable that is connected to the digitizer. Firmly grab the cable close to the connection and pull to disconnect.
-


即将完成!
To reassemble your device, follow these instructions in reverse order.
结论
To reassemble your device, follow these instructions in reverse order.
团队

USF Tampa, Team 11-1, Blackwell Winter 2015 USF Tampa, Team 11-1, Blackwell Winter 2015 的会员
USFT-BLACKWELL-W15S11G1
4 名成员
创作了10篇指南