跳转到主内容
加入维修社区 - 创建账户

Trio Stealth-G4X Screen Replacement

你所需要的

  1. Trio Stealth-G4X Screen Replacement, Camera: 步骤 1 中的图像 1,1
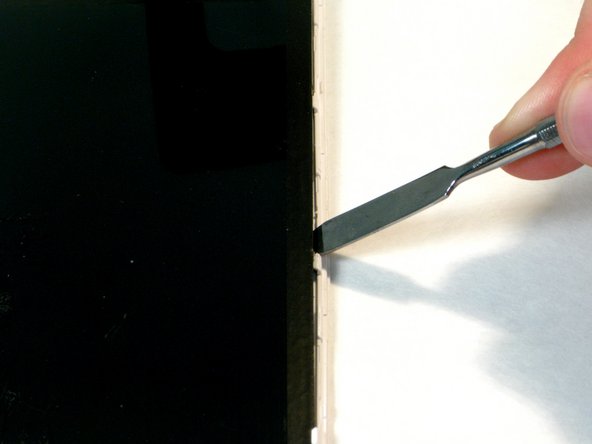
    • Starting near the middle edge of the Trio Stealth-G4X tablet, gently work an opening pick or spudger in between the seams of one side of the tablet.

    询问修复机器人
    添加评论

  2. Trio Stealth-G4X Screen Replacement: 步骤 2 中的图像 1,1
    • Work your way around all four corners of the tablet, unlocking all of the retaining tabs that hold the tablet together. This will allow you to separate the two halves of the tablet and access the motherboard.

    • Be sure not to over penetrate while separating the two halves as you may damage the tablet's internal hardware.

    询问修复机器人
    添加评论

  3. Trio Stealth-G4X Screen Replacement: 步骤 3 中的图像 1,1
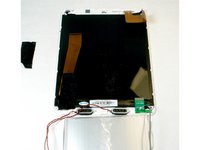
    • Once the two halves are separated, set aside the back cover of the tablet as you will not need it until reassembly. Now locate the camera on the motherboard of the tablet.

    询问修复机器人
    添加评论

  4. Trio Stealth-G4X Screen Replacement: 步骤 4 中的图像 1,1
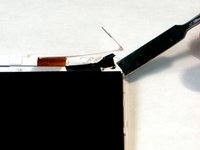
    • Peel back the yellow protective film on the motherboard to access the camera's ribbon cable.

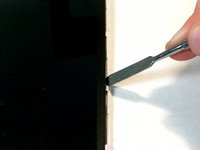
    询问修复机器人

    添加评论

  5. Trio Stealth-G4X Screen Replacement: 步骤 5 中的图像 1,1
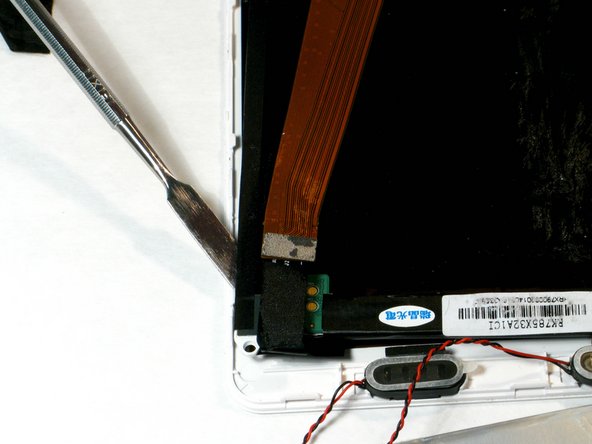
    • Take the Phillips head screwdriver and unscrew the 3mm screw right above the camera assembly. Place the screw aside so you do not lose it.

    询问修复机器人
    添加评论

  6. Trio Stealth-G4X Screen Replacement: 步骤 6 中的图像 1,1
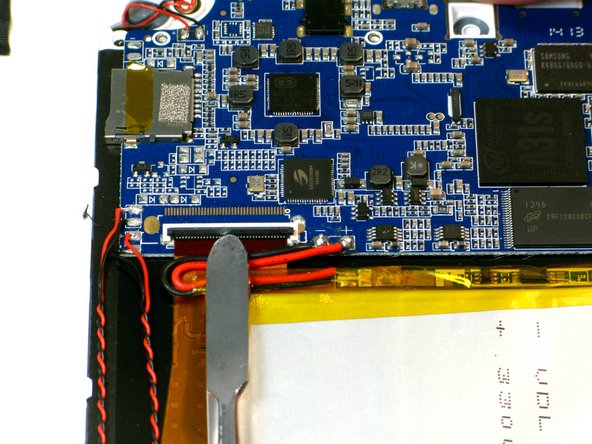
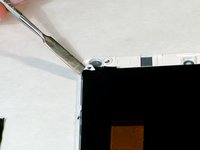
    • Use a spudger to pry the black tab on this connection point upwards. This will unlock the ribbon cable that connects the camera to the motherboard.

    • Once unlocked, very carefully pull the cable out of the socket to disconnect it.

    • Be very delicate with the ribbon cable because it can tear easily.

    询问修复机器人
    添加评论

  7. Trio Stealth-G4X Screen Replacement: 步骤 7 中的图像 1,1
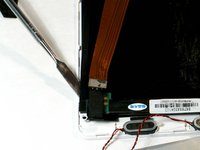
    • Now you can remove the camera assembly. Use a spudger to gently loosen the camera out of place.

    询问修复机器人
    添加评论

  8. Trio Stealth-G4X Screen Replacement: 步骤 8 中的图像 1,1
    • Grab the camera assembly with your fingers and gently lift it out of the tablet.

    询问修复机器人

    添加评论

  9. Trio Stealth-G4X Screen Replacement: 步骤 9 中的图像 1,1
    • You have now removed the camera assembly and can set it aside. Insert replacement camera by following the steps in reverse. Then reassemble the tablet the same way.

    询问修复机器人

    添加评论

  10. Trio Stealth-G4X Screen Replacement, Screen: 步骤 10 中的图像 1,2 Trio Stealth-G4X Screen Replacement, Screen: 步骤 10 中的图像 2,2
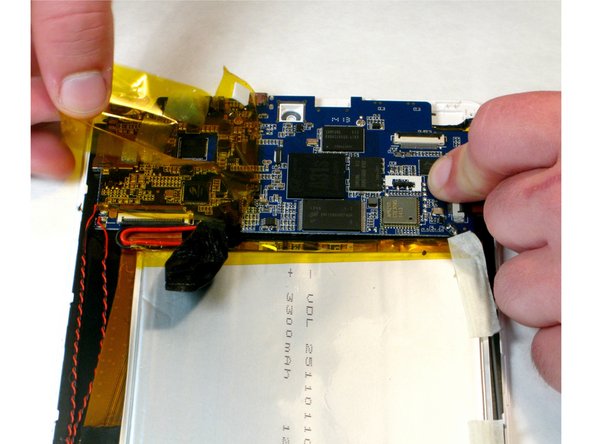
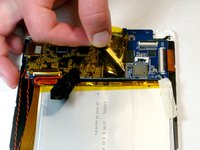
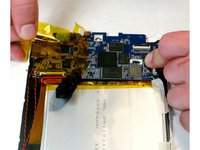
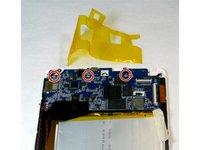
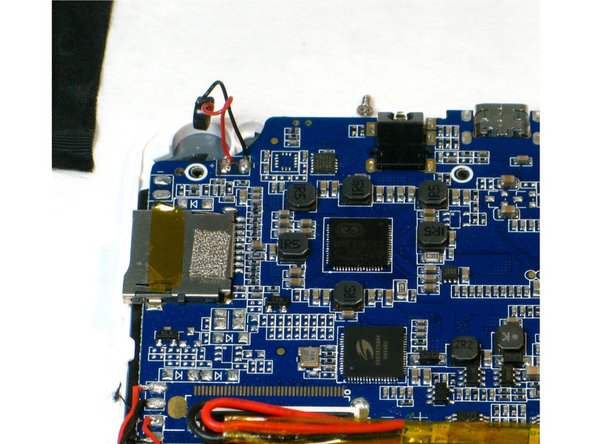
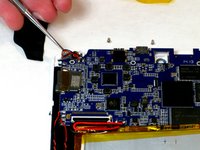
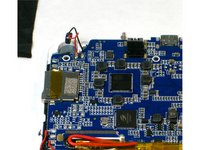
    • Slowly remove the yellow film covering the motherboard.

    询问修复机器人

    添加评论

  11. Trio Stealth-G4X Screen Replacement: 步骤 11 中的图像 1,2 Trio Stealth-G4X Screen Replacement: 步骤 11 中的图像 2,2
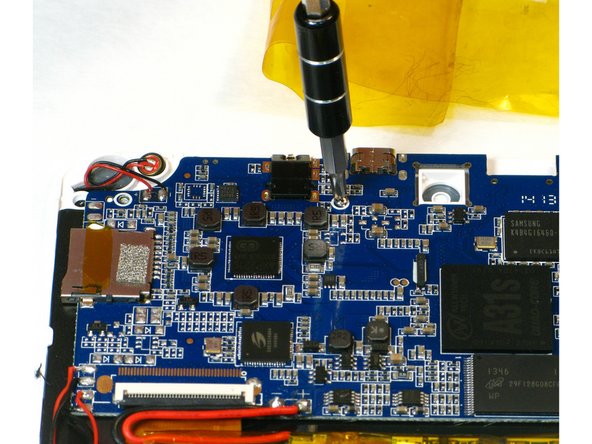
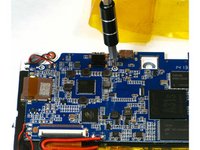
    • Remove the three remaining 3 mm screws from the motherboard using a Phillips screwdriver.

    询问修复机器人

    添加评论

  12. Trio Stealth-G4X Screen Replacement: 步骤 12 中的图像 1,1
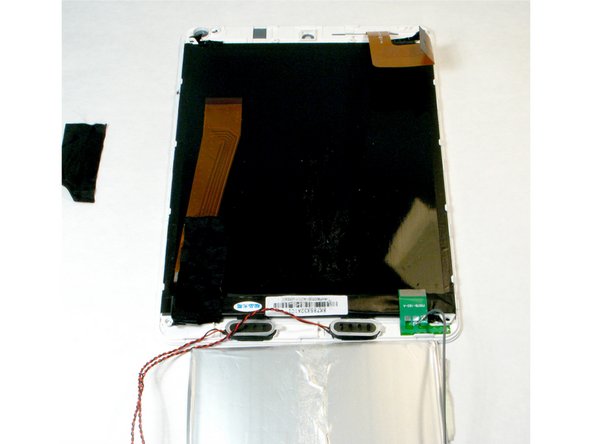
    • Locate the green wiring band at the bottom of the battery.

    • Although it has soldering points, you will not need to desolder the band for this replacement.

    • Very carefully use a spudger to peel the wiring band off of the battery pack.

    询问修复机器人

    添加评论

  13. Trio Stealth-G4X Screen Replacement: 步骤 13 中的图像 1,1
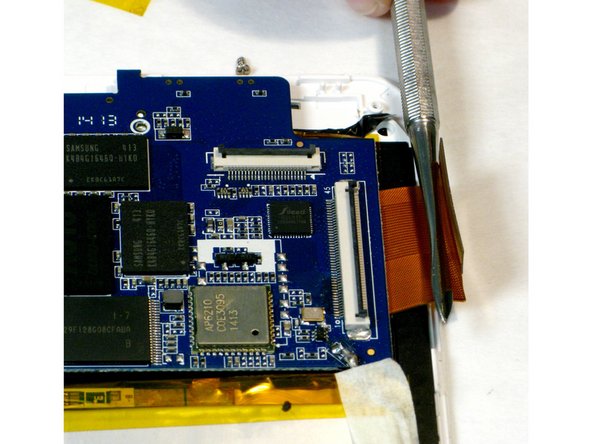
    • Find the ribbon cable in the top right corner of the tablet.

    • This connects the digitizer to the motherboard.

    • Use a spudger to pry the black tab upwards, unlocking the ribbon cable connector.

    询问修复机器人

    添加评论

  14. Trio Stealth-G4X Screen Replacement: 步骤 14 中的图像 1,2 Trio Stealth-G4X Screen Replacement: 步骤 14 中的图像 2,2
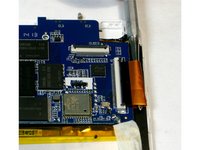
    • Use a spudger to lift the right side of the ribbon cable and disconnect it from the motherboard.

    询问修复机器人

    添加评论

  15. Trio Stealth-G4X Screen Replacement: 步骤 15 中的图像 1,2 Trio Stealth-G4X Screen Replacement: 步骤 15 中的图像 2,2
    • Find the second ribbon cable near the top left corner of the tablet.

    • This connects the LCD screen display to the motherboard.

    • Use a spudger to pry the black tab upwards, disconnecting the ribbon cable.

    询问修复机器人

    添加评论

  16. Trio Stealth-G4X Screen Replacement: 步骤 16 中的图像 1,2 Trio Stealth-G4X Screen Replacement: 步骤 16 中的图像 2,2
    • Locate the microphone in the top left corner of the tablet. This piece easily pops our of the hole it is sitting in with the help of a spudger.

    询问修复机器人

    添加评论

  17. Trio Stealth-G4X Screen Replacement: 步骤 17 中的图像 1,2 Trio Stealth-G4X Screen Replacement: 步骤 17 中的图像 2,2
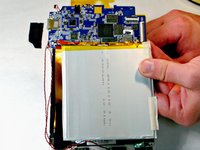
    • After all of these steps, the motherboard, speakers, and battery should all be able to be removed as one piece. The battery may have adhesive retaining it. To remove it work a pry tool underneath carefully separating it from the back of LCD screen.

    • Be careful when lifting all of these components out of the tablet.

    询问修复机器人

    添加评论

  18. Trio Stealth-G4X Screen Replacement: 步骤 18 中的图像 1,2 Trio Stealth-G4X Screen Replacement: 步骤 18 中的图像 2,2
    • Next, gently work a spudger in between the screen and tablet in the top left corner. This starts to separate the adhesive holding the screen and tablet together.

    • Work your way down the left side of the tablet.

    询问修复机器人

    添加评论

  19. Trio Stealth-G4X Screen Replacement: 步骤 19 中的图像 1,2 Trio Stealth-G4X Screen Replacement: 步骤 19 中的图像 2,2
    • Start in the top right corner of the tablet and use a spudger to work your way down the right side, further separating the screen and the tablet.

    询问修复机器人

    添加评论

  20. Trio Stealth-G4X Screen Replacement: 步骤 20 中的图像 1,1
    • The screen should now be able to be removed from the tablet.

    • Be sure to clean off any leftover adhesive from the tablet before installing the new screen. Re-installation and assembly can be done by following these steps in reverse order.

    询问修复机器人

    添加评论

结论

To reassemble your device, follow these instructions in reverse order.

取消:我没有完成这个指南。

0指南评论

添加评论

浏览统计数据:

过去 24 小时: 0

过去 7 天: 8

过去 30 天: 16

总计 1,129