简介
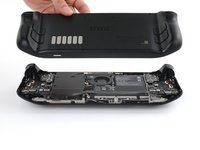
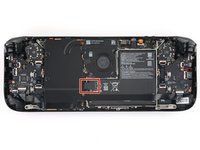
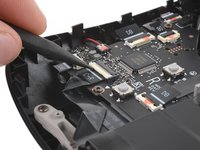
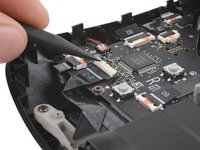
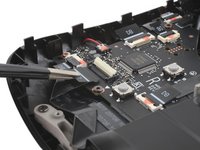
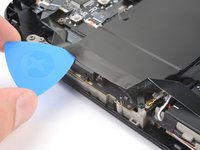
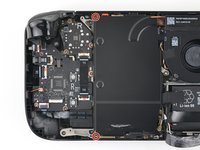
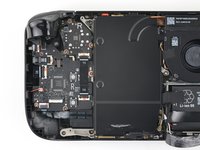
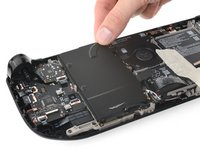
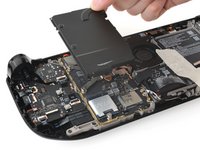
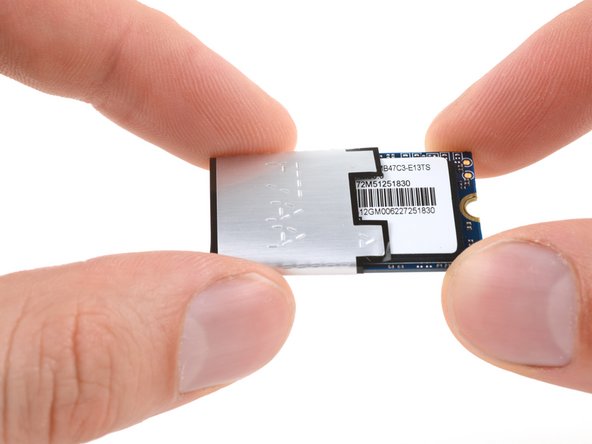
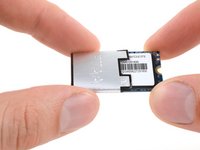
使用此指南来替换或升级您的Steam Deck OLED中的固态硬盘。Steam Deck OLED的固态硬盘是单面的M.2 2230。
在维修设备时,请记得遵循一般的静电放电(ESD)安全指南。
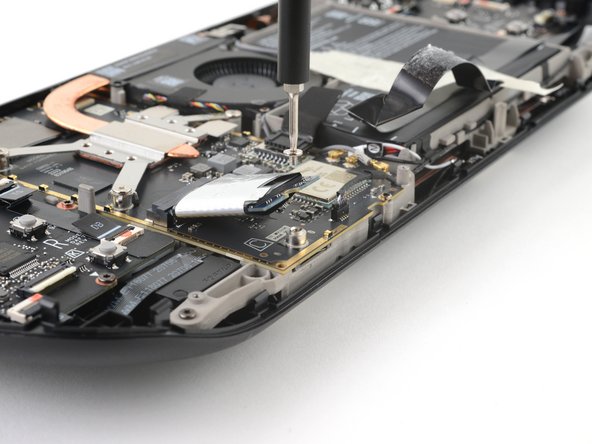
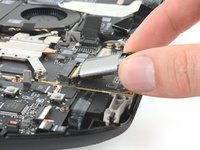
这些步骤仅描述如何物理上取出并更换您的固态硬盘。您将需要额外的软件工具和步骤来安装操作系统并使替换的固态硬盘正常工作。
按照Valve的Steam Deck恢复说明进行恢复、修复或重新映像您的Steam Deck OLED的固态硬盘,使用SteamOS。要安装Windows,可以在此处找到官方资源。
你所需要的


重新组装您的设备,请按照这些说明的相反顺序进行。
要恢复、修复或重新映像您的Steam Deck OLED的固态硬盘并使用SteamOS,请遵循Valve的Steam Deck恢复说明。
将您的电子废物带到R2或e-Stewards认证的回收商处。
修复不顺利?尝试一些修复后的基本故障排除方法,或向我们的Steam Deck OLED问题社区寻求帮助。
重新组装您的设备,请按照这些说明的相反顺序进行。
要恢复、修复或重新映像您的Steam Deck OLED的固态硬盘并使用SteamOS,请遵循Valve的Steam Deck恢复说明。
将您的电子废物带到R2或e-Stewards认证的回收商处。
修复不顺利?尝试一些修复后的基本故障排除方法,或向我们的Steam Deck OLED问题社区寻求帮助。
30等其他人完成本指南。


团队

4条评论
Hardest part is unclipping the clips XD
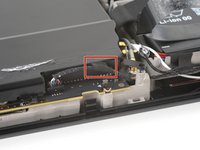
I have completed this but there are ways this could be done better and safely. I have left comments under each step. Step 6 to disconnect the battery should be after Step 10. In my case, the connector did not come out and the pull tab nearly separated creating a risk for damage if I had proceeded further. Removing the shield gives much better access so you can wiggle the connector out using your nail..
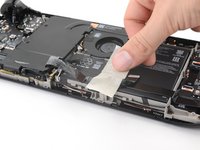
Step 8 is to separate the cable adhesive. Every build may have different amount of adhesive applied making this a risky venture. In trying to separate the cable, a lot of force was needed in my deck which could have damaged the cable. A guide on YouTube was to simply work around this. I wish I had seen it prior to have completely avoided this risk.
All in all, I will say a version 2 of this guide is needed.
Two things that could be helpful for anyone attempting this :
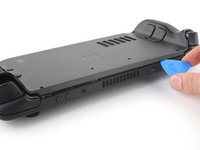
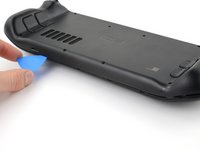
1. If it's your first time opening a deck, the hardest part is to open up the shell. After removing the screws You just need the guitar pick plastic thing. Taking your time is key and will make it way less likely to scratch the case or break a tab as you'll apply just enough force to unclip.
2. If you've already opened a regular deck and it's your first OLED, in some ways it's easier but in others a bit harder: when I attempted step 6 the battery connector wouldn't budge so I just left it plugged (the battery was almost empty and the deck was in battery storage mode, though). I did step 7 but skipped step 8 and simply folded the whole cable + shield part over the battery while replacing the SSD.
On reassembly, no point in tightening the screws too much, it increases the risk of stripping the screw or breaking the screw threads.
Good luck! (and DON'T FORGET TO REMOVE THE SD CARD BEFORE YOU START!)
You can totally skip the step 8 if you unplug the interconnection cable and gently remove ONLY the adesive of the speaker, there is no need to unglue the interconnection cable from the motherboard shield, just remove the two shields' screw and carefully lift it up to easily access to the ssd.