简介
If your Shark Rocket IX141 is not charging or is overheating, the battery may be faulty. If your LEDs are not functioning, it may also be the result of a bad battery.
A functional battery provides power to your vacuum; after many charging cycles, the battery will eventually lose some power. This is natural for chargeable batteries.
If your battery (not the device itself) is overheating take immediate action to prevent injury or fire. If your battery is swollen, take appropriate precautions.
The Shark Rocket IX141 battery is lithium-ion. To properly dispose of a lithium-ion battery, cover the terminals with plastic or insulating tape. Do NOT dispose of the battery in a household trash bin. Lithium-ion batteries should be taken to separate recycling or household hazardous waste collection points.
Use this guide to remove and replace your battery safely.
你所需要的
-
-
-
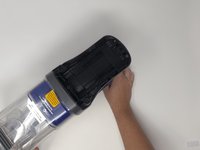
Remove the handle base from stick portion of the vacuum for easiest handling. Press the indigo button and slide the handle base away from the stick.
 询问修复机器人
-
-
-

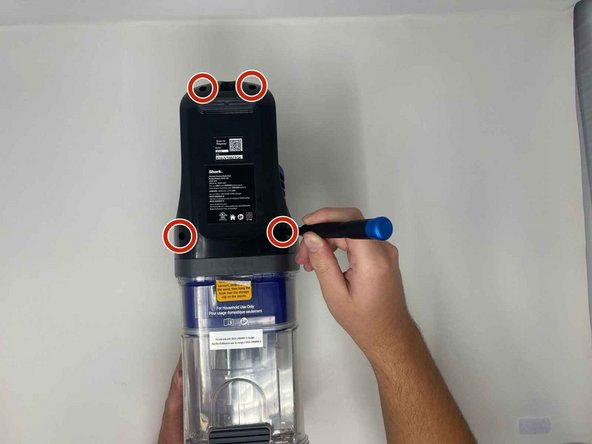

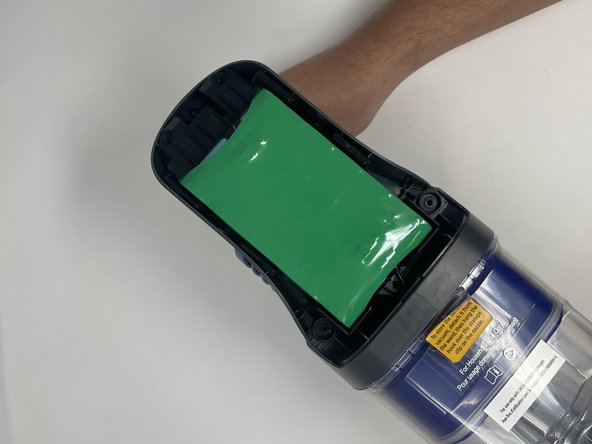
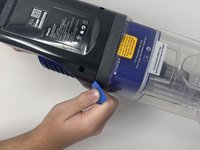
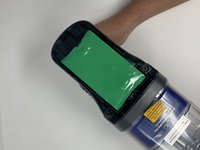

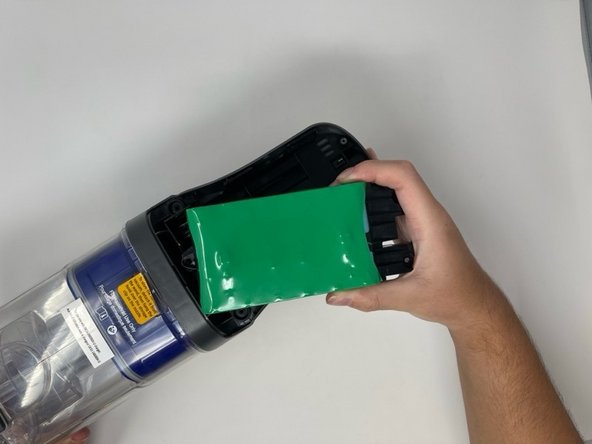
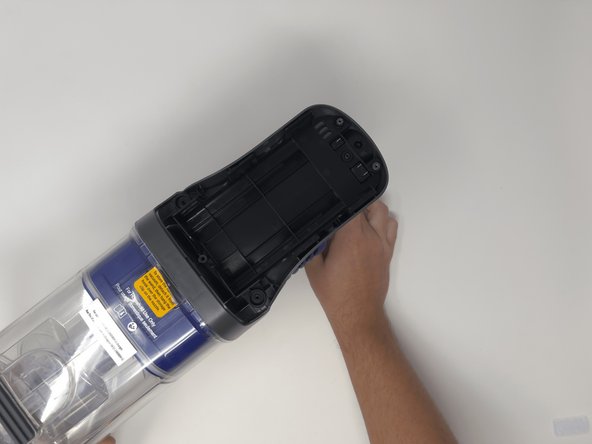
To reassemble your device, follow these instructions in reverse order.
4等其他人完成本指南。

团队

Utah Tech University, Team 1-5, Crenshaw Fall 2024 Utah Tech University, Team 1-5, Crenshaw Fall 2024 的会员
UTAHTECH-CRENSHAW-F24S1G5
3 名成员
创作了10篇指南
1指南评论
getting the battery cover off required so much pressure I was afraid it would break, but it didn't (it did go fly across the room when it finally came off, lol)
Clif Beasley - 回复 分享
