
Sega Game Gear Headphone Jack/Volume Wheel Replacement
没有估计
中等
简介
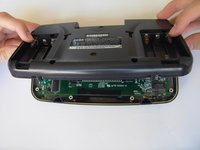
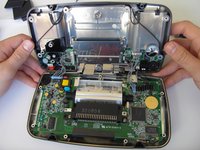
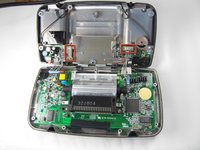
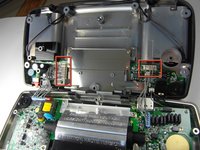
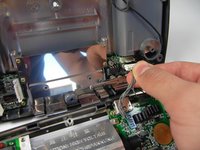
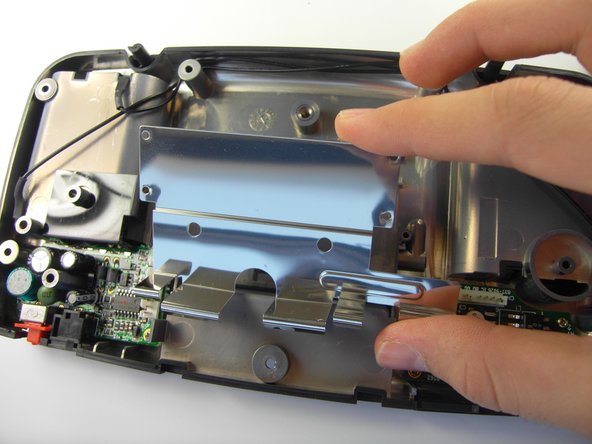
转到步骤 1Guide to replace the small logic board that contains the 3.5mm headphone jack as well as the volume wheel.


即将完成!
To reassemble your device, follow these instructions in reverse order.
结论
To reassemble your device, follow these instructions in reverse order.
团队

Cal Poly, Team 28-33, Regan Spring 2010 Cal Poly, Team 28-33, Regan Spring 2010 的会员
CPSU-REGAN-S10S28G33
5 名成员
创作了19篇指南