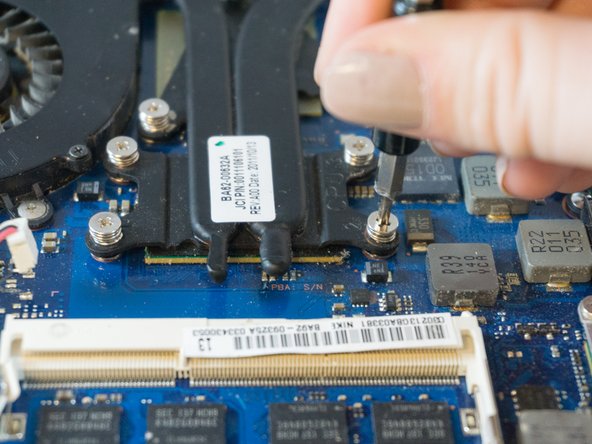
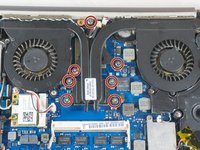
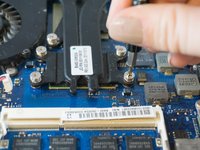
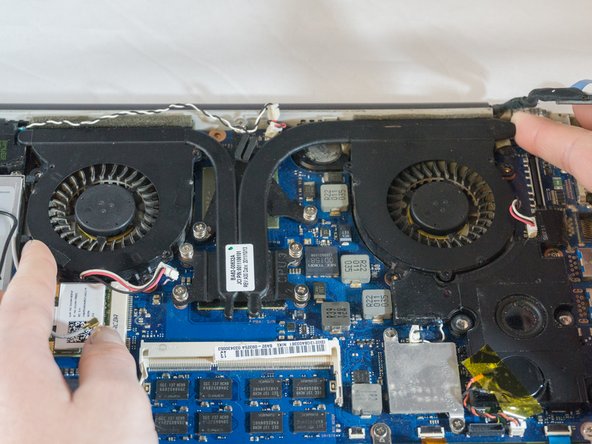
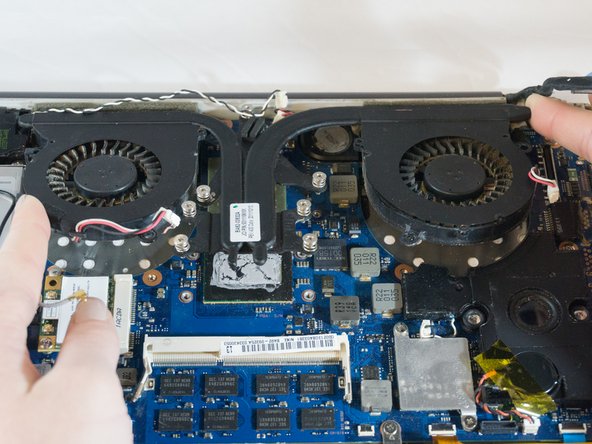
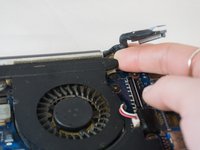
跳转到主内容

Samsung NP700Z5AH Fan Replacement

你所需要的

  1. Samsung NP700Z5AH Fan Replacement, Battery: 步骤 1 中的图像 1,1
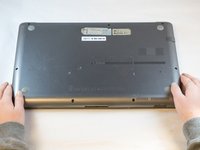
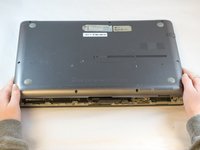
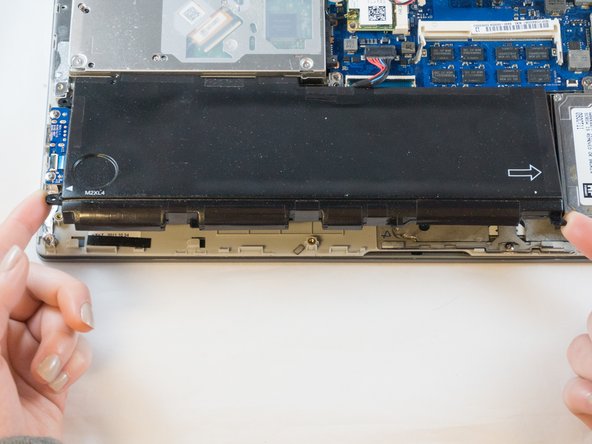
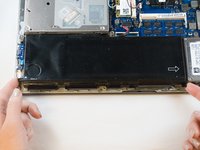
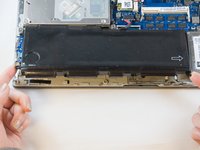
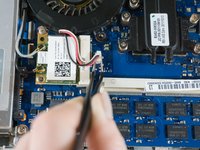
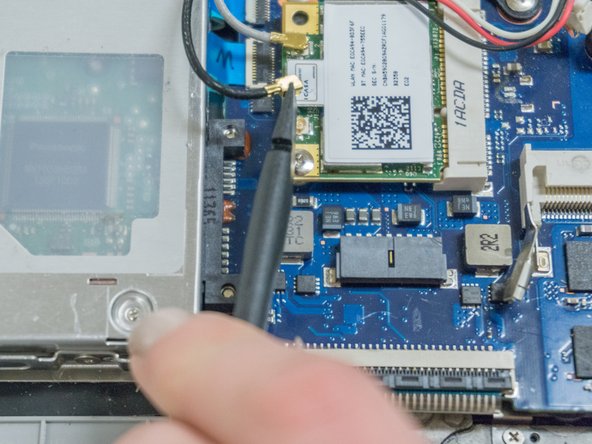
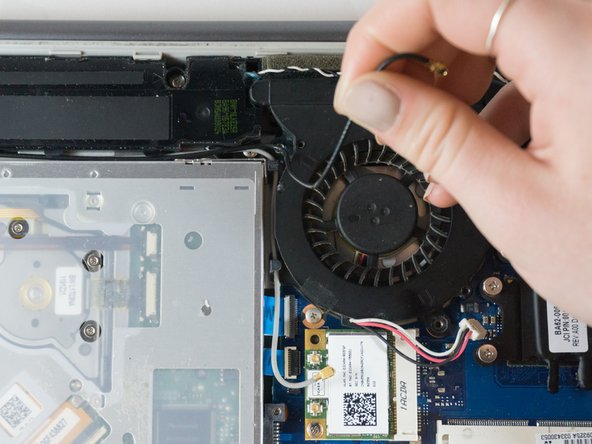
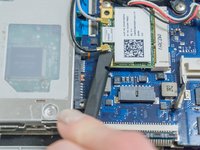
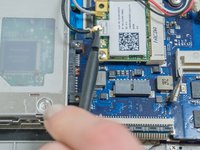
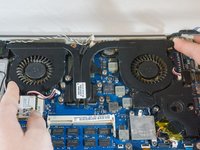
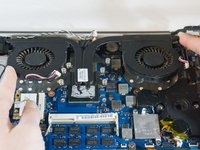
    • Remove the ten 6.6mm Philips#00 screws securing the lower case to the upper case.
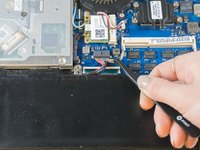
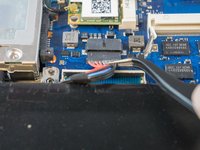
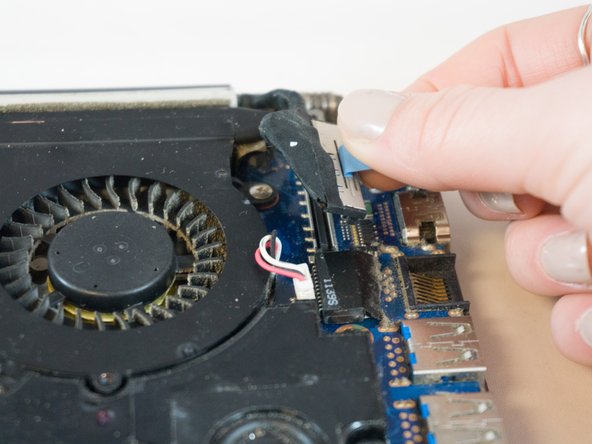
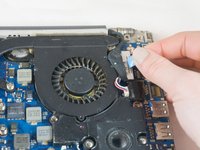
  2. Samsung NP700Z5AH Fan Replacement: 步骤 2 中的图像 1,3 Samsung NP700Z5AH Fan Replacement: 步骤 2 中的图像 2,3 Samsung NP700Z5AH Fan Replacement: 步骤 2 中的图像 3,3
    • Using your fingers, pinch the edge of the SD card and pull to remove it.

  3. Samsung NP700Z5AH Fan Replacement: 步骤 3 中的图像 1,2 Samsung NP700Z5AH Fan Replacement: 步骤 3 中的图像 2,2
    • Wedge your fingers in between the upper case and the lower case

    • Gently pull the lower case away from the upper case to remove it

  4. Samsung NP700Z5AH Fan Replacement: 步骤 4 中的图像 1,2 Samsung NP700Z5AH Fan Replacement: 步骤 4 中的图像 2,2
    • Using tweezers or your fingertips, carefully pull on the battery connector to disconnect it from the motherboard.

    • Be sure to pull straight backwards, or you risk damaging the wires.

  5. Samsung NP700Z5AH Fan Replacement: 步骤 5 中的图像 1,1
    • Remove the two 4.4mm Phillips#00 screws from the battery case.

  6. Samsung NP700Z5AH Fan Replacement: 步骤 6 中的图像 1,2 Samsung NP700Z5AH Fan Replacement: 步骤 6 中的图像 2,2
    • Place your fingers on the corner sections of the battery.

    • Lift to remove the battery.

    • If you choose to use tools to remove the battery be careful not to damage it. A damaged lithium-ion battery may leak dangerous chemicals and/or catch fire. Use only plastic pry tools.

  7. Samsung NP700Z5AH Fan Replacement, Fan: 步骤 7 中的图像 1,2 Samsung NP700Z5AH Fan Replacement, Fan: 步骤 7 中的图像 2,2
    • Loosen but don't remove the 7 silver Phillips #00 3.5mm screws securing the fan to the motherboard. They should detach from the motherboard and remain attached to the fan assembly.

  8. Samsung NP700Z5AH Fan Replacement: 步骤 8 中的图像 1,2 Samsung NP700Z5AH Fan Replacement: 步骤 8 中的图像 2,2
    • Using your fingers, grasp the blue ribbon on the fan connector and pull straight up to disconnect it from the motherboard.

    • To reinstall the cable, hold it near the end and push it straight into the connector, being careful not to kink the cable.

  9. Samsung NP700Z5AH Fan Replacement: 步骤 9 中的图像 1,2 Samsung NP700Z5AH Fan Replacement: 步骤 9 中的图像 2,2
    • Using the Phillips#00 remove the four 3.5mm screws securing the fan to the motherboard.

  10. Samsung NP700Z5AH Fan Replacement: 步骤 10 中的图像 1,2 Samsung NP700Z5AH Fan Replacement: 步骤 10 中的图像 2,2
    • Using tweezers, carefully pull up on the four power cable connectors to disconnect them from the motherboard.

    • These connections were originally soldered and will need a small drop of solder to be re-attached. Use this guide to learn 如何焊接和拆焊

  11. Samsung NP700Z5AH Fan Replacement: 步骤 11 中的图像 1,3 Samsung NP700Z5AH Fan Replacement: 步骤 11 中的图像 2,3 Samsung NP700Z5AH Fan Replacement: 步骤 11 中的图像 3,3
    • Place the tip of the spudger under the metal caps of the black and grey coaxial connectors and pry upwards to disconnect them.

    • After they are disconnected, un-thread them from around the fan.

    • To reinstall, hold the connectors in place and gently press them straight down. The connectors “snap” into their sockets much like the metal snaps on a jacket.

  12. Samsung NP700Z5AH Fan Replacement: 步骤 12 中的图像 1,3 Samsung NP700Z5AH Fan Replacement: 步骤 12 中的图像 2,3 Samsung NP700Z5AH Fan Replacement: 步骤 12 中的图像 3,3
    • Wedge your fingers under opposite corners of the fan and lift to remove it.

结论

To reassemble your device, follow these instructions in reverse order.

另外一个人完成了本指南。

0条评论

添加评论

浏览统计数据:

过去 24 小时: 1

过去 7 天: 5

过去 30 天: 11

总计 887