
Replacing Panasonic SA-HT810V New Screen, Motherboard, and Power Supply

简介
转到步骤 1Note: This is a highly complex and expensive fix. If you are experiencing any problems it is recommended to buy a new DVD/VHS player.

-
-
With the front display of the device facing you, rotate the device 90 degrees counter clockwise.
-
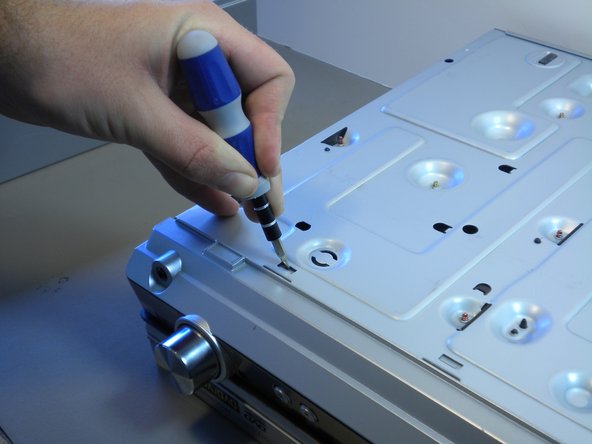
Remove silver screw and then turn the device 180 degrees. Remove the second silver screw.
-
-
-
-
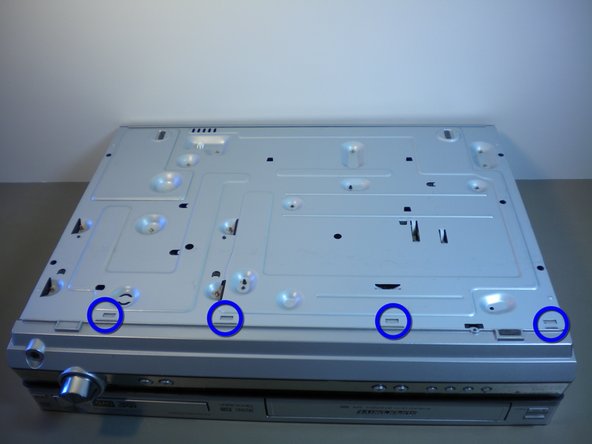
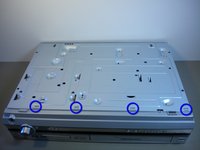
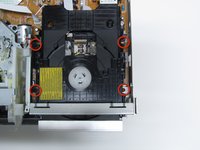
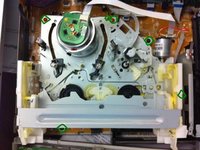
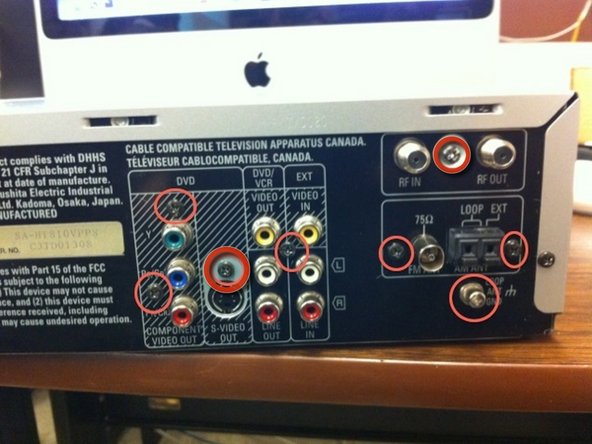
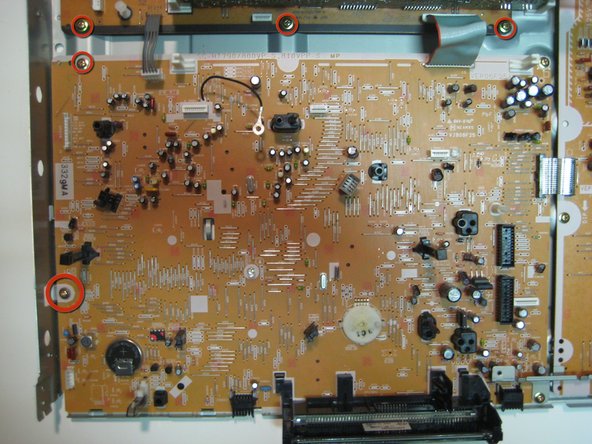
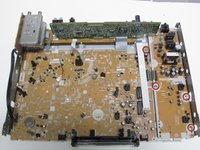
Locate and remove the six screws that are circled in image one.
-
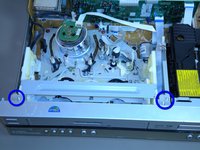
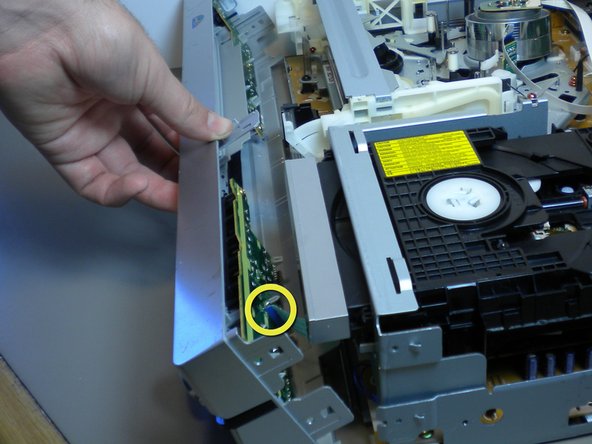
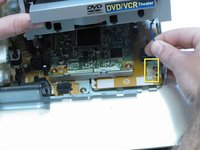
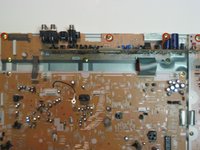
Remove the two electronic strips that are circled in image two that connect the VCR to the motherboard and unplug the cable.
-
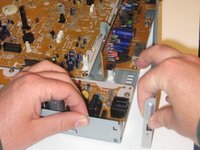
Slowly remove the VCR by lifting it up and set aside. It may be difficult to slide the VCR from the black pegs that keep it in place.
-
-
-
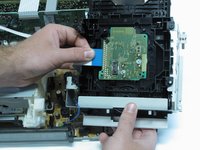
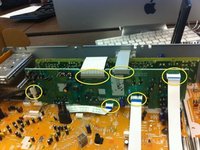
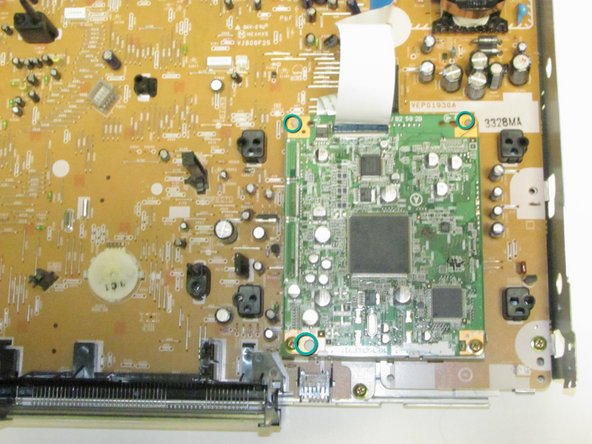
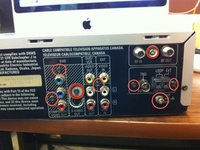
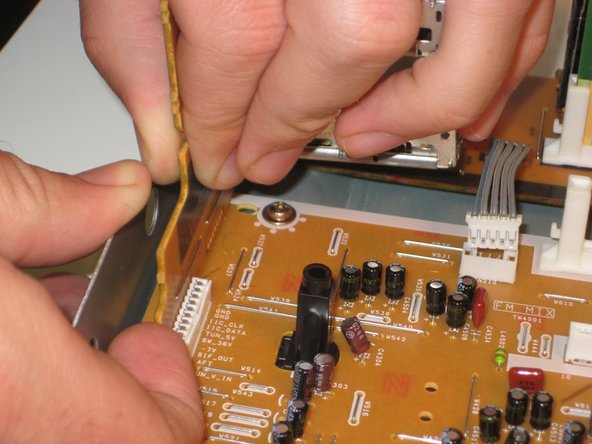
Remove electronic strips on the right, bottom center, top center, and a cable on the left side of the input board.
-
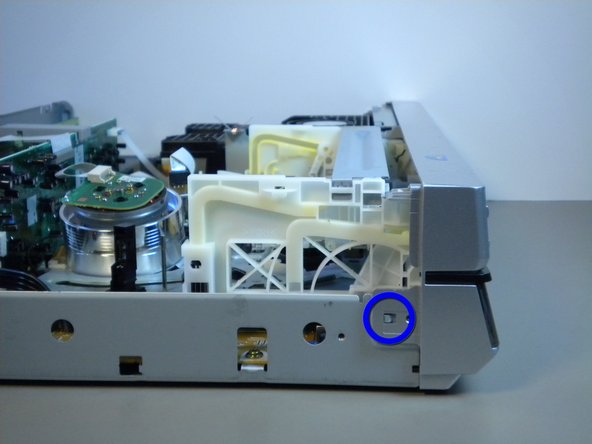
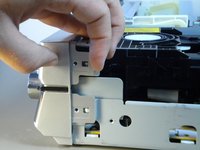
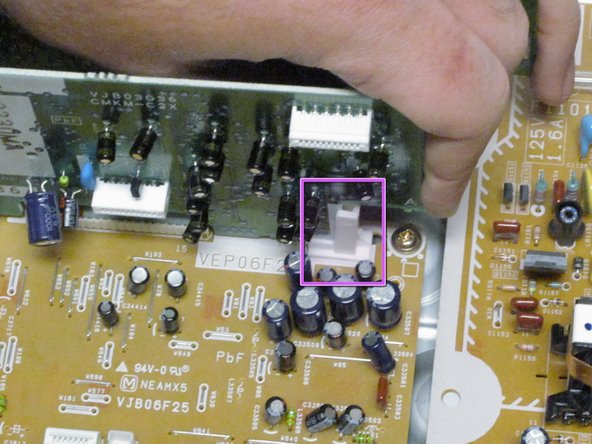
Remove two screws shown in the second image. Remove the gray connector on top of the input board.
-
Next, use a flat head screwdriver to assist you in prying the right clip while simultaneously pulling up on the input board. Unclip the component from the logic board.
-
-
-
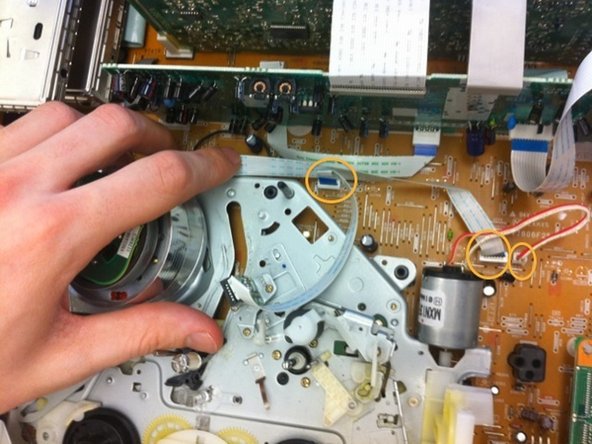
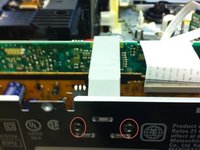
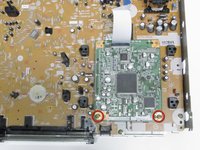
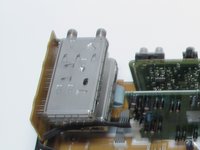
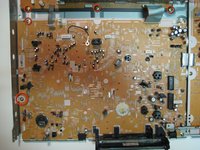
In order to remove the DVD video processor, first locate and remove the two screws circled in image one.
-
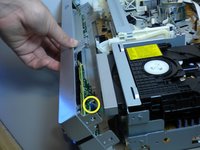
The final step is popping of the component off of the three nodes circled in image three.
-
Unfortunately one or more of these 'nodes' will probably be difficult to remove and you will just have to pull on it until they come unattached or rotate the component to unhinge from the plastic clip.
-
-
-
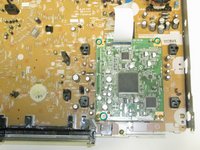
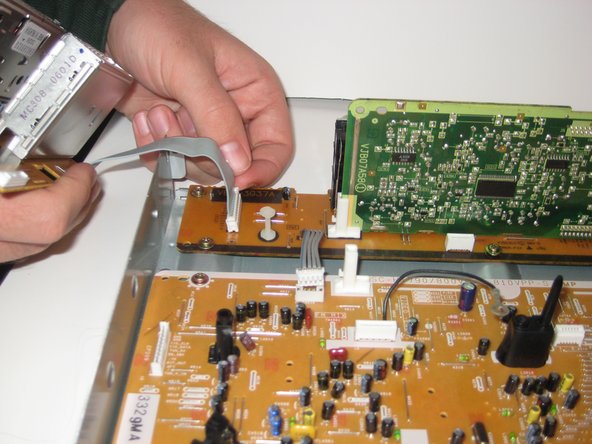
The next step is to remove the FM/AM radio receiver pictured in image one.
-
First unsnap it from the tab that holds it to the mother board (see image two).
-
Second, disconnect the electrical strip as seen in image three by pulling the tabs on the plastic piece of the electric strip.
-
Remove the black cable from the side slot.
-


To reassemble your device, follow these instructions in reverse order.
To reassemble your device, follow these instructions in reverse order.

团队

Cal Poly, Team 16-5, Maness Spring 2010 Cal Poly, Team 16-5, Maness Spring 2010 的会员
CPSU-MANESS-S10S16G5
4 名成员
创作了8篇指南