
Repairing Flute Felt Key Pads

简介
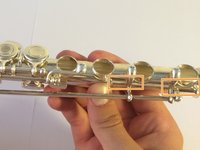
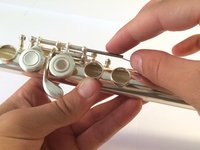
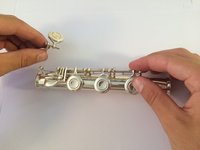
转到步骤 1The flute I'm about to show how to repair is a French Model flute (open hole keys). However, this method is applicable to the Plateau Model as well as other types of traditional concert flutes. If the connected keys on your flute aren't synchronized properly, follow step 1 and then skip ahead to step 40. If your flute has sticky keys, after following the first step, skip ahead to step 41. If your key has a missing pad, complete the first step and skip ahead to step 42. If your flute still won't play after completing these steps, then continue from step 2. Based on the location of the key needing repaired, some steps may not be necessary. Follow the instructions contained in the guide for details.
你所需要的
配件
工具


查看更多...
-
-
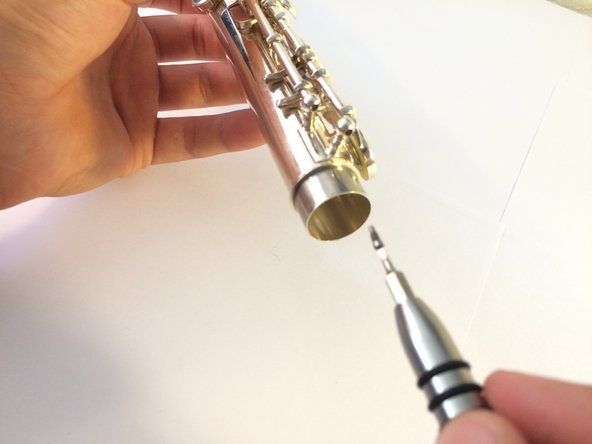
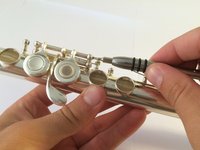
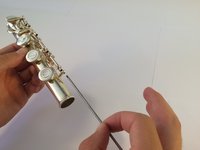
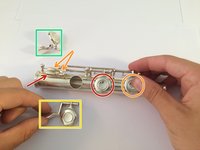
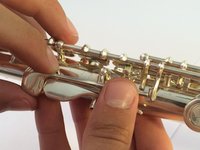
Instead, grasp it by the tenon section, where you won't put stress on the springs.
-
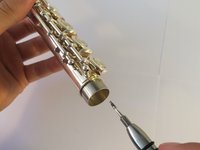
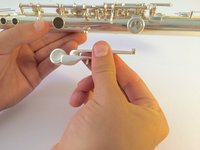
Remove the head piece in a similar fashion.
-
-
-
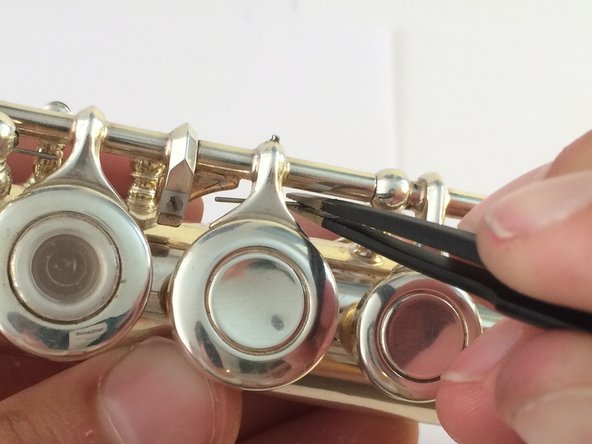
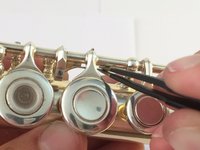
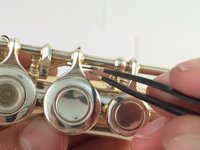
Use a pair of scissors to cut out a small strip of rolling paper.
-
-
在这个步骤中使用的工具:Tweezers$4.99
-
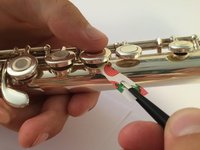
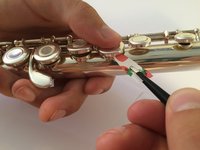
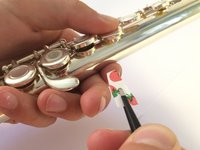
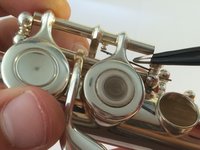
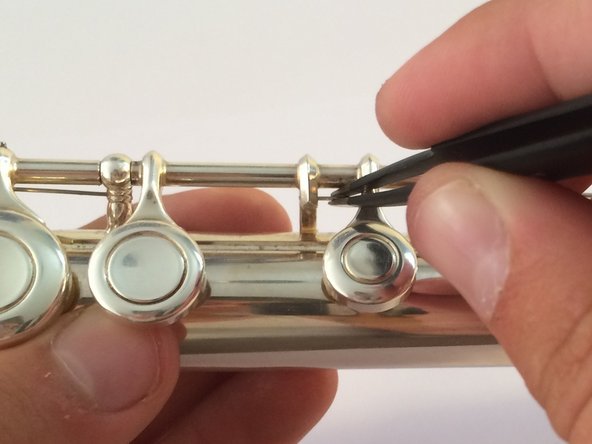
Use tweezers to hold the rolling paper.
-
Press the key lightly on the paper and pull outward.
-
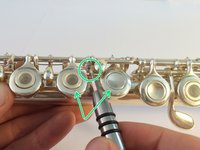
Try this at eight different angles from the center of the key.
-
-
-
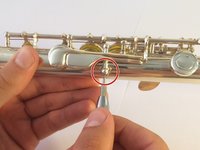
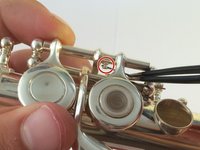
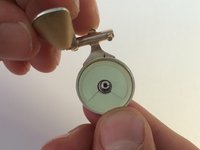
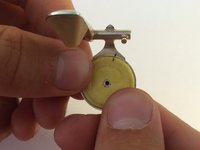
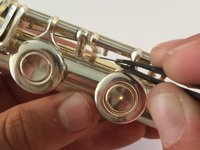
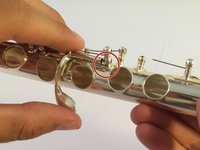
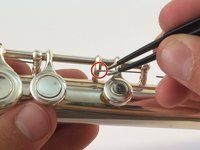
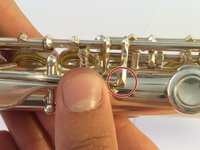
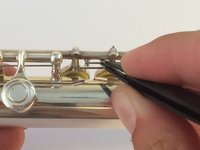
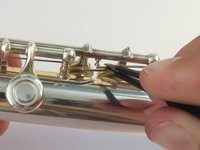
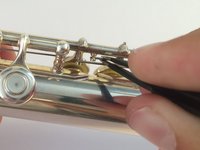
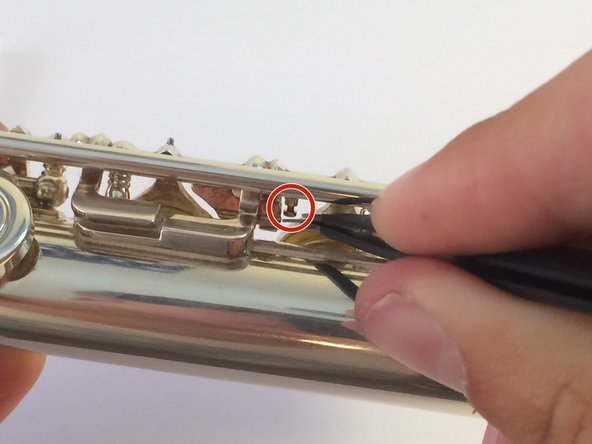
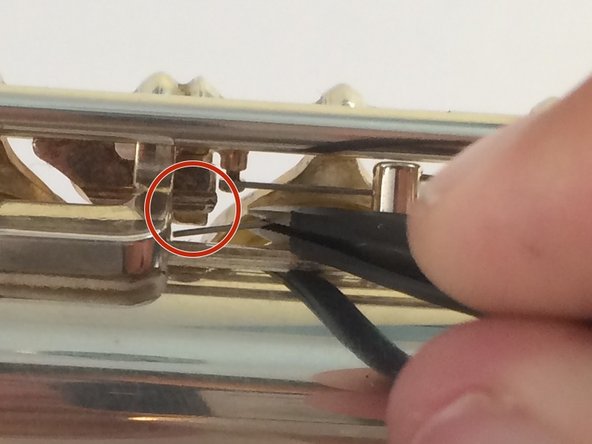
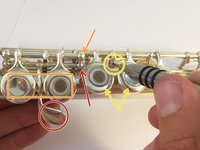
Mark the felt pad and the metal next to it where you felt little or no contact.
-
-
-
-
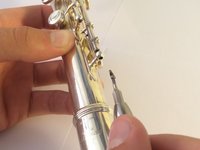
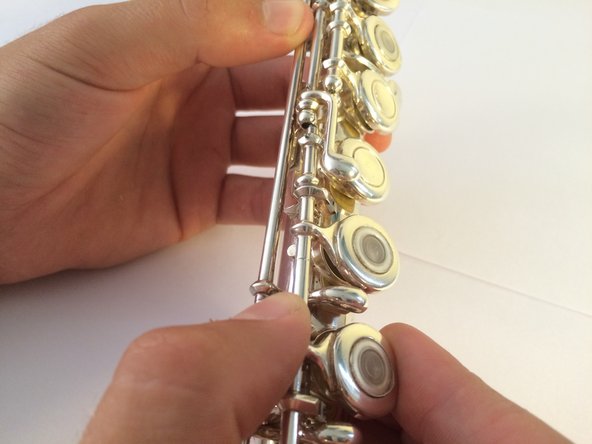
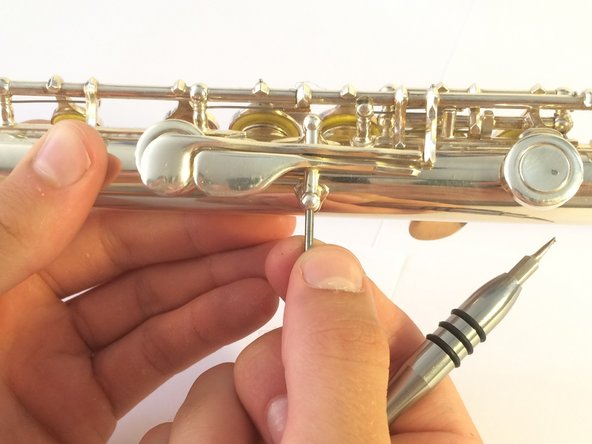
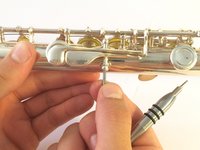
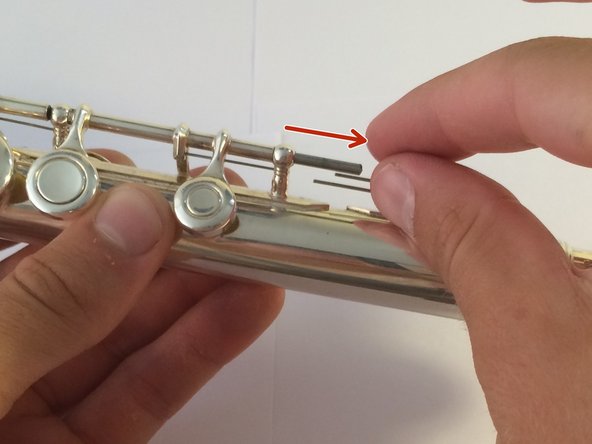
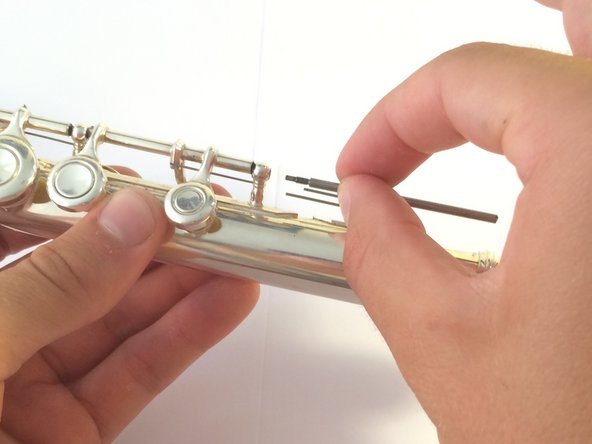
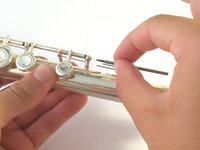
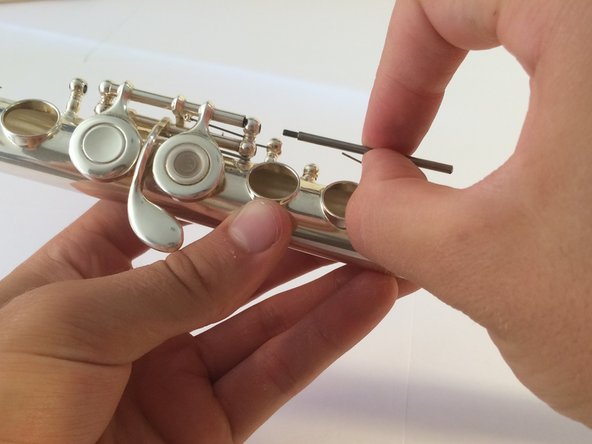
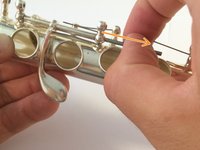
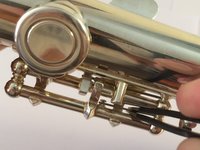
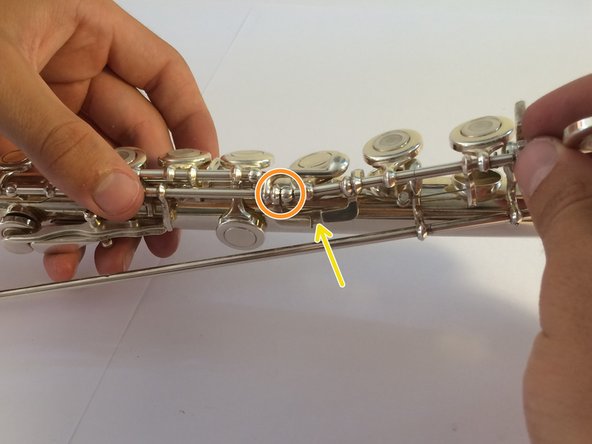
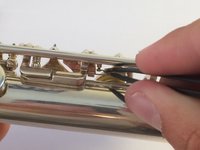
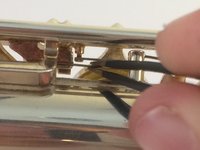
This is the most difficult rod to remove, so to make it a little easier on yourself, get the spring out of the way by moving it up into the groove.
-
Don't worry about bending the spring too much. If it loses it's original tension, it can be easily be corrected by stretching it in the opposite direction.
-
-
-
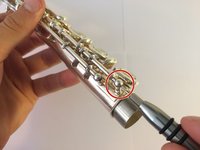
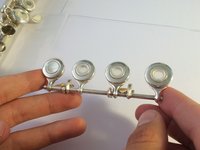
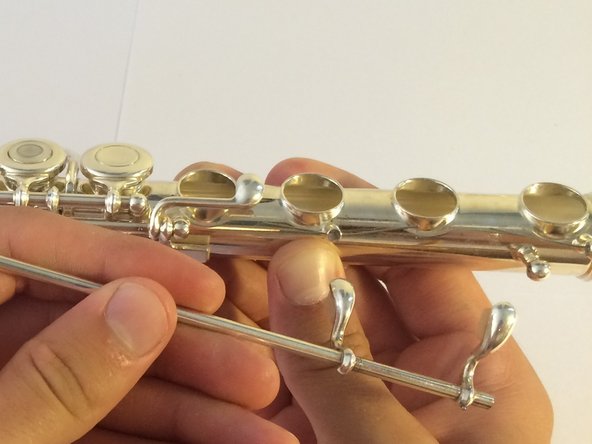
Disassembling the foot joint is simple. Loosen the screw at the end of the rail and pull out the long rod holding it all together.
-
-
-
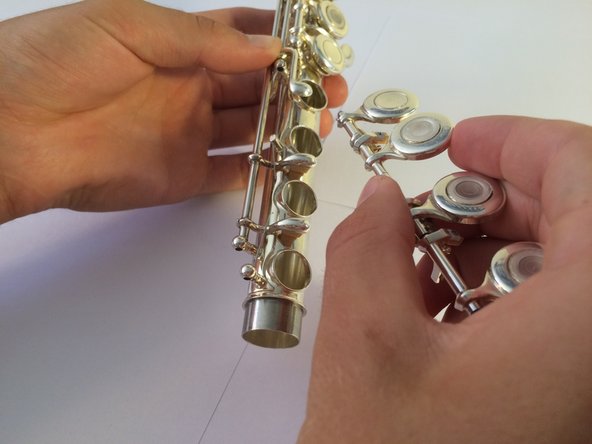
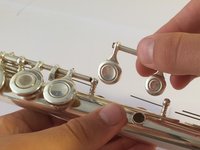
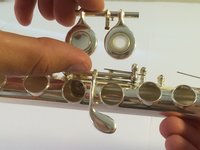
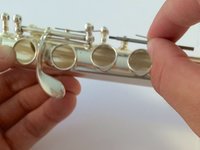
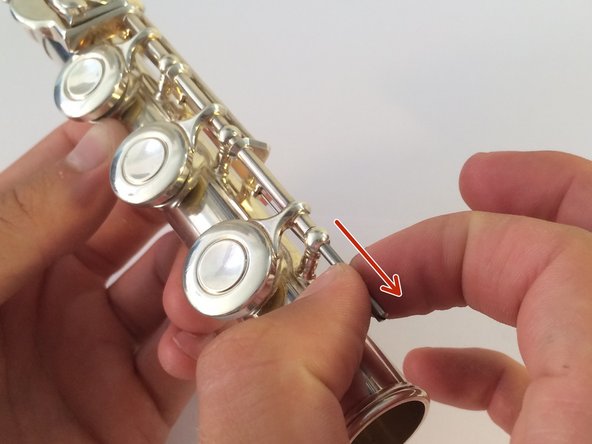
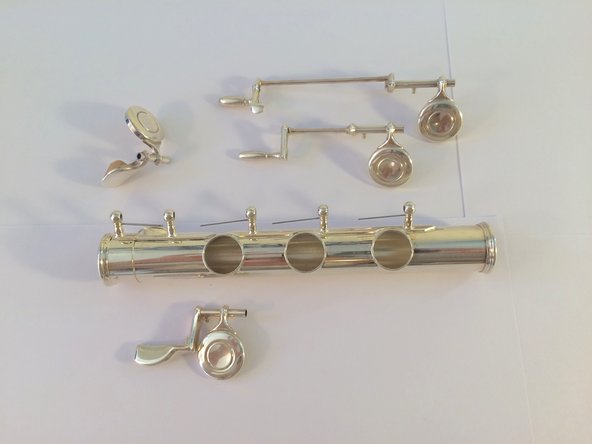
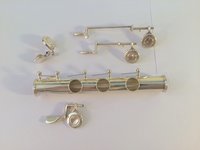
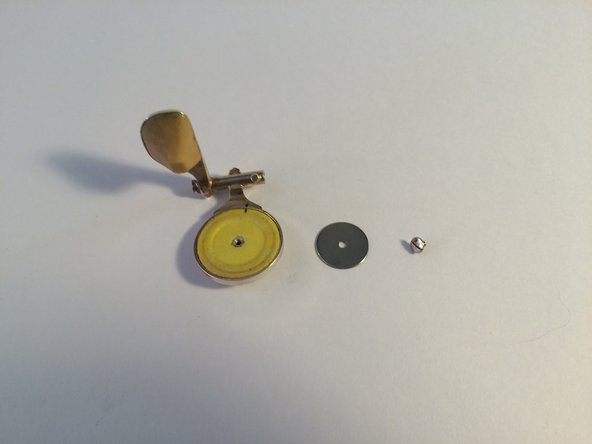
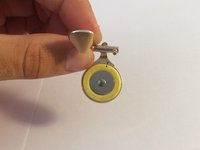
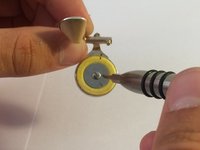
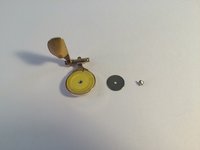
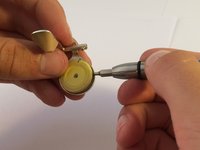
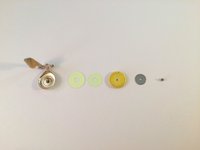
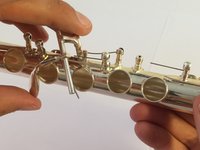
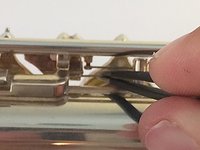
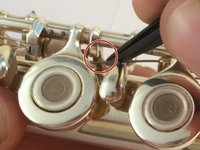
Once you've been able to remove the malfunctioning finger key, it is time to take it apart.
-
-
-
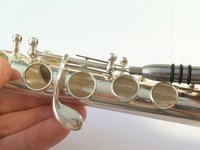
For the reassembly of the foot joint, the keys go back in this order:
-
C roller.
-
B roller.
-
This part has a "gizmo," which is a distinct tab attached to the roller.
-
C# touch.
-
D# touch (pinky key).
-
-
-
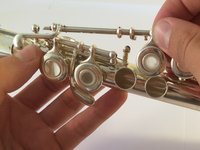
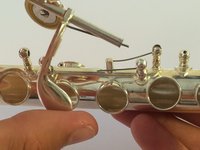
When putting the G# lever back in place, make sure its spring is loaded against the post on the right.
-
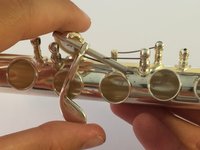
Follow the disassembly directions in reverse order, as well as these steps to ensure that all the springs are put back in place. The flute doesn't need to be taken apart a second time.
-
-
-
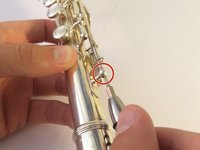
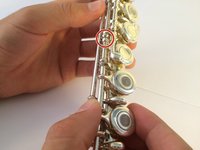
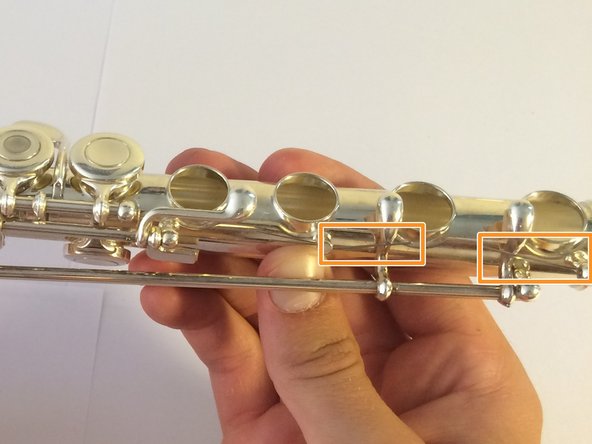
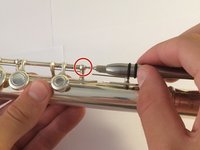
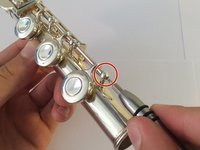
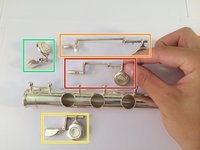
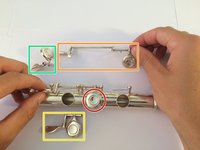
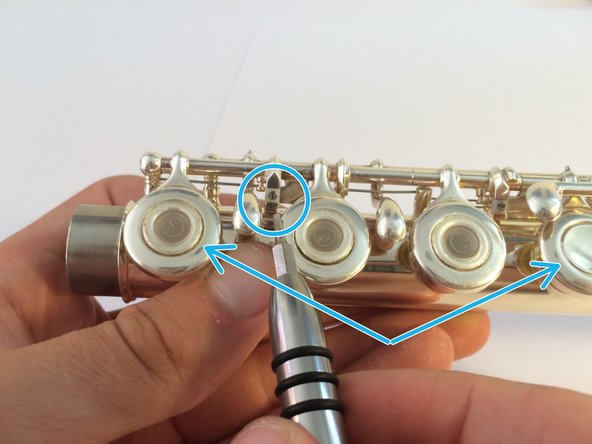
When putting your flute back together, some keys may seem either too easy or to hard to press. This is related to the tightness of the screws in the rails, as well as small screws between finger keys that have not yet been mentioned.
-
To adjust the G# lever, change the tightness in the corresponding screw in the railing.
-
To adjust the inline G keys, play with the screw in the attached rail on top of the G# lever railing.
-
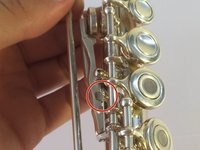
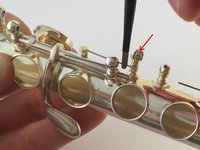
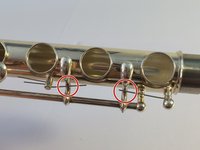
This screw, as well as the next two screws in this step, do not hold anything together. They act as modifiers that adjust the synchronization of connected keys not attached to a rod backbone.
-
This alters the F and F# pair.
-
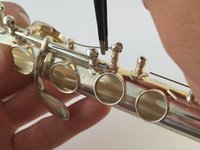
This screw changes the coordination of the D and F# keys.
-
-
-
When practicing the flute for a good amount of time, finger keys often get sticky. This can affect the time it takes for the pressed key to return to its original open position, something fast playing musicians can't afford.
-
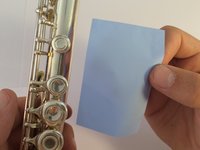
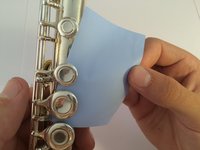
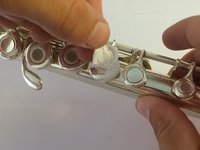
Put an oil absorbing sheet under the sticky key and lightly press down on the sheet.
-
Release and gently remove the sheet.
-
-
-
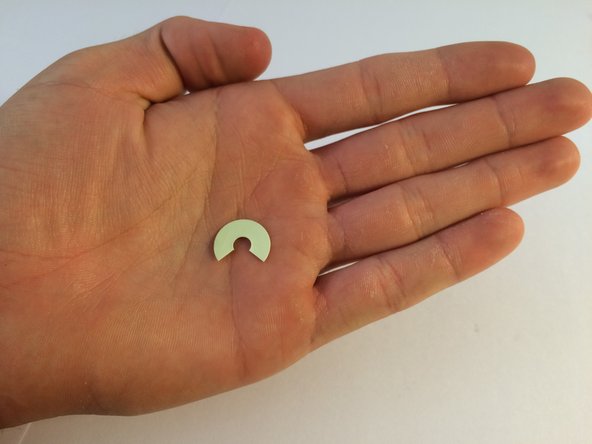
In the case that you are missing a felt pad entirely (just a bare cup), you can still fix your flute temporarily.
-
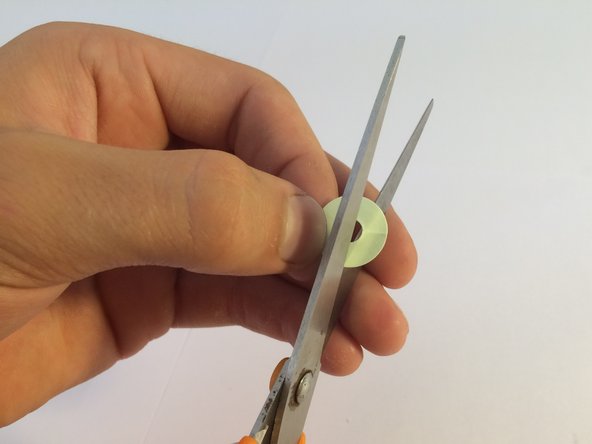
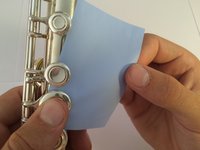
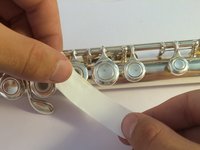
Cut a small strip of teflon tape (about 4" )
-
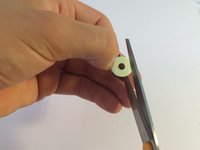
Holding both ends, slip the tape under the key with the missing felt pad. It's quite the surgery, but manageable.
-
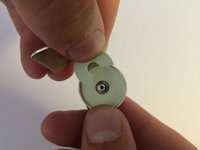
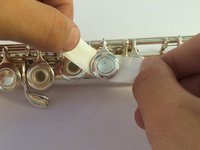
With the remaining tape, twist it together at the top to hold it in place.
-
This is a temporary fix, but works perfectly.
-


9等其他人完成本指南。

团队

Cal Poly, Team 10-1, Green Fall 2015 Cal Poly, Team 10-1, Green Fall 2015 的会员
CPSU-GREEN-F15S10G1
4 名成员
创作了7篇指南