跳转到主内容
加入维修社区 - 创建账户

RYDIS H68 Pro Wheel Replacement

你所需要的

    1. RYDIS H68 Pro Wheel  Replacement, Battery: 步骤 1 中的图像 1,2 RYDIS H68 Pro Wheel  Replacement, Battery: 步骤 1 中的图像 2,2
      • Flip the vacuum over so that the wheels are facing you.

      • Use a Phillips #1 screwdriver to remove the four 10 mm screws that surround the battery cover.

      询问修复机器人

      添加评论

    2. RYDIS H68 Pro Wheel  Replacement: 步骤 2 中的图像 1,1
      • Lift the battery cover up to reveal the battery.

      • Remove the battery.

      询问修复机器人

      添加评论

    1. RYDIS H68 Pro Wheel  Replacement, Bumper: 步骤 3 中的图像 1,3 RYDIS H68 Pro Wheel  Replacement, Bumper: 步骤 3 中的图像 2,3 RYDIS H68 Pro Wheel  Replacement, Bumper: 步骤 3 中的图像 3,3
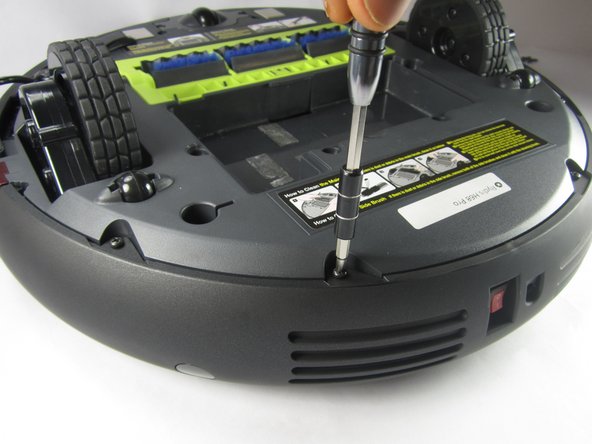
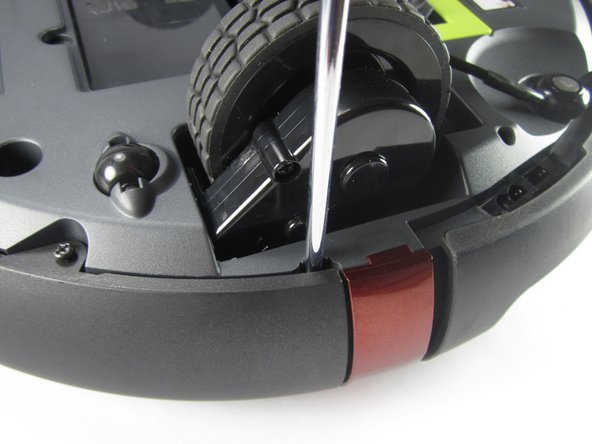
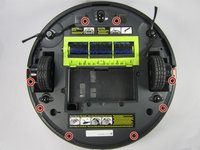
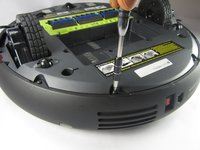
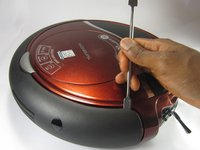
      • Remove the eight 10 mm Phillips #1 screws.

      询问修复机器人

      添加评论

    2. RYDIS H68 Pro Wheel  Replacement: 步骤 4 中的图像 1,3 RYDIS H68 Pro Wheel  Replacement: 步骤 4 中的图像 2,3 RYDIS H68 Pro Wheel  Replacement: 步骤 4 中的图像 3,3
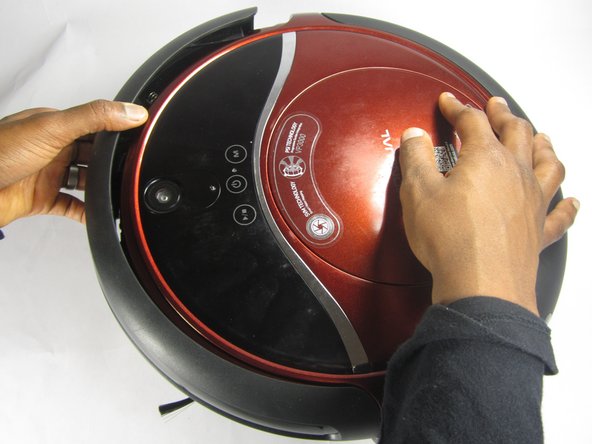
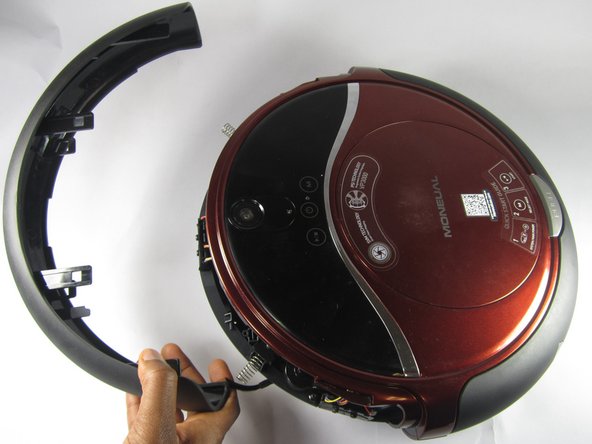
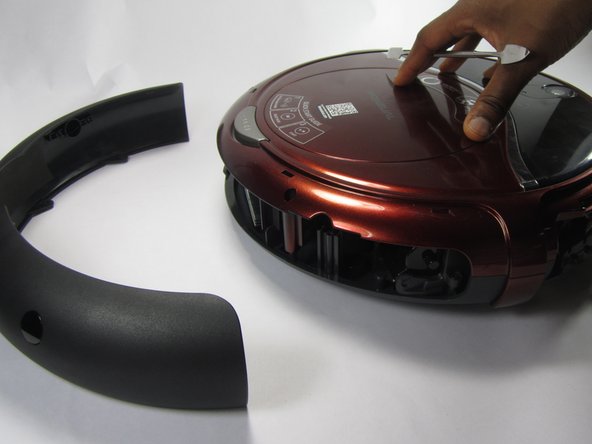
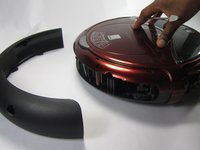
      • Hold the front bumper and pull it off.

      • It requires a lot of force to pull the bumper off.

      询问修复机器人

      添加评论

    3. RYDIS H68 Pro Wheel  Replacement: 步骤 5 中的图像 1,3 RYDIS H68 Pro Wheel  Replacement: 步骤 5 中的图像 2,3 RYDIS H68 Pro Wheel  Replacement: 步骤 5 中的图像 3,3
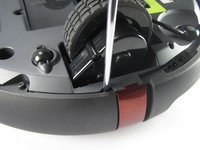
      • Pry off the back bumper by going around the entire top of the bumper with the metal spudger.

      询问修复机器人

      添加评论

    1. RYDIS H68 Pro Wheel  Replacement, Wheel assembly: 步骤 6 中的图像 1,1
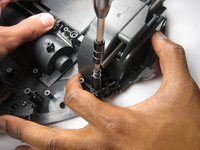
      • Remove three 10mm Philips #1 screws that are securing the wheel assembly.

      询问修复机器人

      添加评论

    2. RYDIS H68 Pro Wheel  Replacement: 步骤 7 中的图像 1,2 RYDIS H68 Pro Wheel  Replacement: 步骤 7 中的图像 2,2
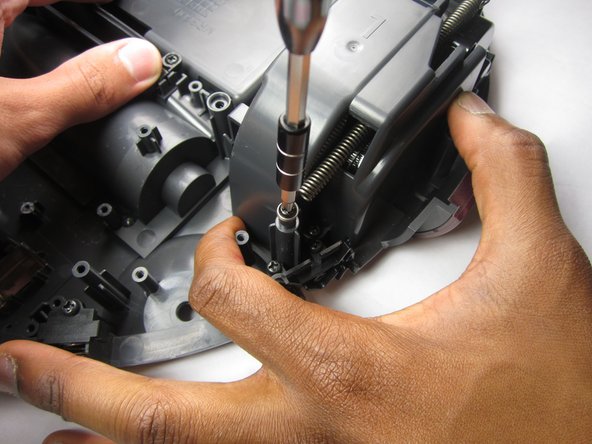
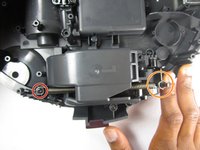
      • Remove the 10mm Phillips #1 screw securing the spring.

      • Then undo the spring from the plastic hook to completely remove it from the wheel assembly.

      询问修复机器人

      添加评论

    3. RYDIS H68 Pro Wheel  Replacement: 步骤 8 中的图像 1,3 RYDIS H68 Pro Wheel  Replacement: 步骤 8 中的图像 2,3 RYDIS H68 Pro Wheel  Replacement: 步骤 8 中的图像 3,3
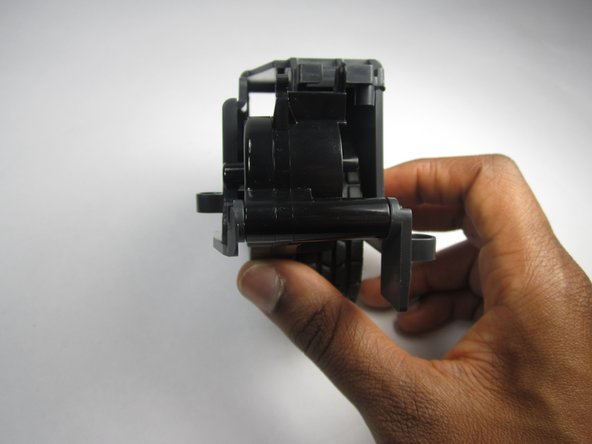
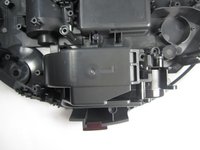
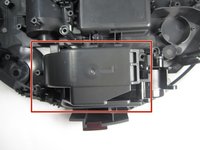
      • Lift up on the plastic piece to remove the entire wheel assembly.

      询问修复机器人

      添加评论

    4. RYDIS H68 Pro Wheel  Replacement: 步骤 9 中的图像 1,3 RYDIS H68 Pro Wheel  Replacement: 步骤 9 中的图像 2,3 RYDIS H68 Pro Wheel  Replacement: 步骤 9 中的图像 3,3
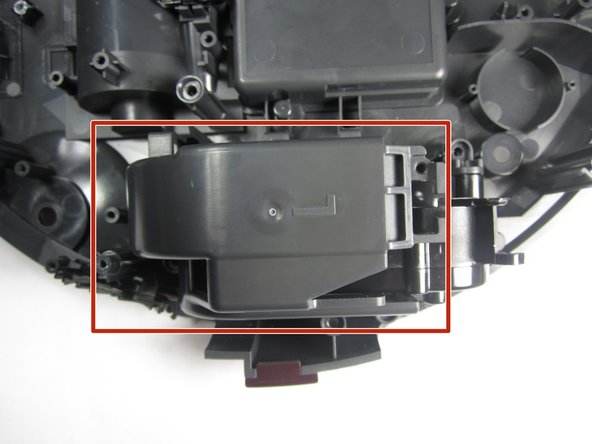
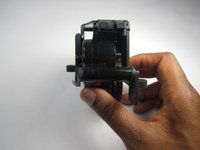
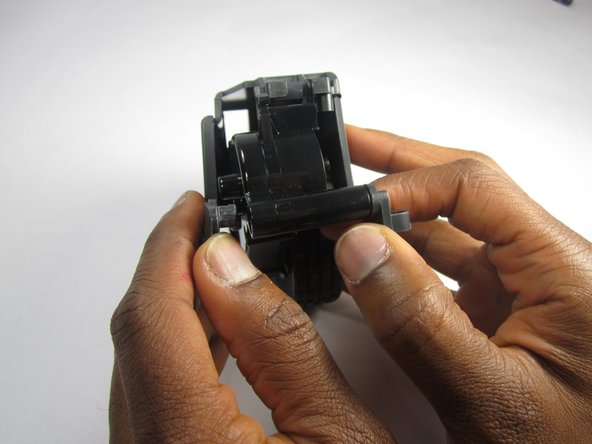
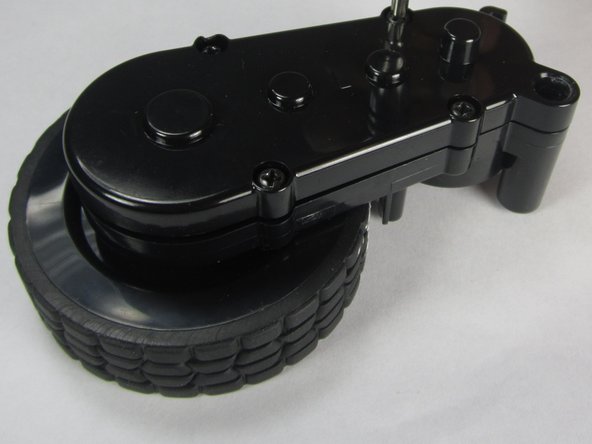
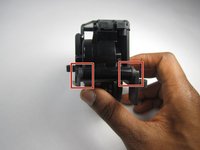
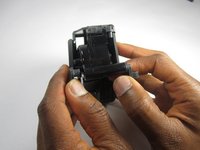
      • Remove the plastic frame by pulling outward on the two spots where it is fastened.

      询问修复机器人

      添加评论

    5. RYDIS H68 Pro Wheel  Replacement: 步骤 10 中的图像 1,2 RYDIS H68 Pro Wheel  Replacement: 步骤 10 中的图像 2,2
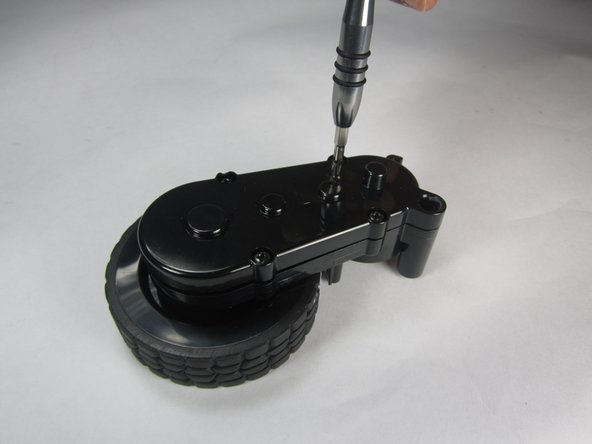
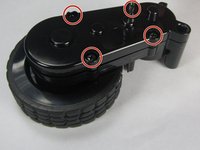
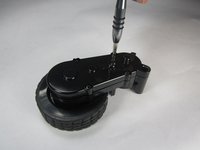
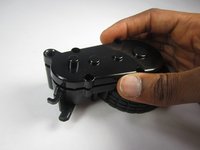
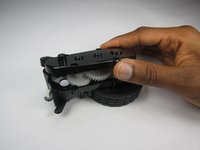
      • Remove the four 10mm Phillips #1 screws around the edges of the cover.

      询问修复机器人

      添加评论

    6. RYDIS H68 Pro Wheel  Replacement: 步骤 11 中的图像 1,3 RYDIS H68 Pro Wheel  Replacement: 步骤 11 中的图像 2,3 RYDIS H68 Pro Wheel  Replacement: 步骤 11 中的图像 3,3
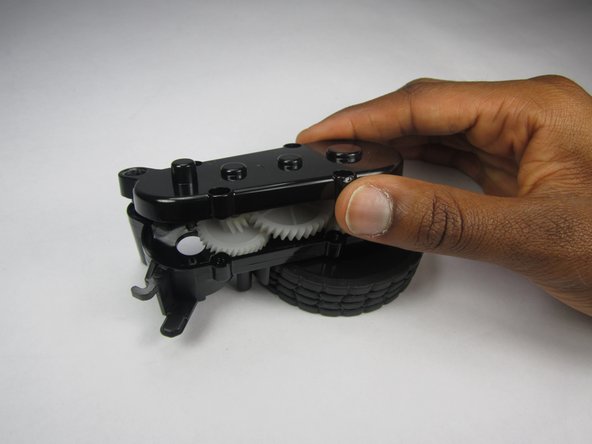
      • Lift up on the top cover to remove it.

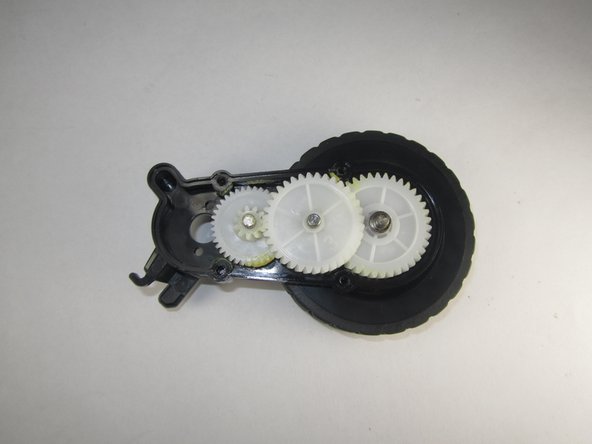
      • Removing the top cover reveals the gear system consisting of three gears.

      询问修复机器人

      添加评论

结论

To reassemble your device, follow these instructions in reverse order.

取消:我没有完成这个指南。

Shawn O'Meara

于02/27/17注册

101 声望

撰写一个指南

团队

USFT-Lacy-S17S005G2 USFT-Lacy-S17S005G2 的会员

Local Repair Groups

4 名成员

创作了15篇指南

0指南评论

添加评论

浏览统计数据:

过去 24 小时: 2

过去 7 天: 8

过去 30 天: 31

总计 693