跳转到主内容
加入维修社区 - 创建账户

Protocol Dronium III AP Light Bulb Replacement

你所需要的

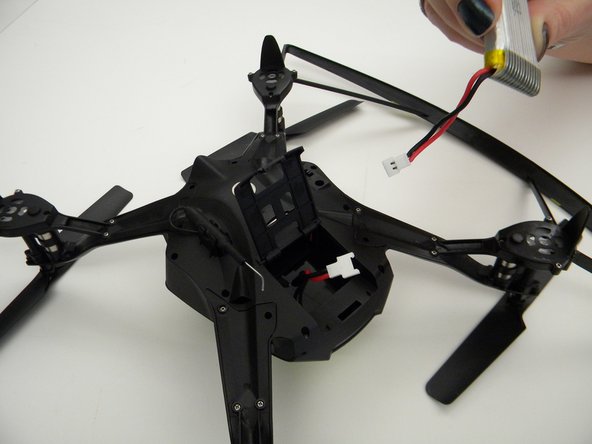
    1. Protocol Dronium III AP Light Bulb Replacement, Drone Battery Pack: 步骤 1 中的图像 1,2 Protocol Dronium III AP Light Bulb Replacement, Drone Battery Pack: 步骤 1 中的图像 2,2
      • Ensure the drone is powered off.

      • Press in and lift battery compartment cover.

      • A soft pry tool may be used for easier access.

      询问修复机器人

      添加评论

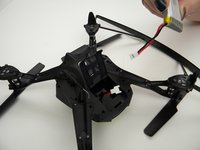
    2. Protocol Dronium III AP Light Bulb Replacement: 步骤 2 中的图像 1,1
      • Remove battery pack from body of drone.

      询问修复机器人

      添加评论

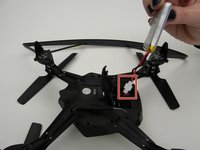
    3. Protocol Dronium III AP Light Bulb Replacement: 步骤 3 中的图像 1,2 Protocol Dronium III AP Light Bulb Replacement: 步骤 3 中的图像 2,2
      • Disconnect white connectors between the battery pack and drone.

      询问修复机器人

      添加评论

    1. Protocol Dronium III AP Light Bulb Replacement, L.E.D. Bulb(s): 步骤 4 中的图像 1,1
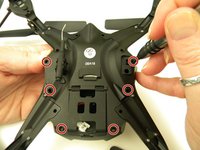
      • Remove the eight (8) 5mm Philips screws attaching the motor arms to the body using a Philips J00 screwdriver.

      询问修复机器人

      添加评论

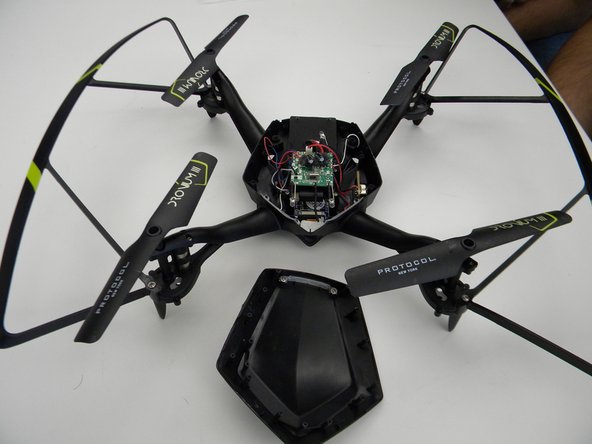
    2. Protocol Dronium III AP Light Bulb Replacement: 步骤 5 中的图像 1,2 Protocol Dronium III AP Light Bulb Replacement: 步骤 5 中的图像 2,2
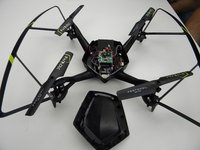
      • Remove the six (6) 5mm Philips screws attaching the Body Cover to the Body of the drone using a Philips J00 screwdriver.

      • Remove the Body Cover.

      询问修复机器人

      添加评论

    3. Protocol Dronium III AP Light Bulb Replacement: 步骤 6 中的图像 1,2 Protocol Dronium III AP Light Bulb Replacement: 步骤 6 中的图像 2,2
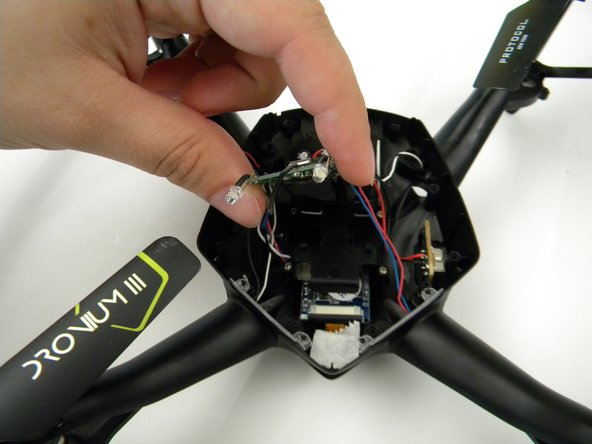
      • Remove the two (2) 5mm Philips screws attaching the Motherboard to the body of the drone using a Philips J00 screwdriver.

      • Lift the Motherboard off the mounting position.

      • Do not pull hard on the Motherboard as solder connections are fragile.

      询问修复机器人

      添加评论

    4. Protocol Dronium III AP Light Bulb Replacement: 步骤 7 中的图像 1,2 Protocol Dronium III AP Light Bulb Replacement: 步骤 7 中的图像 2,2
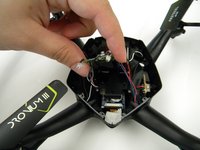
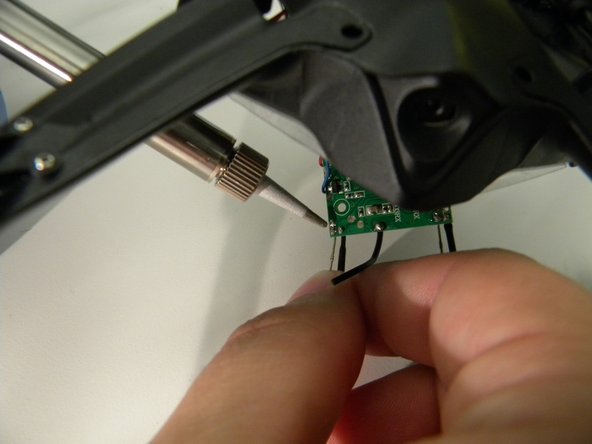
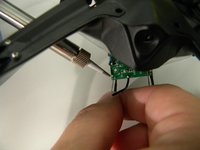
      • This step contains a tool that can present a potential burn hazard.

      • Prepare and warm up a soldering iron.

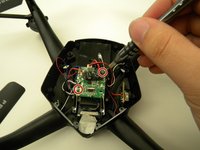
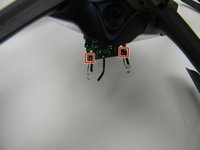
      • Position Motherboard so that the L.E.D. bulb solder joints are accessible.

      • Use the soldering iron to melt the solder joints.

      • For more detailed instructions on how to solder, visit out How to Solder and Desolder Connections guide.

      • Remove the L.E.D. bulb from the Motherboard

      询问修复机器人

      添加评论

结论

To reassemble your device, follow these instructions in reverse order.

取消:我没有完成这个指南。

Steven Mooers

于10/18/17注册

401 声望

创作了4篇指南

团队

UW Tacoma, Team S1-G1, Rose Fall 2017 UW Tacoma, Team S1-G1, Rose Fall 2017 的会员

UWT-ROSE-F17S1G1

4 名成员

创作了4篇指南

0指南评论

添加评论

浏览统计数据:

过去 24 小时: 0

过去 7 天: 3

过去 30 天: 16

总计 416