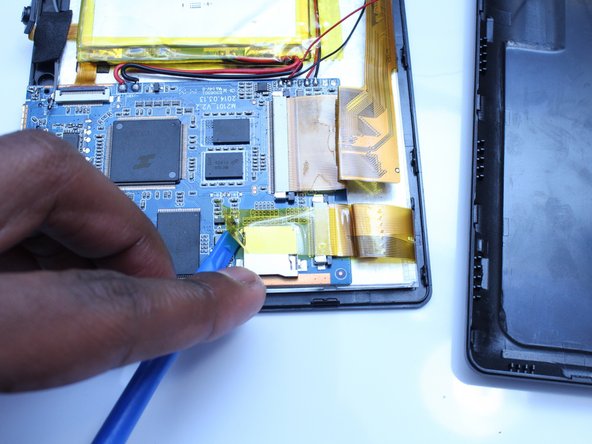
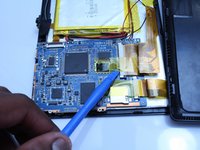
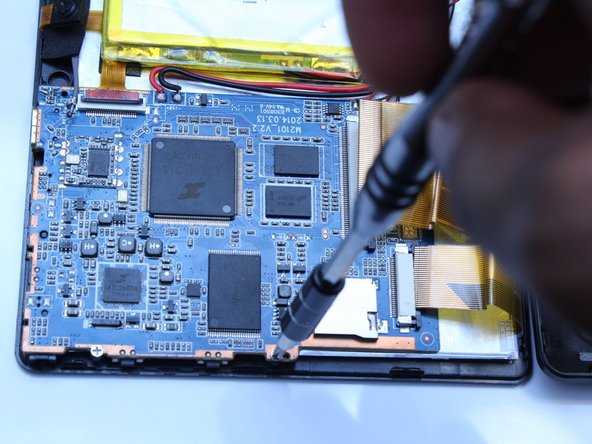
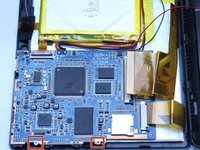
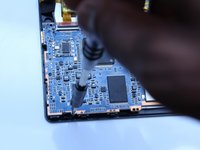
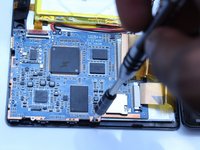
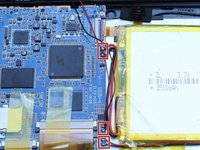
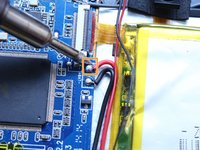
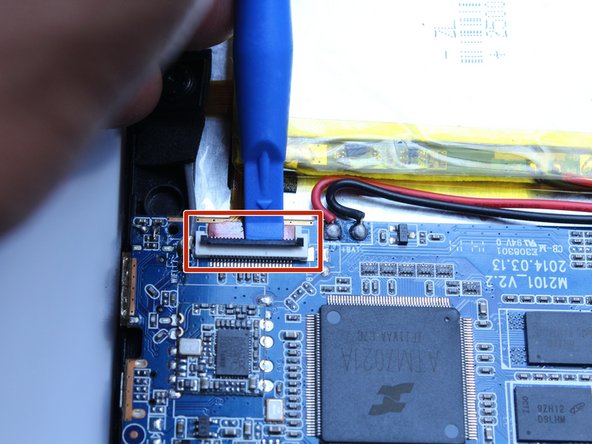
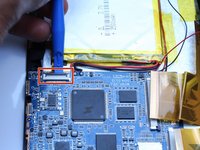
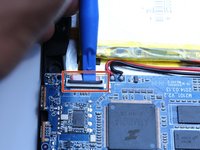
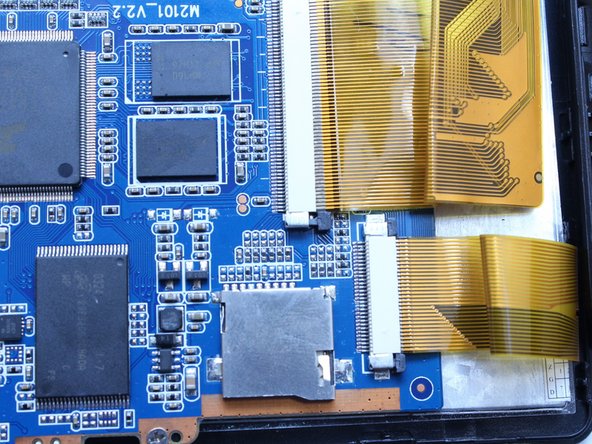
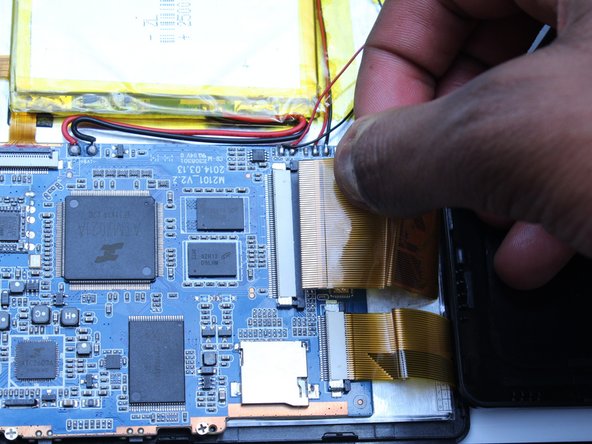
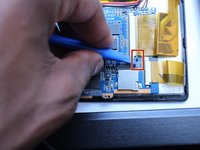
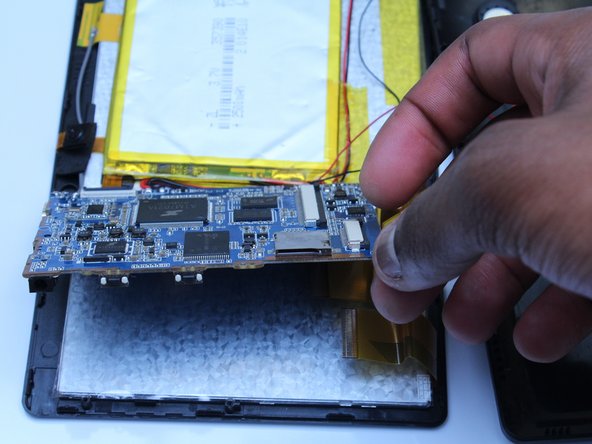
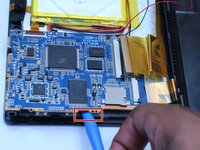
跳转到主内容

ProntoTec Axius Motherboard Replacement

你所需要的

  1. ProntoTec Axius Motherboard Replacement, Motherboard: 步骤 1 中的图像 1,1
    • Make sure the device is completely turned off before you begging taking it apart to avoid electrocution risks.

    • Place the tablet face-up on a flat table.

  2. ProntoTec Axius Motherboard Replacement: 步骤 2 中的图像 1,1
    • Starting near the headphone port, fit the flat end of the spudger in between the screen and back case.

    • Pry the back case from the screen around each point on the device to release the clips securing the case halves to each other.

  3. ProntoTec Axius Motherboard Replacement: 步骤 3 中的图像 1,1
    • Gently remove the back case of the device and lay it in a flat surface as shown in the photo.

    • Make sure not to sever the wires (red and black) connected to the speaker that is located in the back case.

  4. ProntoTec Axius Motherboard Replacement: 步骤 4 中的图像 1,2 ProntoTec Axius Motherboard Replacement: 步骤 4 中的图像 2,2
    • Remove only the yellow tape that touches the motherboard

    • Be careful not to cut or damage the wires (red and black) that connect the battery to the motherboard.

  5. ProntoTec Axius Motherboard Replacement: 步骤 5 中的图像 1,3 ProntoTec Axius Motherboard Replacement: 步骤 5 中的图像 2,3 ProntoTec Axius Motherboard Replacement: 步骤 5 中的图像 3,3
    • Use a Phillips screwdriver (PH00) to unscrew the two screws that connects the motherboard to the device

    • Be careful not to cut or damage the wires (red and black) that connect the motherboard to the battery.

  6. ProntoTec Axius Motherboard Replacement: 步骤 6 中的图像 1,2 ProntoTec Axius Motherboard Replacement: 步骤 6 中的图像 2,2
    • Using a soldering iron, desolder the contact points of the speaker, battery and screen on the motherboard

    • If soldering is new to you, check out this helpful guide on soldering and desoldering connections.

    • Use pliers to pull the wire from the board

  7. ProntoTec Axius Motherboard Replacement: 步骤 7 中的图像 1,2 ProntoTec Axius Motherboard Replacement: 步骤 7 中的图像 2,2
    • Using the spudger, disconnect the ribbon cable connecting the camera to the motherboard

  8. ProntoTec Axius Motherboard Replacement: 步骤 8 中的图像 1,3 ProntoTec Axius Motherboard Replacement: 步骤 8 中的图像 2,3 ProntoTec Axius Motherboard Replacement: 步骤 8 中的图像 3,3
    • Using the spudger, push the black tabs towards the ribbon cable to unlock the ribbon cables that connect the screen to the motherboard.

    • Gently pull and remove the ribbon cables from the motherboard

  9. ProntoTec Axius Motherboard Replacement: 步骤 9 中的图像 1,2 ProntoTec Axius Motherboard Replacement: 步骤 9 中的图像 2,2
    • Using the flat side of the spudger, lift up the mother board to disconnect from the screen.

结论

To reassemble your device, follow these instructions in reverse order.

另外一个人完成了本指南。

Estelle Hatem

于10/20/16注册

156 声望

撰写一个指南

团队

UMass Dartmouth, Team 5-3, Martin Fall 2016 UMass Dartmouth, Team 5-3, Martin Fall 2016 的会员

UMASSD-MARTIN-F16S5G3

3 名成员

创作了10篇指南

0条评论

添加评论

浏览统计数据:

过去 24 小时: 1

过去 7 天: 4

过去 30 天: 11

总计 265