跳转到主内容
加入维修社区 - 创建账户

此翻译由机器生成,尚未经过人工审核。 会说这种语言吗? 查看评论

Plantronics Voyager Legend 麦克风更换

你所需要的

    1. Plantronics Voyager Legend 麦克风更换, 麦克风: 步骤 1 中的图像 1,3 Plantronics Voyager Legend 麦克风更换, 麦克风: 步骤 1 中的图像 2,3 Plantronics Voyager Legend 麦克风更换, 麦克风: 步骤 1 中的图像 3,3
      • 松开固定组件的卡扣。

      • 使用小型金属撬棒的尖头端,从设备的一端开始分离卡扣。

      • 在初步分离后,使用塑料撬棒的平头端,沿着麦克风组件的圆周继续松开其余卡扣。

      添加评论

    2. Plantronics Voyager Legend 麦克风更换: 步骤 2 中的图像 1,1
      在这个步骤中使用的工具:
      Tweezers
      $4.99
      • 完全拆下塑料外壳的顶部,露出金属保护板。

      • 使用精密 镊子 取出金属保护板。具体操作是将金属板从原位提起并移出。

      询问修复机器人

      添加评论

    3. Plantronics Voyager Legend 麦克风更换: 步骤 3 中的图像 1,1
      • 找到位于麦克风组件后部、靠近听筒组件的音量按钮。

      • 使用精密镊子将音量按钮撬出并将其拆下。

      • 注意音量按钮的方向,留意固定其位置的卡扣。

      询问修复机器人

      添加评论

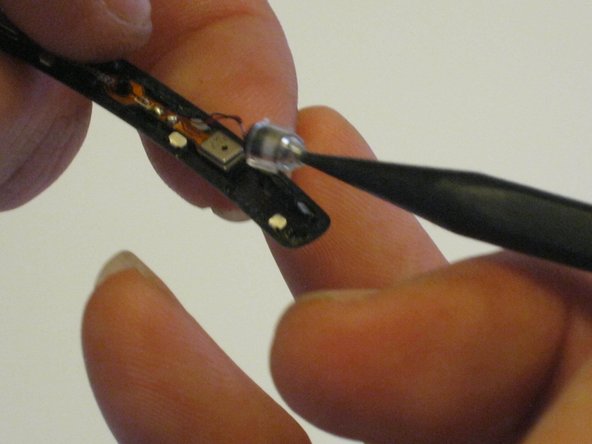
    4. Plantronics Voyager Legend 麦克风更换: 步骤 4 中的图像 1,3 Plantronics Voyager Legend 麦克风更换: 步骤 4 中的图像 2,3 Plantronics Voyager Legend 麦克风更换: 步骤 4 中的图像 3,3
      • 拆下语音管。

      • 使用塑料撬棒的尖端将语音管从安装位置撬出。

      • 断开与语音管相连的导线。

      • 如果仅需更换语音管,请在此停止,并按照反向顺序执行步骤进行重新组装。

      添加评论

    5. Plantronics Voyager Legend 麦克风更换: 步骤 5 中的图像 1,2 Plantronics Voyager Legend 麦克风更换: 步骤 5 中的图像 2,2
      • 拆下电路板。

      • 使用塑料撬棒的尖头端开始将电路板撬出。从靠近语音管位置的一端开始。

      • 使用塑料撬棒的扁平端继续将电路板撬出。

      • 注意固定电路板位置的导向栓。

      询问修复机器人

      添加评论

    6. Plantronics Voyager Legend 麦克风更换: 步骤 6 中的图像 1,3 Plantronics Voyager Legend 麦克风更换: 步骤 6 中的图像 2,3 Plantronics Voyager Legend 麦克风更换: 步骤 6 中的图像 3,3
      • 接触连接电路的引脚。

      • 使用撬棒确保电路板完全松脱。

      • 露出引脚以便断开连接。

      询问修复机器人

      添加评论

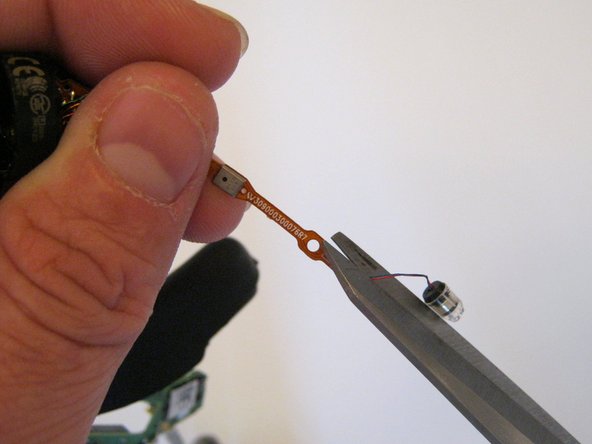
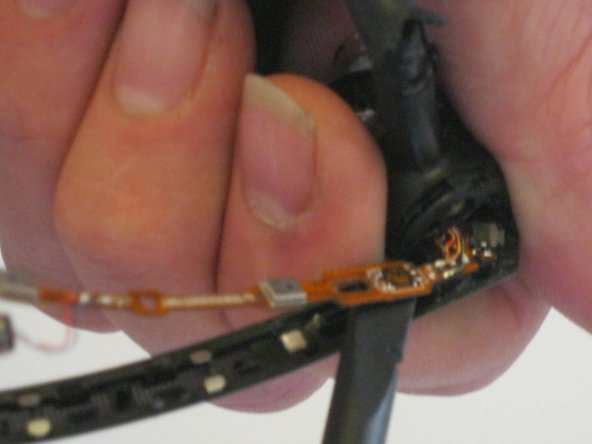
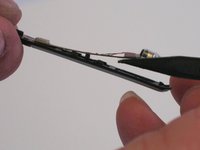
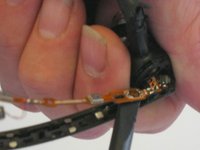
    7. Plantronics Voyager Legend 麦克风更换: 步骤 7 中的图像 1,3 Plantronics Voyager Legend 麦克风更换: 步骤 7 中的图像 2,3 Plantronics Voyager Legend 麦克风更换: 步骤 7 中的图像 3,3
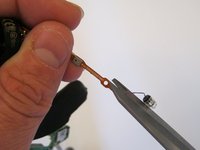
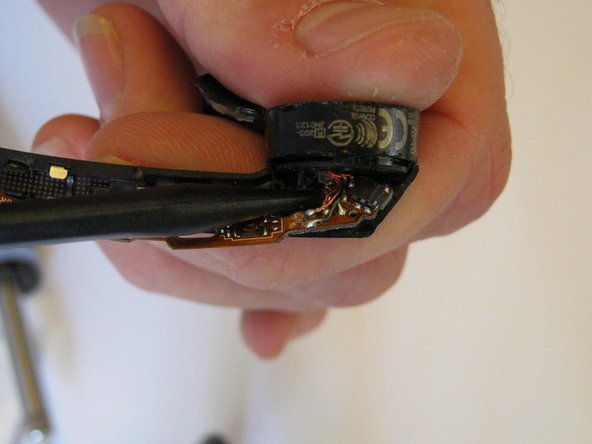
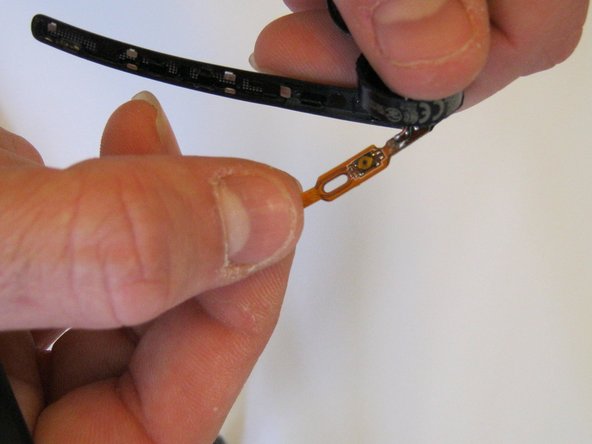
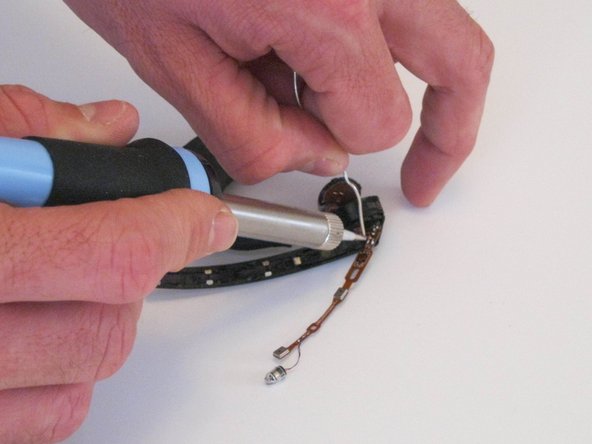
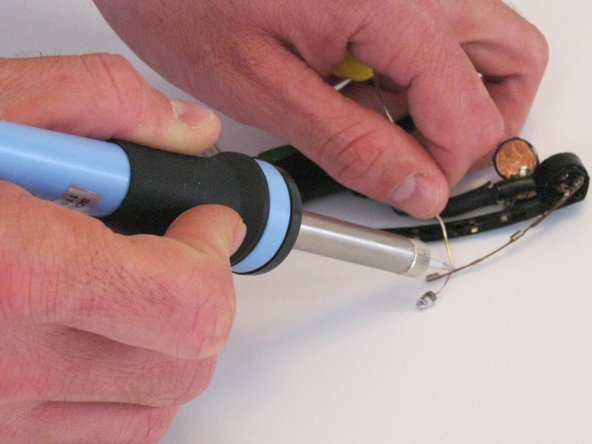
      • 安装新电路板。

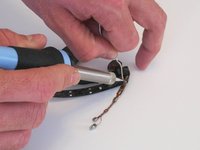
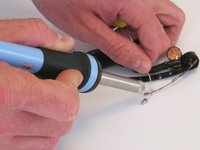
      • 使用斜口钳断开导线。如果没有斜口钳,剪刀也可以。

      • 将导线焊接到新电路板的正确位置上。

      • 关于焊接的帮助,请参考 iFixit 焊接指南

      添加评论

结论

要重新组装设备,请按相反顺序执行这些说明。

取消:我没有完成这个指南。

19等其他人完成本指南。

Lewis Certain

于09/10/15注册

2,355 声望

创作了3篇指南

团队

14指南评论

Where do I locate the parts for the Plantronics Bluetooth hardware?

scottstephany - 回复 分享

You can not get the parts.. At least not on Ebay, Amazon and just about any other place that I searched.. Maybe Alibaba if you want to take the chance of having your credit card or any other form of payment jacked.. This fix is a joke due to the size of the components and wires that need to be soldered.. If only the "Voice tube" or cone shaped thing inside of the plastic tube is bad they its ok.. I will mention though that this type wire is coated which is why you can have the two "bare" wires touching and not have a short.. You must but this off in order to be able to solder first.. Burn too much and you will have crispy wires not worth crap.. I know this because I have pick up more than a few sets up beats head phones on Ebay for 20-30 and fixed.. You can pick this headset up on Ebay on the dirt cheap now that the new one is out, its not worth the hassle to fix or attempt to fix and it is misleading in the sense that it makes it seam like a no big deal kind of thing..

Jdubtastic - 回复 分享

I used this repair guide to take it apart and clean the mike and board and now people can hear me a lot better.

tz - 回复 分享

How did you clean it

Gary Gobin - 回复 分享

I used this guide to clean my plantronics headset and it is working great … many thanks for sharing …

DB

Darab Badiee - 回复 分享

添加评论

浏览统计数据:

过去 24 小时: 4

过去 7 天: 25

过去 30 天: 131

总计 48,201