跳转到主内容
Panasonic SDR H-100 Upper Cover Replacement

Panasonic SDR H-100 Upper Cover Replacement

Caleb Osborne

Caleb Osborne11 其他贡献者

最后更新于 May 7, 2024

没有估计
中等
令人困惑的文字
需要更多图片
更好的介绍
缺少细节
仅作为前提条件
本指南仅用作其他指南的先决条件。不能单独使用。

你所需要的

工具

  1. Panasonic SDR H-100 Upper Cover Replacement, Remove Bottom Screws: 步骤 1 中的图像 1,2 Panasonic SDR H-100 Upper Cover Replacement, Remove Bottom Screws: 步骤 1 中的图像 2,2
    • Remove the four 4-mm screws on the bottom of the camcorder.

    • The screws are two different colors: three blacks and one silver.

  2. Panasonic SDR H-100 Upper Cover Replacement, Remove Side Screws: 步骤 2 中的图像 1,1
    • Remove the three 6-mm screws on the hand-strap side of the camera.

  3. Panasonic SDR H-100 Upper Cover Replacement, Remove DC Input Terminal Screws: 步骤 3 中的图像 1,1
    • Pull out the charging port (DC input terminal) cover and remove the 4-mm screw located next to the input terminal.

  4. Panasonic SDR H-100 Upper Cover Replacement, Remove LCD Monitor Screws: 步骤 4 中的图像 1,2 Panasonic SDR H-100 Upper Cover Replacement, Remove LCD Monitor Screws: 步骤 4 中的图像 2,2
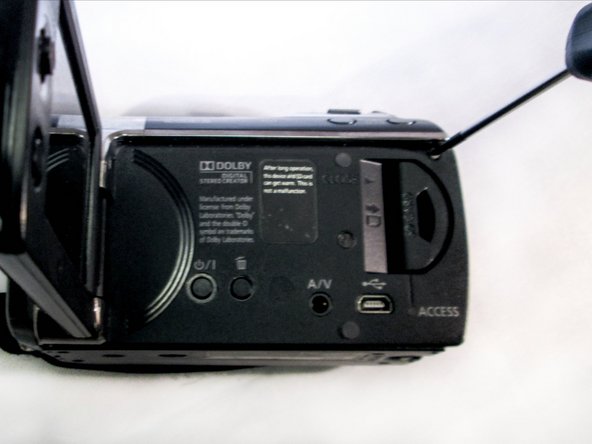
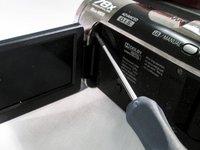
    • Flip out the LCD screen to expose the inner screws. Remove the two black 4-mm screws.

    • One screw is located by the hinge of the LCD screen. The second is close to the upper-right corner of the camcorder body.

    • Using a firm hold on both sides of the camcorder, gently pull apart the casing under the hand strap.

    • Pressure should be evenly distributed across entire device.

    • Detach gently so the ribbon cable is not damaged!

  5. Panasonic SDR H-100 Upper Cover Replacement, Detach Ribbon Cable from Body: 步骤 6 中的图像 1,1
    在这个步骤中使用的工具:
    Tweezers
    $4.99
    • Use tweezers to grab the ribbon cable at the connection point and slowly lift it away from the connector.

    • This linkage point connects the HDD directly to the motherboard.

结论

To reassemble your device, follow these instructions in reverse order.

0条评论

添加评论

浏览统计数据:

过去 24 小时: 0

过去 7 天: 2

过去 30 天: 4

总计 61