
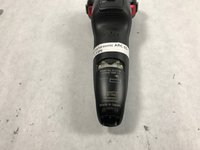
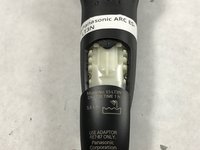
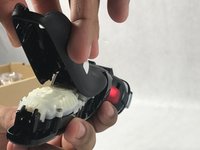
Panasonic ARC ES-LT3N Back Casing Replacement
5分钟
非常容易
仅作为前提条件
本指南仅用作其他指南的先决条件。不能单独使用。
简介
转到步骤 1This repair guide will show you the best step by step procedure of how to replace your back casing on your Panasonic ARC ES-LT3N. The process is very easy!
你所需要的


即将完成!
To reassemble your device, follow these instructions in reverse order.
结论
To reassemble your device, follow these instructions in reverse order.
团队

UMass Dartmouth, Team S8-G3, Catania Spring 2017 UMass Dartmouth, Team S8-G3, Catania Spring 2017 的会员
UMASSD-CATANIA-S17S8G3
3 名成员
创作了10篇指南