简介
Follow this guide to remove and replace the OnePlus 3’s volume and power button assembly. The assembly includes the buttons as well as the flex cable that connects them. The procedure requires major disassembly, removing both the battery and the motherboard to access the assembly.
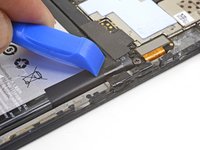
If your battery is swollen, take appropriate precautions.
For your safety, discharge your battery below 25% before disassembling your phone. This reduces the risk of a dangerous thermal event if the battery is accidentally damaged during the repair.
你所需要的
-
-
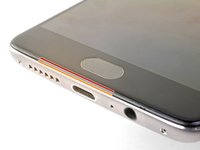
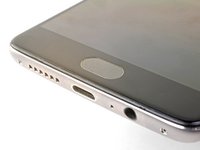
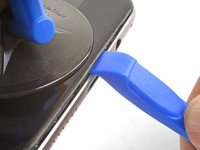
Insert a SIM eject tool, bit, or straightened paperclip into the hole located between the SIM card slot and the power button.
-
Press firmly to eject the SIM card tray.
-
-
-
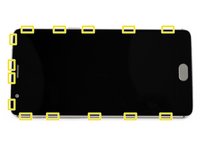
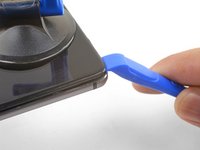
Display panel seam: This seam is part of the display assembly. Do not pry at this seam, or you will separate and damage the display panel.
-
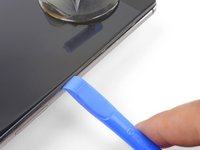
Frame seam: This is where the plastic frame meets the back cover. It is recessed into the back cover. Only pry at this seam.
-
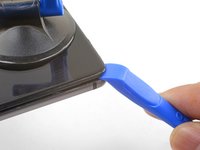
There are fourteen clips that hold the frame against the rear case. Be aware of their location as you pry the back cover off in the following steps.
-
-
-
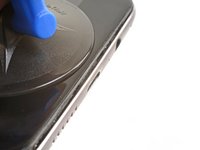
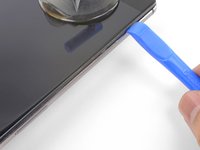
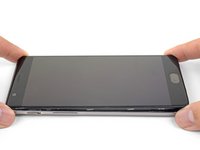
With the bottom and left edge of the phone freed, gently wiggle the frame to release the top and right edge clips.
-
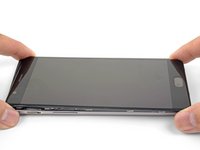
Lift the screen up and remove it.
-
Align the top edge of the frame to the back cover and ensure that the top clips slip into place.
-
Squeeze along the long edges of the phone to snap the remaining clips into place.
-
-
-
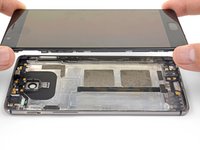
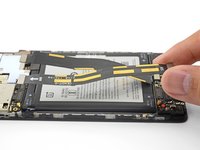
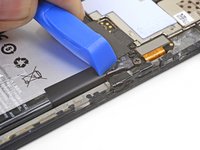
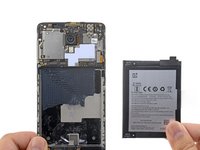
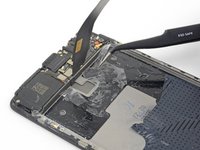
Use the point of a spudger to pry up and disconnect the battery connector from its socket, located above the top right corner of the battery pack.
-
Bend the connector away from the socket to prevent accidental contact.
-
-
-
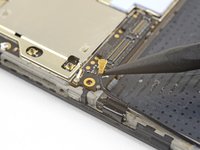
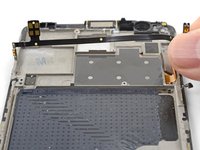
Remove the 3 mm Phillips screw securing the cable bracket.
-
Remove the cable bracket.
-
-
-
-
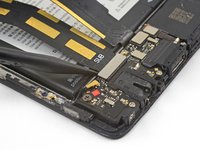
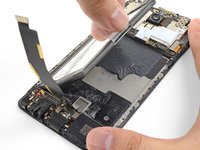
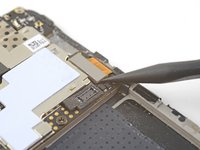
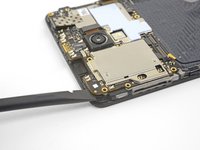
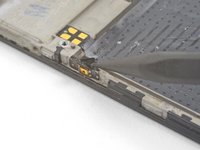
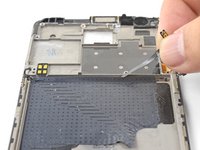
Use the point of a spudger to pry up and disconnect the interconnect flex cable from the daughterboard, which is located below the battery.
-
-
-
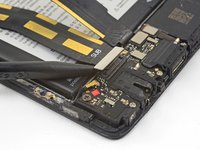
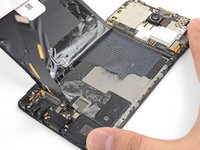
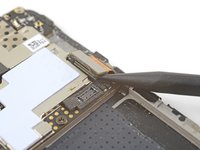
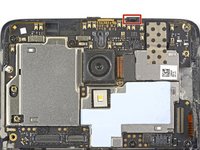
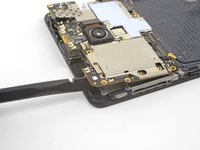
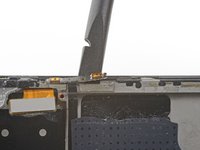
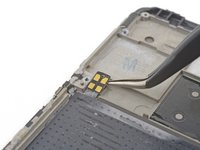
Slide the point of a spudger underneath the antenna interconnect cable located at the bottom left corner of the motherboard.
-
Pry up and disconnect the antenna interconnect cable.
-
-
在这个步骤中使用的工具:Electrical Tape in 6 Assorted Colors$9.99
-
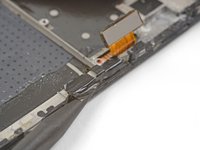
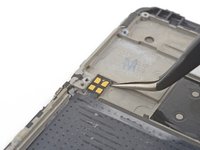
Use the point of a spudger to pry up and remove the black tape covering the volume buttons on the right edge of the phone.
-
Repeat the process with the black tape covering the power button on the left edge of the phone.
-
-
在这个步骤中使用的工具:Tesa 61395 Tape$5.99
-
Use the point of a spudger to pry and loosen the power button from the left edge of the frame.
-
To reinstall the power button, cut a small piece of adhesive from the pre-cut adhesive card or a roll of Tesa tape, and use it to stick the button back onto the frame.
-


To reassemble your device, follow these instructions in reverse order.
Repair didn’t go as planned? Check out our OnePlus 3 Answers community for troubleshooting help.
11等其他人完成本指南。
