跳转到主内容
加入维修社区 - 创建账户

Nintendo WaveBird Wireless Controller C-Stick Replacement

你所需要的

    1. Nintendo WaveBird Wireless Controller C-Stick Replacement, Batteries: 步骤 1 中的图像 1,2 Nintendo WaveBird Wireless Controller C-Stick Replacement, Batteries: 步骤 1 中的图像 2,2
      • Pull down on the battery cover release lever and pull back to remove the cover.

      询问修复机器人

      添加评论

    2. Nintendo WaveBird Wireless Controller C-Stick Replacement: 步骤 2 中的图像 1,1
      • Remove both batteries from the device.

      询问修复机器人

      添加评论

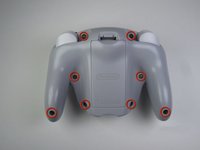
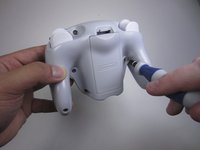
    1. Nintendo WaveBird Wireless Controller C-Stick Replacement, Front Panel: 步骤 3 中的图像 1,2 Nintendo WaveBird Wireless Controller C-Stick Replacement, Front Panel: 步骤 3 中的图像 2,2
      • Remove the eight 9 mm screws from the back panel using the Tri-point Y1 screwdriver.

      • During reassembly, firmly hold the panels of the controller together while replacing the screws so the panels do not separate.

      询问修复机器人

      添加评论

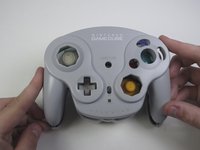
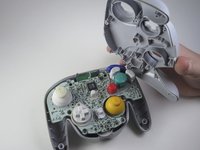
    2. Nintendo WaveBird Wireless Controller C-Stick Replacement: 步骤 4 中的图像 1,2 Nintendo WaveBird Wireless Controller C-Stick Replacement: 步骤 4 中的图像 2,2
      • Carefully turn over the controller and place it on a flat surface.

      • Slowly separate the top panel from the bottom panel.

      • The buttons are loose and may fall off the motherboard.

      • Once separated, set aside the top panel.

      • During reassembly, make sure the front panel lines up with the buttons so they slide back into place.

      询问修复机器人

      添加评论

    1. Nintendo WaveBird Wireless Controller C-Stick Replacement, Buttons: 步骤 5 中的图像 1,3 Nintendo WaveBird Wireless Controller C-Stick Replacement, Buttons: 步骤 5 中的图像 2,3 Nintendo WaveBird Wireless Controller C-Stick Replacement, Buttons: 步骤 5 中的图像 3,3
      在这个步骤中使用的工具:
      Tweezers
      $4.99
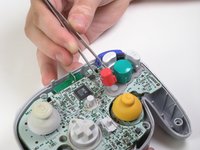
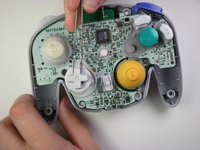
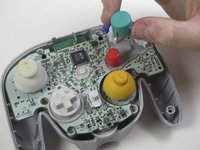
      • Use tweezers to remove the buttons.

      • It may be easier to remove the A button off of the pad by lifting it with your fingers.

      • During reassembly, make sure all buttons are in their respective sockets so they match up with the front panel.

      询问修复机器人

      添加评论

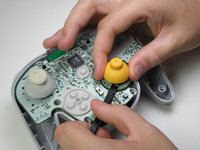
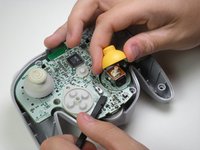
    1. Nintendo WaveBird Wireless Controller C-Stick Replacement, C-Stick: 步骤 6 中的图像 1,2 Nintendo WaveBird Wireless Controller C-Stick Replacement, C-Stick: 步骤 6 中的图像 2,2
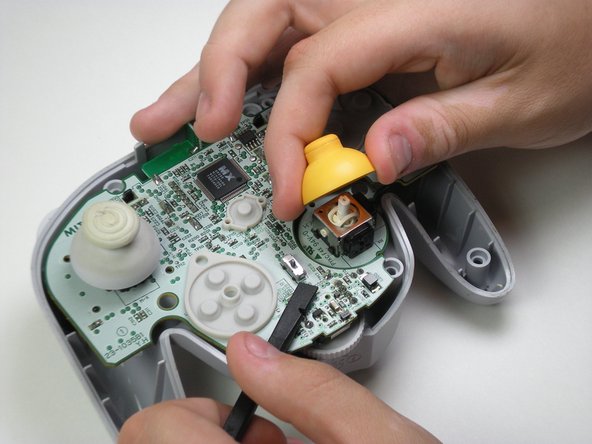
      • Potential for device damage: Rough handling of the C-stick could cause the daughterboard to break off of the motherboard.

      • Grab the base of the yellow C-Stick cover with one hand and gently hold down the bottom piece of the motherboard with the spudger.

      • Pull off the yellow C-Stick cover.

      • During reassembly, make sure the slots inside the C-Stick cover line up with the motherboard so it can fit back together.

      询问修复机器人

      添加评论

结论

To reassemble your device, follow these instructions in reverse order.

取消:我没有完成这个指南。

3等其他人完成本指南。

团队

Cal Poly, Team 10-40, Amido Spring 2013 Cal Poly, Team 10-40, Amido Spring 2013 的会员

CPSU-AMIDO-S13S10G40

4 名成员

创作了114篇指南

0指南评论

添加评论

浏览统计数据:

过去 24 小时: 3

过去 7 天: 6

过去 30 天: 44

总计 3,055