
Nikon Coolpix S4100 Functional Button Plate Replacement
简介
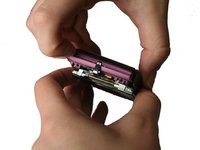
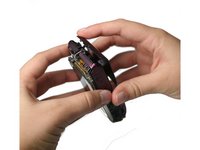
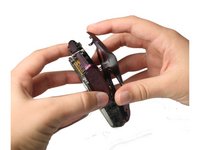
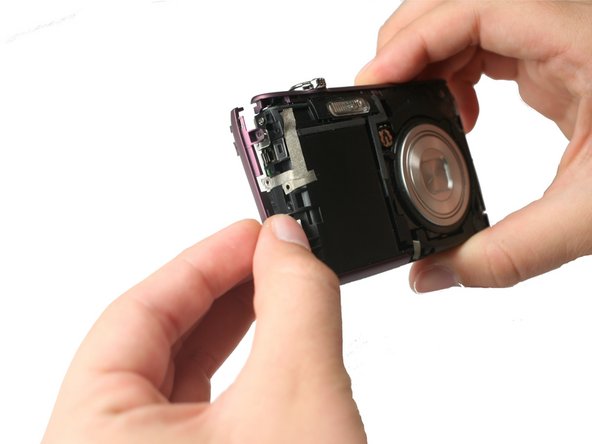
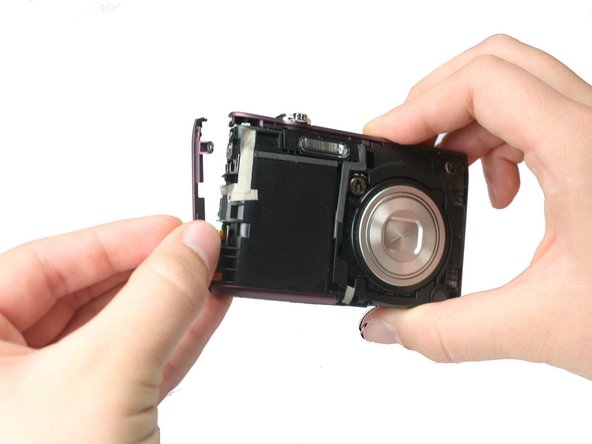
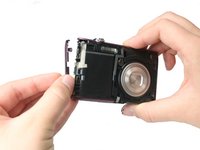
转到步骤 1If you need to replace the video record, playback, or camera mode buttons, then you must follow these steps to replace the metal plate with the mounted wiring.


-
-
Using a Philips #000 head screwdriver, remove the 8 screws (3.30 mm) visible on the external part of the camera.
-
There are 2 on each side, and 4 on the bottom.
-
-
-
-
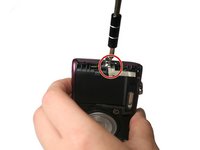
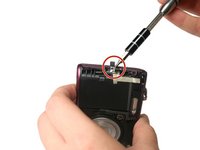
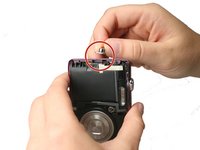
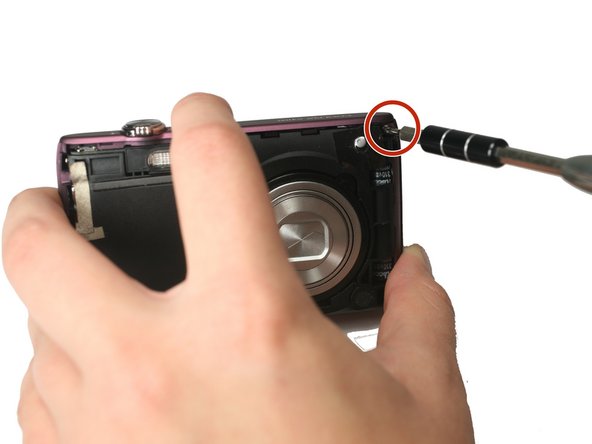
Using the Philips #000 head screwdriver, remove the 3.40 mm screw located near the functional buttons.
-


To reassemble your device, follow these instructions in reverse order.
To reassemble your device, follow these instructions in reverse order.
另外一个人完成了本指南。
团队

Baylor, Team 4-2, Williams Fall 2015 Baylor, Team 4-2, Williams Fall 2015 的会员
BU-WILLIAMS-F15S4G2
4 名成员
创作了8篇指南